As I mentioned in my previous post reviewing Smart Tiles, my friend Tom asked for my help to makeover his small half-bath in his condo. He had a tiny budget of $200 to makeover his equally tiny 20 ft2 bathroom. Luckily he was happy with the neutral color palette so no painting necessary, but he did want to update the look by adding a touch of warmth and elegance, and he also wanted to have more storage. Here’s the plan I came up with for the makeover:
- Add a contemporary tile backsplash above the sink area and a mirror
- Upgrade the lighting fixture
- Add a storage cabinet above the toilet
The first thing I tackled was adding the backsplash above the sink area:
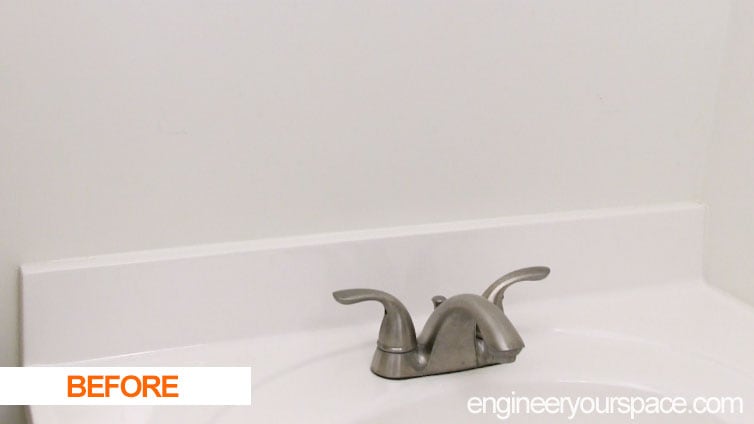
This is what the area above the sink looked like before – a blank slate!
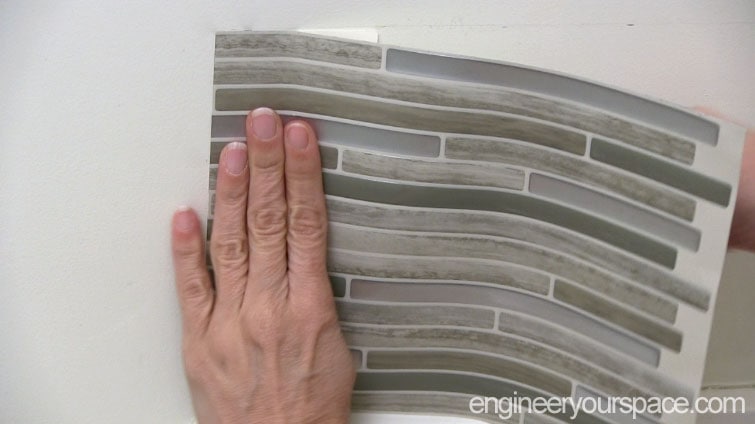
I was really excited to try Smart Tiles for the first time for this project. I don’t have much experience tiling so the fact that these tiles have a peel and stick backing was a welcome simplification – there’s no grout or specialized tools needed so the installation is quick and mess free. I chose the Capri Taupe Smart Tiles from the Mosaik collection because of their beautiful stone and glossy dual finish
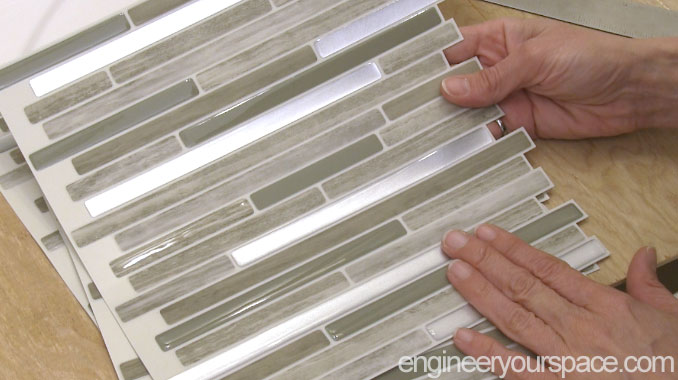
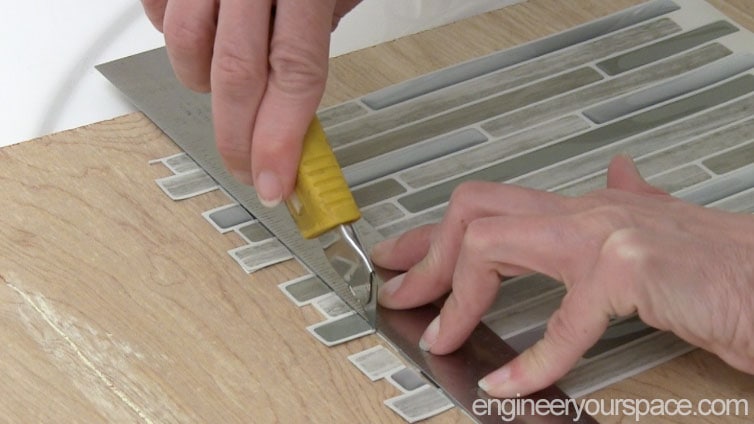
I needed 4 tiles to cover the length of the vanity – they are easy to cut using a ruler and utility knife. I cut all the tiles to be 7 inches high and and for the first tile, I also cut off the ends to have a clean edge.
I cleaned the wall with TSP to remove all the dust and grease, marked the height of the tile on the wall and then used a level to trace out the line. I removed some of the existing caulking where the tile meets the vanity to ensure that the tiles sits flush at the bottom. To install the tile, I first peeled back a couple of inches of the backing, used the line as a guide to make sure the tile is straight and then removed the rest of the backing and pressed the tile on wall.
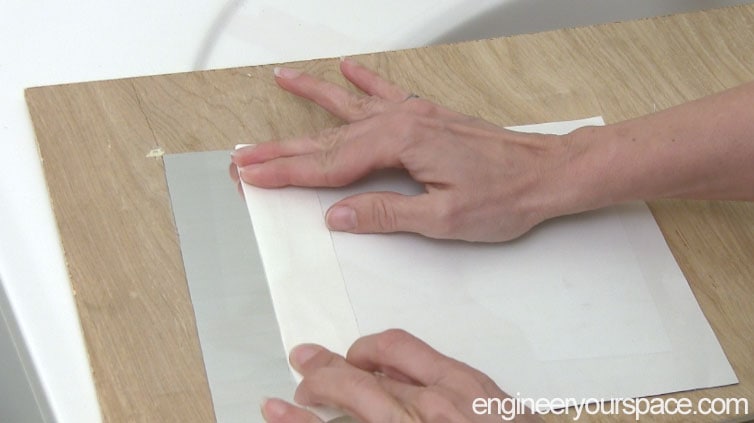
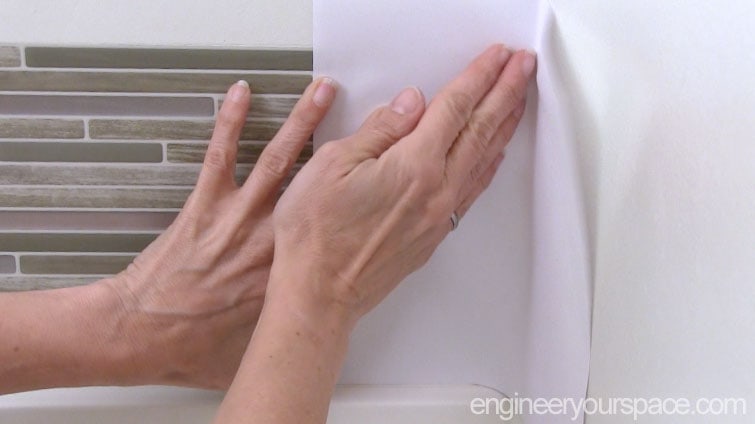
For the last tile at the edge of the wall, the remaining space was a bit awkward to measure so I used a sheet of paper as a template and used that to cut the tile.
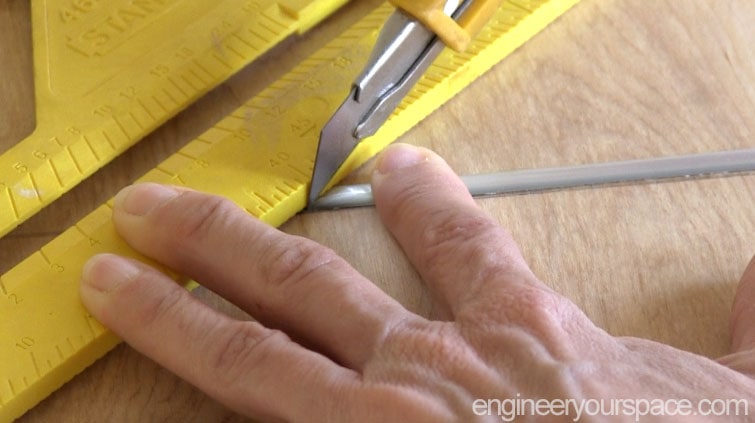
For a more finished look around the tiles, I used a Smart Edge Brillo (silver) and for a nice clean corner, I cut the ends at a 45 degree angle.
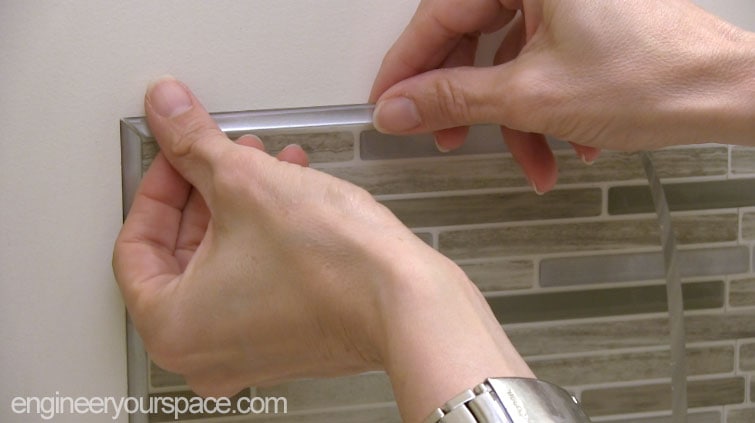
A quick trick to make sure you get a perfect 45 degree cut every time is to first draw a straight line on your scrap piece of wood with a speed square and then use the 45 degree side of the speed square to cut the Smart Edge.
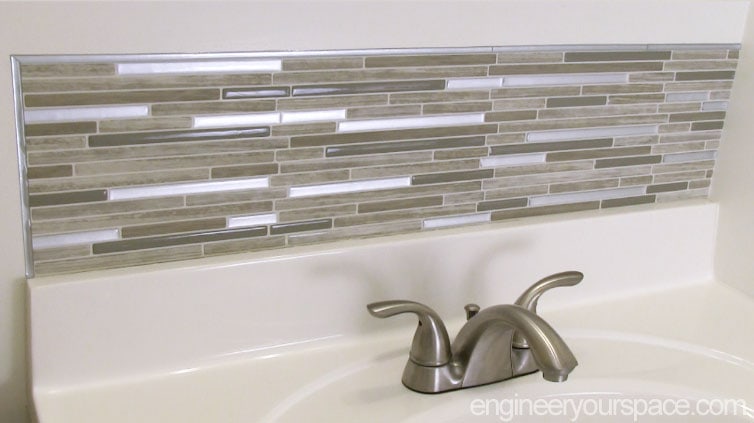
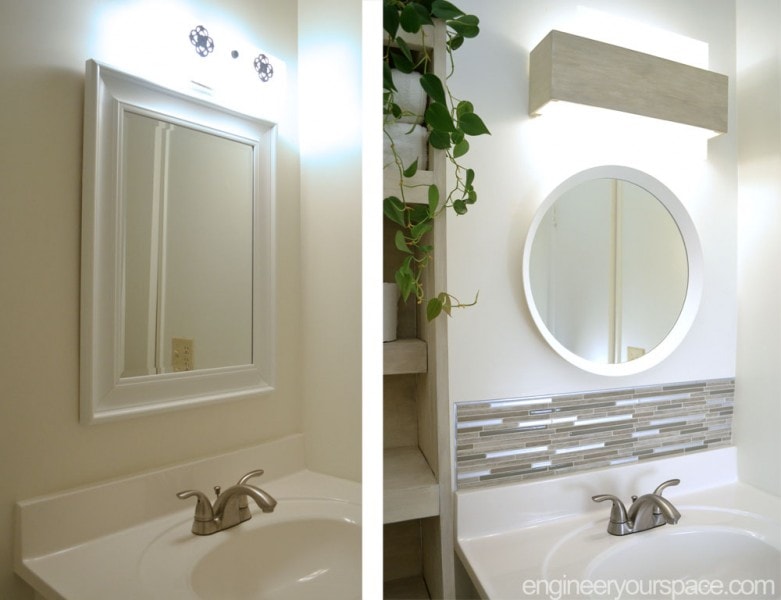
And there you have it, for about $40 and in less than an hour, the backsplash was done and it looks absolutely beautiful!

It completely transformed the bathroom as you can see in this before and after picture:
You can see how I did the entire bathroom makeover, including the backsplash and how I tackled the very dated and uncentered lighting fixture above the vanity, in this video:
** This post was sponsored by Smart Tiles – all thoughts and opinions are my own **


Love your idea. I had installed the peel and stick tiles on a vanity and had no idea how to “finish it off.” There are not many ideas out there, but yours looks great. Thanks for taking the time to publish the tutorial.
Heidi
Thanks Heidi!
I cannot even begin to tell you how happy I am to subscribe to your site. You have helped me more than you can imagine. The biggest thank you for thinking of all the renters out there!
You’re welcome! And you’re the reason I do what I do, so thank YOU for subscribing! Here’s to making ourselves at home no matter where we live 🙂