Did you read my first post in this “how to build a Murphy bed” series? In case you missed it, here’s a recap. I’ve undertaken a new big/small project, transforming a tiny 200 ft2 rental studio apartment into a functional home that reflects the unique personality of its occupant, that easily adapts to change and has everything needed: a place for sleeping, hanging out and relaxing with friends, cooking, eating and working. I talked in my previous post about how a Murphy bed with a sofa was the best solution for this space and also which options I considered, eventually settling on a DIY Murphy bed with a ready made hardware kit and cabinet design. You can read all the detail here and I left off with outlining all the steps involved with this Murphy bed option:
- Prepare all wood or laminate components
- Mount lift mechanism
- Install springs in lift mechanism
- Assemble the bed cabinet
- Attach bed cabinet to the wall
- Assemble steel bed frame to bed face panels
- Install the bed face panel in cabinet
- Install handles, leg assembly, mechanism covers, mattress
In today’s post, I’m covering what’s involved with step 1, but before I get started, there’s something I wanted to mention that I didn’t cover in my first post: the importance of knowing the thickness of the mattress you plan on using with your Murphy bed.
Tip: Not all kits are the same and some only accommodate mattresses that are 10 inches thick while others allow you to use mattresses up to 12” thick. Make sure you know what thickness you need for your mattress so you don’t end up with a cabinet that’s too shallow for your mattress. Not fun after doing all that work to build a Murphy bed!

And another general note, I can’t recommend enough reading the directions for your Murphy bed kit several times and also be ready to make a few trips to the hardware store. I know that I did several trips, sometimes more than once in one day! OK, now let’s get started with Step 1: preparing the cabinet components:
There are many different designs of cabinets out there, but they all have essentially the same components and similar steps are needed to get all the cabinet components ready. I used a Murphy bed kit that had a cabinet design and a cut list ready which made it a lot easier than having to figure out a design and dimensions, and I highly recommend this approach, especially if you’re a novice DIYer.
Step 1a – Getting the materials:
There’s a few choices for the material you can use to make the cabinet, like MDF or plywood. I went with a higher quality birch plywood because the plan was to stain the wood. If you’re thinking of painting it, then MDF will work too. Whichever one you use, you will need veneer edging to finish the edges, so be prepared to get a lot of it.
Tip: if you think you’ll be building more furniture with plywood in the future, I recommend buying a large roll of 250 ft online. It sounds like a lot but at roughly $25, it’s way cheaper than buying several packages of 25 ft which is what they sell at the hardware store.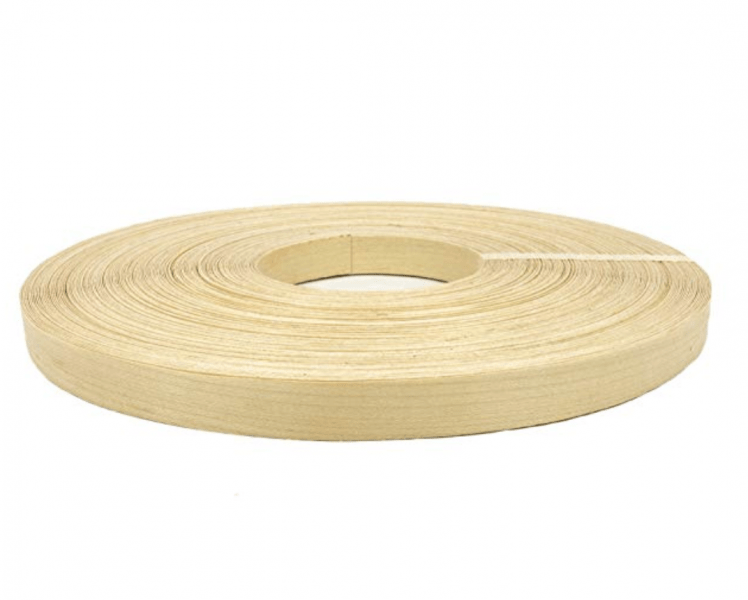 I usually have larger sheets of plywood cut at the hardware store since I don’t have a table saw, plus it also makes it easier to transport. But hardware stores don’t typically guarantee precise cuts and I’ve had pieces cut that were as much as ¼” off which wouldn’t be acceptable when working on a project like a Murphy bed – precision is critical to ensure that the cabinet is square. So for these reasons, I chose to cut the wood myself.

This meant that I had to bring the 3 x 4’x8’x ¾” sheets of birch plywood (~ $150) from the hardware store to the apartment. This is definitely a 2 person job, so I got a friend to help out and also to lend me their pickup truck to transport everything. Since I don’t have a table saw and would be cutting the plywood on the ground, I also got five 2”x4” to use as a base (more on that in step 1b) and a 1”x 3”x 8ft to use as a cutting guide.
Tip: I like to do the materials run the day before I’m planning on cutting and building. This way, I have everything on hand at the start of the day which makes for a more productive day.
Step 1b – Cutting the plywood:
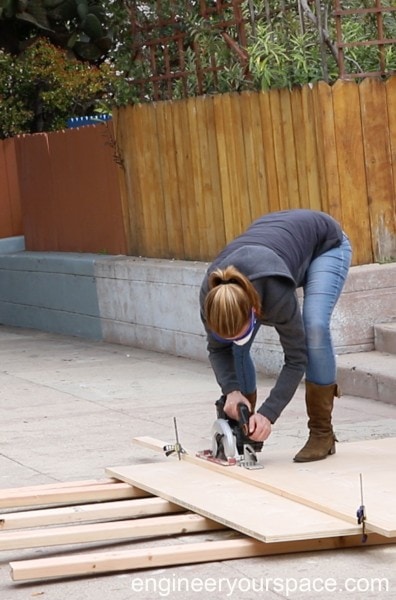
If you have a workshop with a table saw, this step is fairly straightforward. But I don’t have either and I also had limited space inside to work, so cutting outside using a circular saw was the best option available to me. I used a cordless circular saw from WORX that has a built in feature that allows you to use any straight edge to cut, which is extremely helpful. Another reason I love this saw is the battery life – you can get many cuts done on one charge. I also used small clamps and a carpenter framing square to make the cuts.
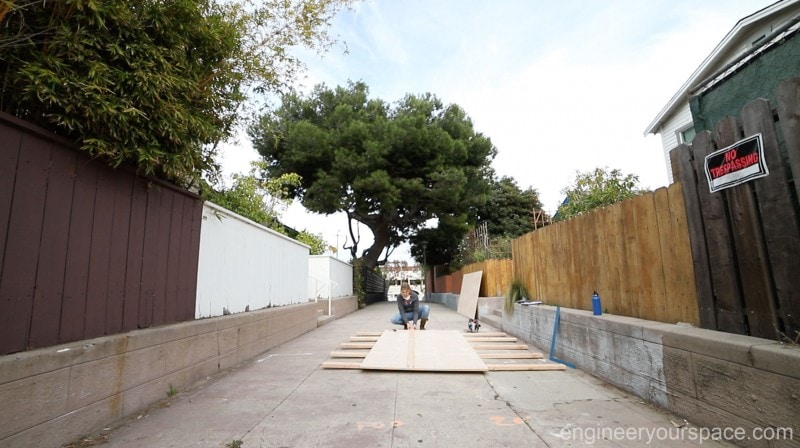
To set up my cutting station outside, I laid down the 2”x4”s evenly spaced out and placed the sheet of plywood on top. By doing this the circular saw blade will cut a bit into the 2”x4” but won’t catch the ground.
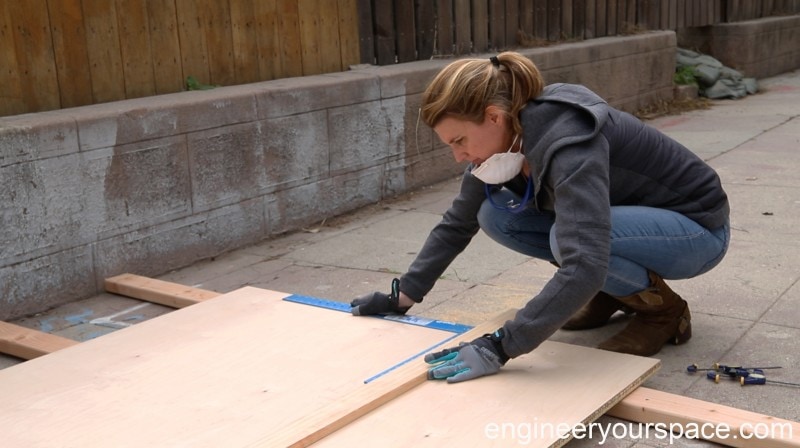
Then I measured and marked the line for the cut I needed to make and clamped the guide on the line. I used the carpenter framing square to make sure the 1”x3” guide is perfectly square.
Tip: it’s important to remember that the saw blade will eat up about ⅛” off the wood, so the guide needs to be placed on the side that you measured (want to keep), otherwise your piece of wood will be ⅛” too short.
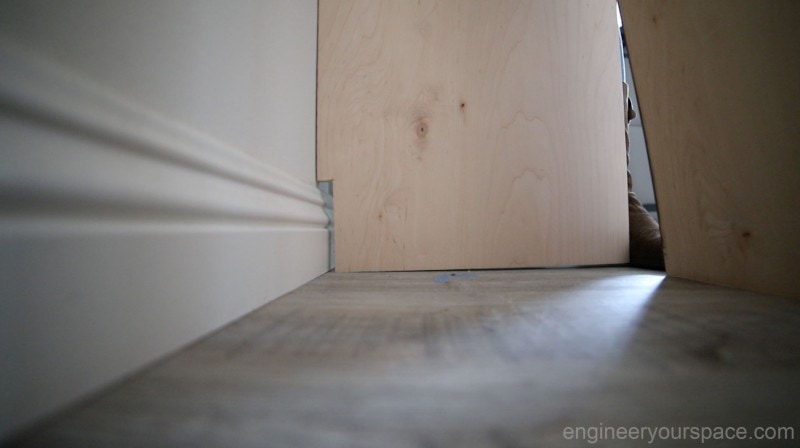
It took me a while to get all the cuts done because I was being extra careful with all my measurements and making sure that everything was square every step of the way, but it was very satisfying once I was done! I brought all the wood inside to get ready for the next steps, which included cutting out a section off the bottom back of the side panels so the cabinet could sit flush against the wall. I used a hand saw to do this but you could also use a jigsaw – it’s much easier to do this before the cabinet is assembled!
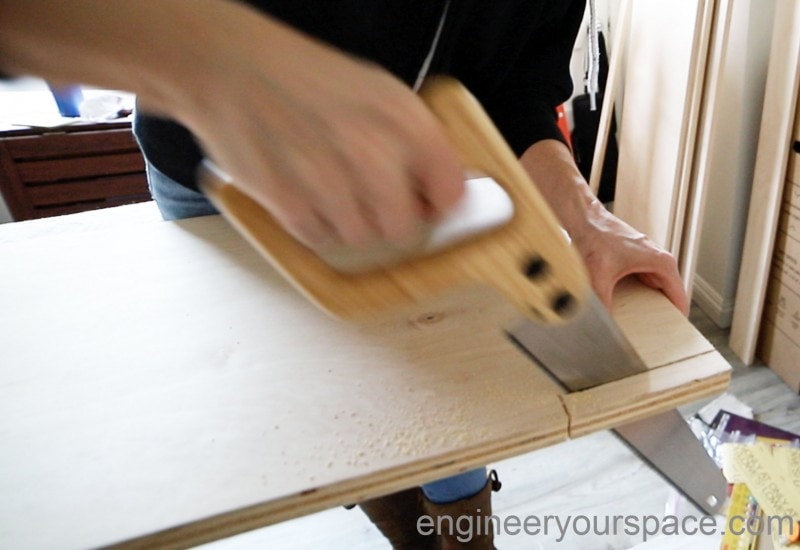
Another way to go would have been to remove a section of the baseboard but that wasn’t an option since this is a rental apartment and I’m sure the landlord wouldn’t appreciate having the moulding taken out.
Side note: If you were using the dowel method to join the pieces, you would need to drill all the holes for the dowels along the edges of each of the components, which can be very time consuming depending on the tools you’re using to do this. Since I’m using brackets and screws to put the cabinet together, I could skip this step. Another reason that I chose brackets and screws is that it will make it a lot easier to disassemble the Murphy bed later – this is very important because it won’t be possible to take the Murphy bed out of this apartment without taking the cabinet apart first.
Step 1c – Adding veneer edging to the plywood edges
While this is fairly easy to do (you will need an iron and a utility knife for this step), it does take a lot of time, especially if you use a utility knife to trim off the excess on the sides, which is what I used. I needed to use some sandpaper to smooth out the rough edges that I sometimes made because I wasn’t precise with the utility knife.
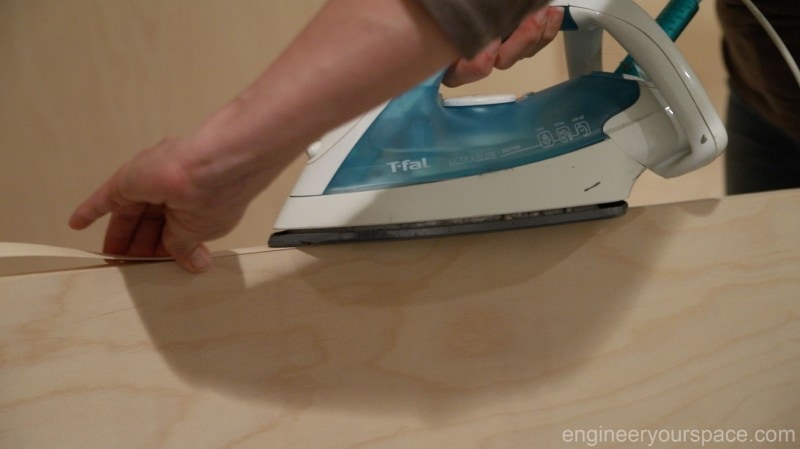
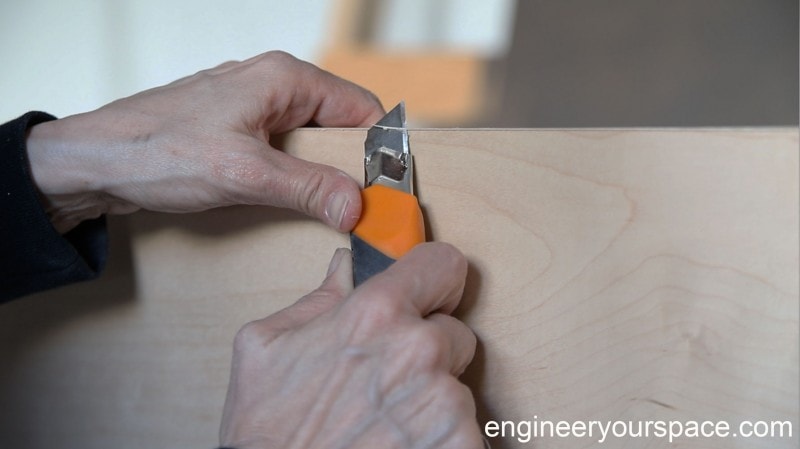
Tip: Invest in a little gadget called a “veneer edge trimmer” – I wish I had done that before taking on this project! It will save you a oodles of time and also do a much cleaner/better job at getting nice flush edges.
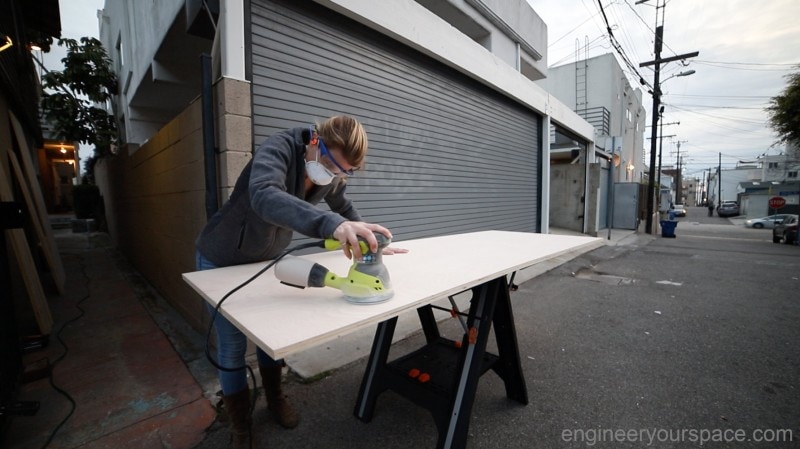
Step 1d – Sanding
The plywood I was using was already sanded but since I was staining the panels, I wanted to do some more sanding to get the smoothest surface possible. I didn’t want to sand inside so I used my portable WORX table to set up an impromptu workshop outside.
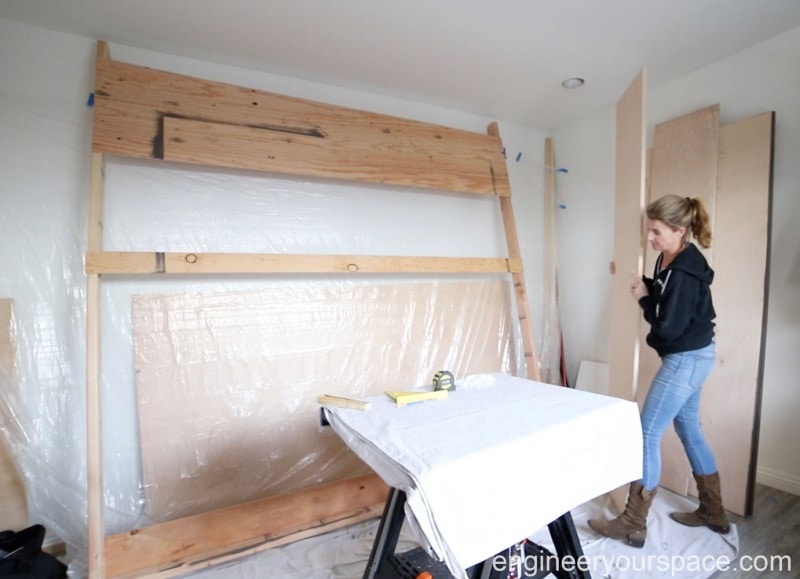
Step 1e – Staining or painting
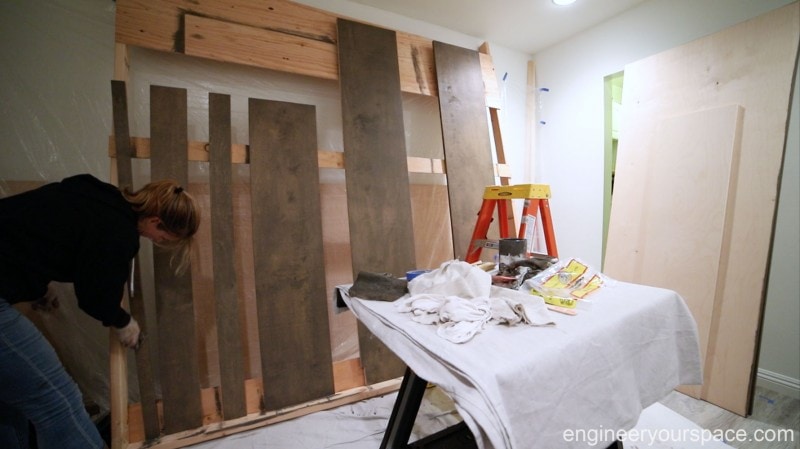
Once all the pieces were sanded, it was time for staining. It wasn’t practical to do this outside and there wasn’t enough floor space inside to lay out all the components on the floor of the tiny studio, so I channeled my inner MacGyver and improvised by building a staining rack out of 2”x4”’s and ½” plywood.
I also used some tarps to protect the floor and the wall, some painter’s tape and rags for applying the stain. I still had to do 2 batches and staining proved to be a bit tricky (it’s not my strong suit!) – it didn’t turn out as nice as I would have hoped but the final look was still nice. I do love the color of the stain – it’s from Varathane and called Briarsmoke Premium Fast Dry Interior Wood Stain. Again, this step isn’t necessarily difficult, just time consuming because I needed to allow for drying time in between coats (I could have stopped at one coat but I wanted a deeper color).
I chose to stain the outside of the cabinet and to leave the inside not finished because I knew that I wanted to paint the inside a different color to create the effect of having a different room when the bed is down. Since I wasn’t sure what I color I wanted to use, I will do that to the end when the Murphy bed is build and installed.
Tip: It’s definitely easier to paint and finish all the wood before assembling it, but the downside is that the components do need to be handled a lot during assembly so be prepared to do a few touch ups after it’s done.
Now it’s time to move on to step 2-6: mounting lift mechanism and assembly. I learned a few things while doing this as well, which I’ll share in my next blog post in the “Building a Murphy bed” series. Best way to not miss it when it’s published is to subscribe to my newsletter if you’re not already signed up!


0 Comments