One of my most pinned projects is the tension rod trick I used in my kitchen to hang things above the sink – it’s a great way to keep things off the counter.

Another thing I did that totally upgraded my kitchen is to add under-cabinet lighting – it’s so much nicer to cook with good task lighting! The one drawback is that I used 2 different light kits – the one above the sink wasn’t as bright as I would have liked and I needed to turn on each one individually. Not a big deal, just a bit inconvenient.

So when Parmida offered to send me their ultra thin under cabinet lights to review, I was really excited to give them a try. Each under cabinet light kit comes with six ultra thin light bars – they are very well made and attractive so they are perfect for when there isn’t a ledge to hide the lights.

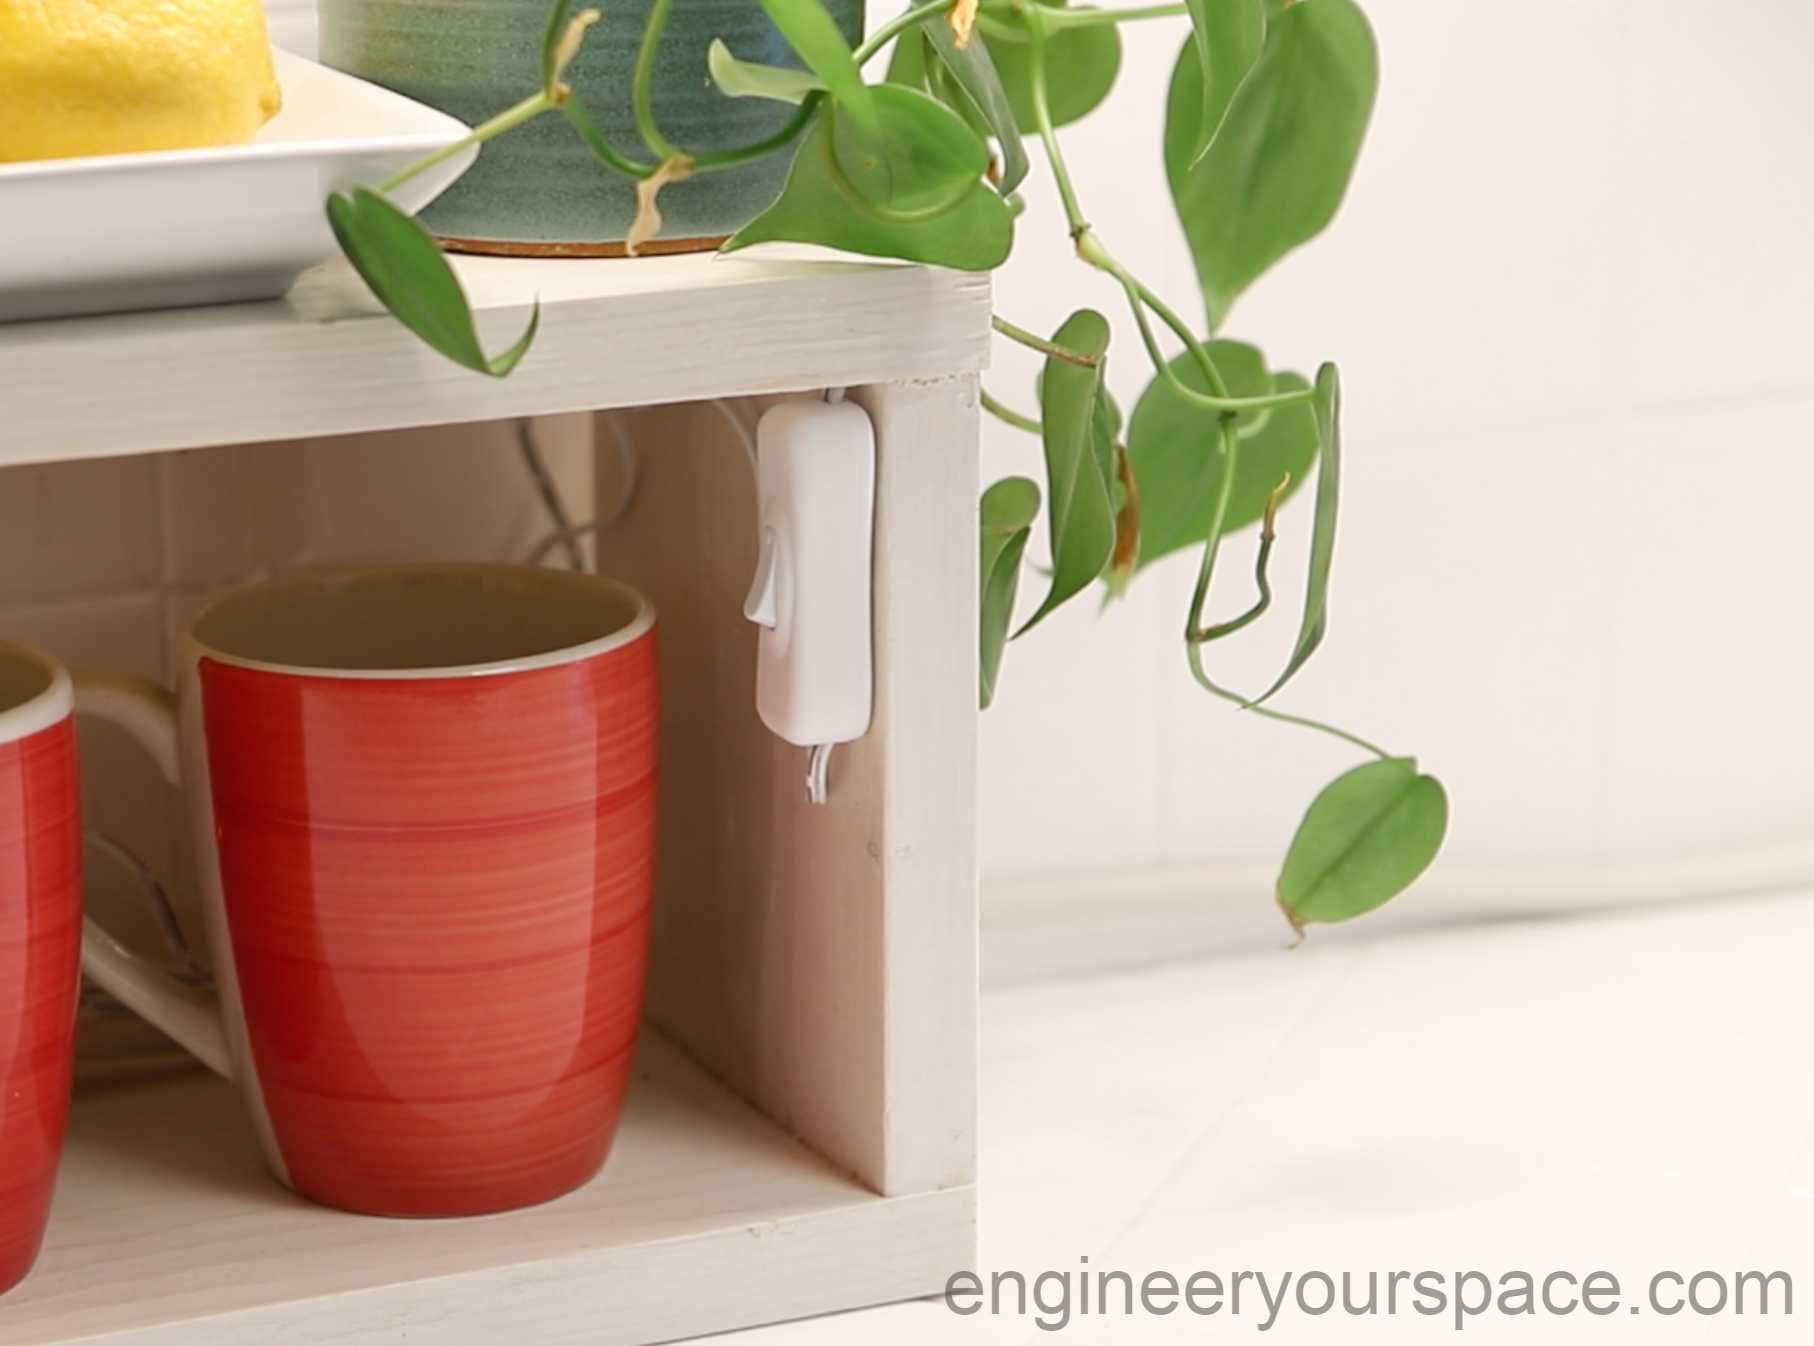
Every light kit also comes with 2 switches – an on/off switch and a dimmer switch.
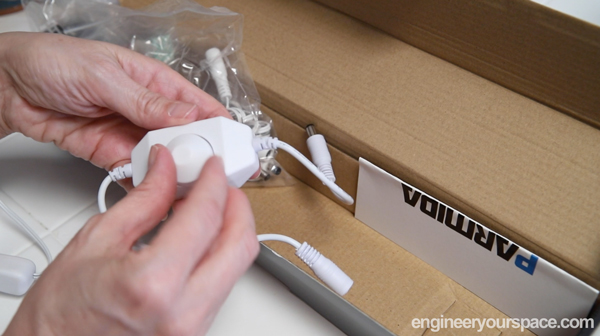
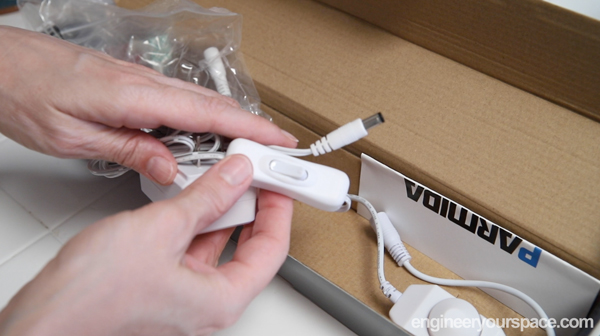
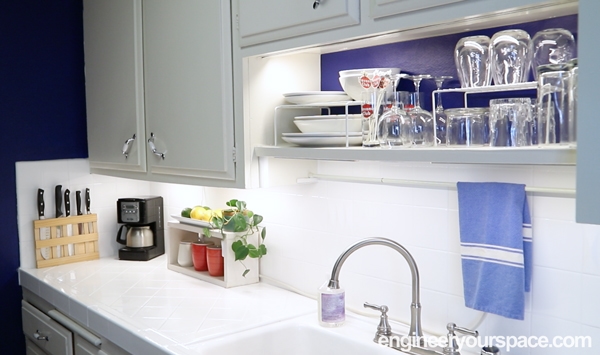
The kit also comes with many cable extenders so with one kit, I will be able to light up under the cabinet, and above the sink, plus I will be able to add lighting to the open shelving which will really brighten up that whole area.

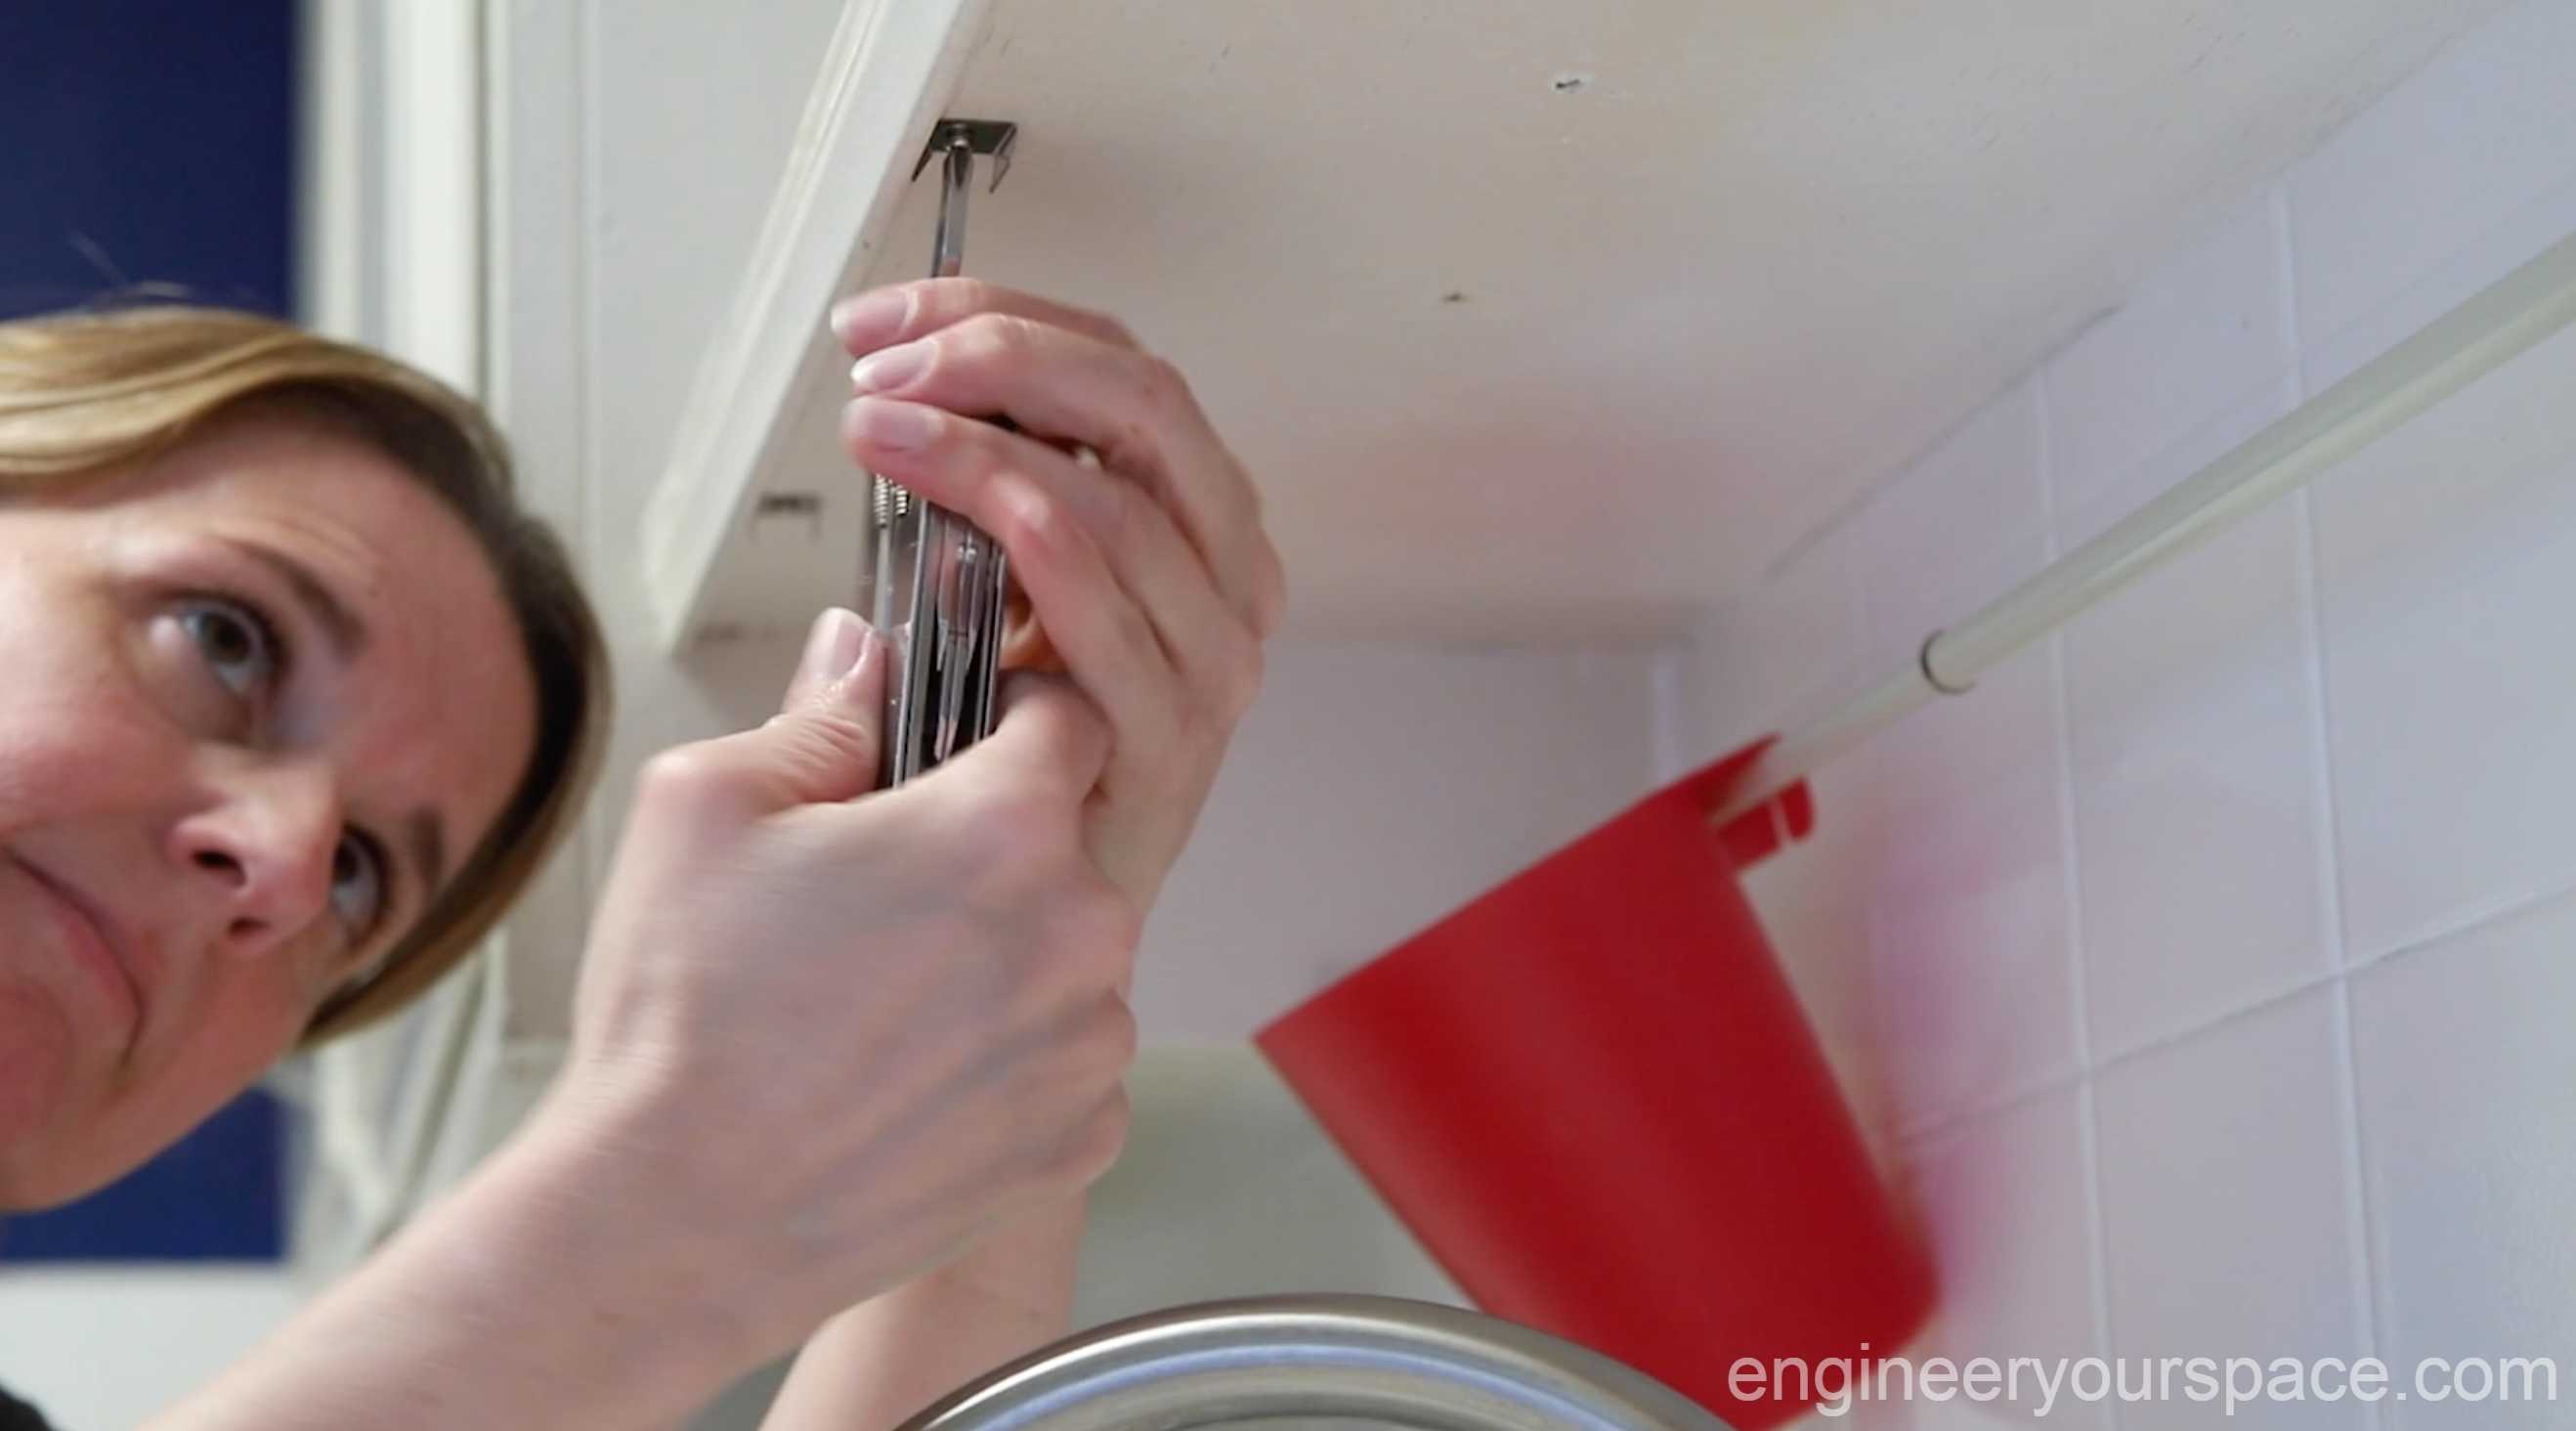
The first thing I did was remove the existing under-cabinet lights.
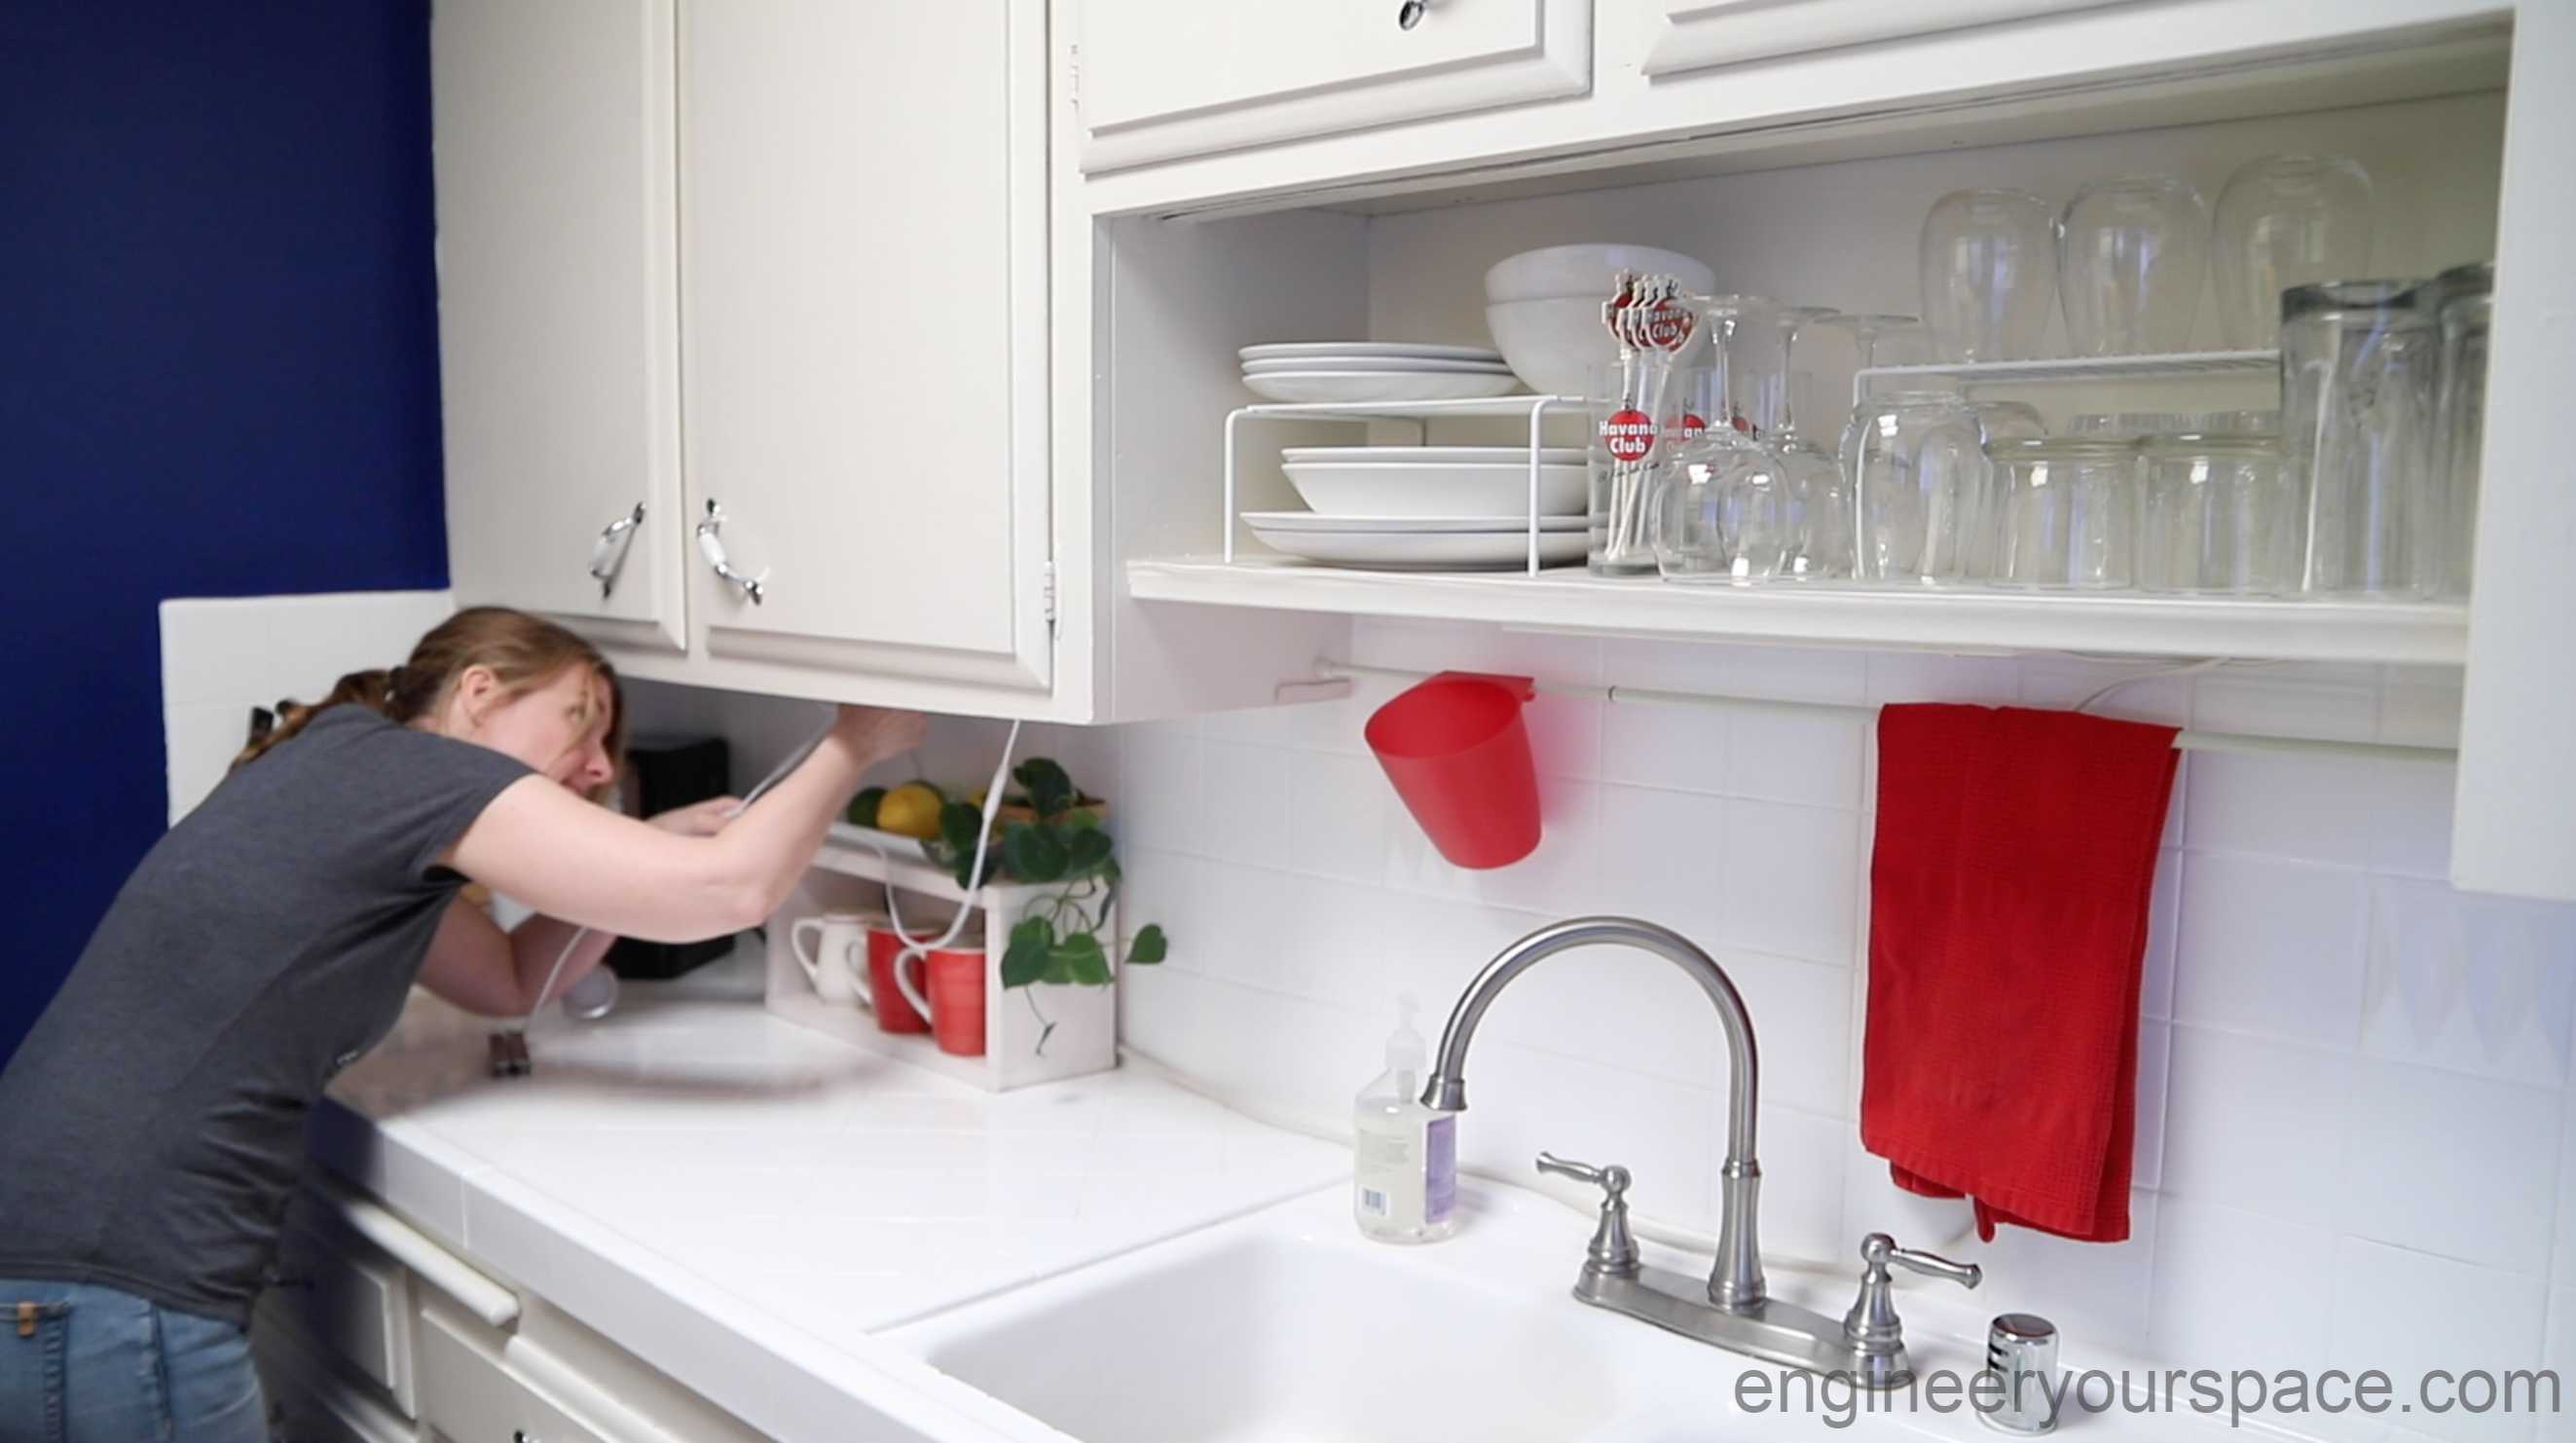
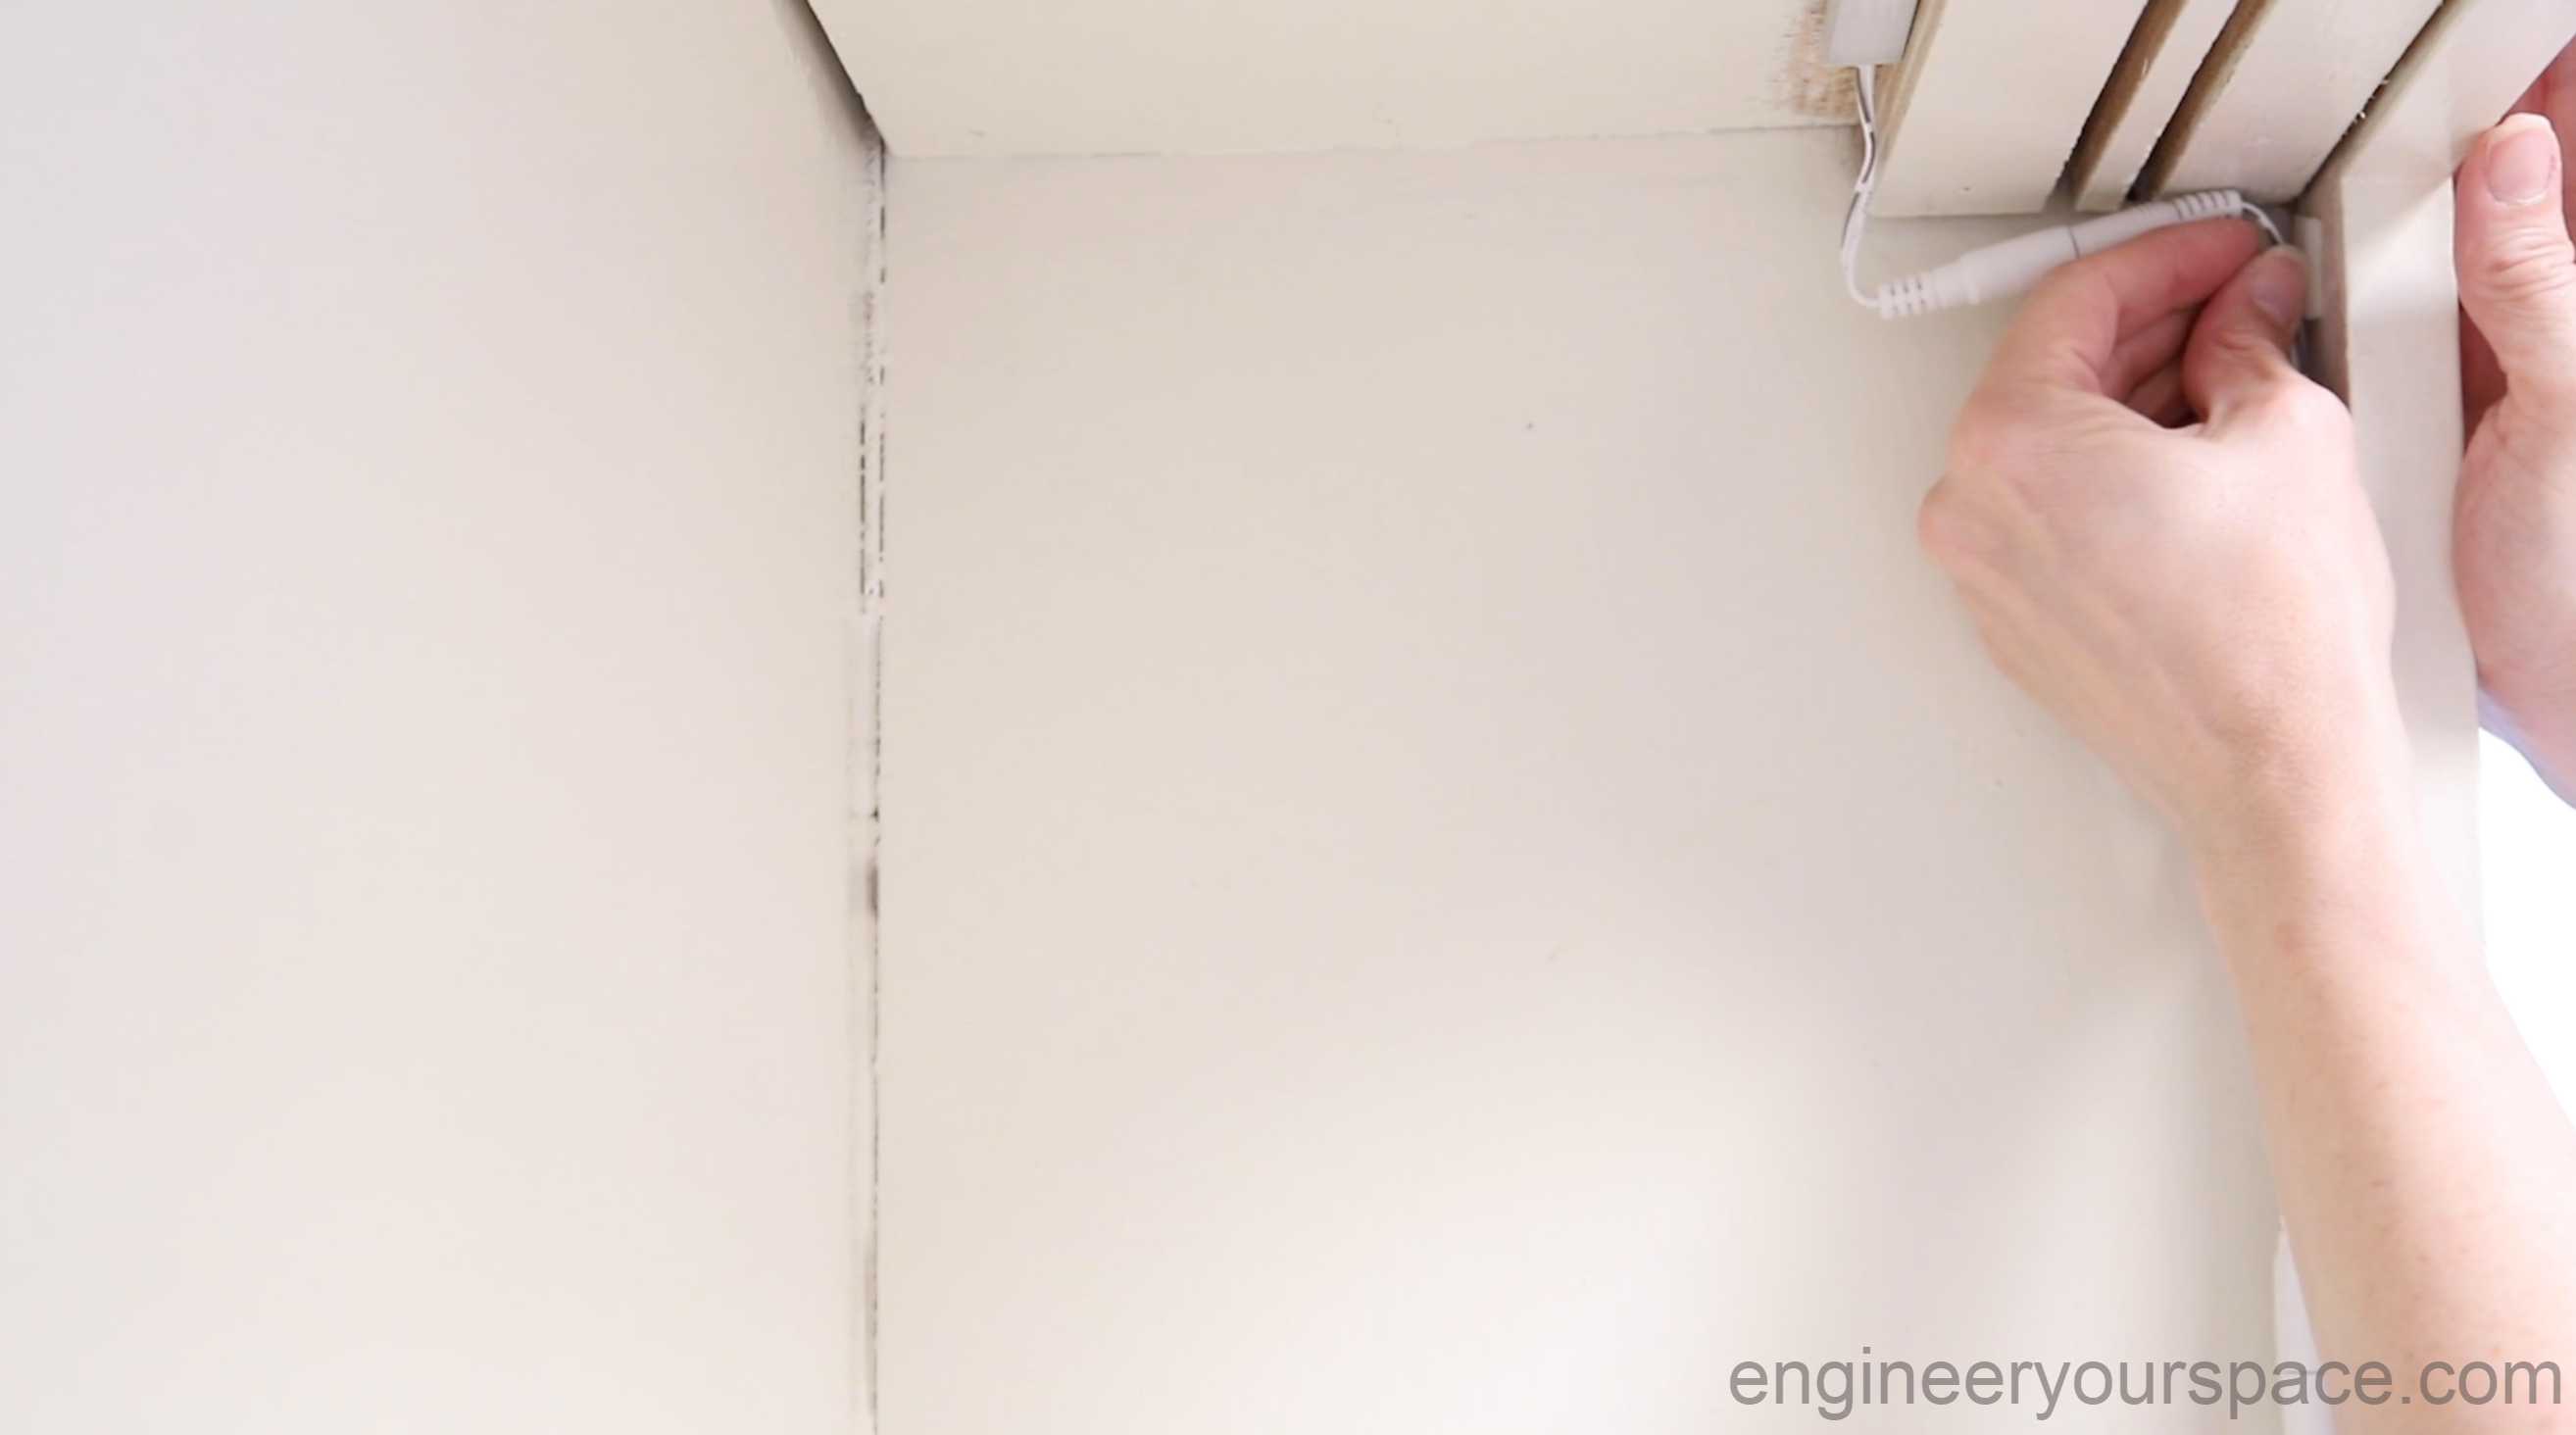
The installation is very easy, especially with all the hardware that’s provided with the lights. You can use clips or double sided tape to install the lights. I used tape for the open shelving lights because it was a bit tricky to install the clips on the underside of the cabinet.

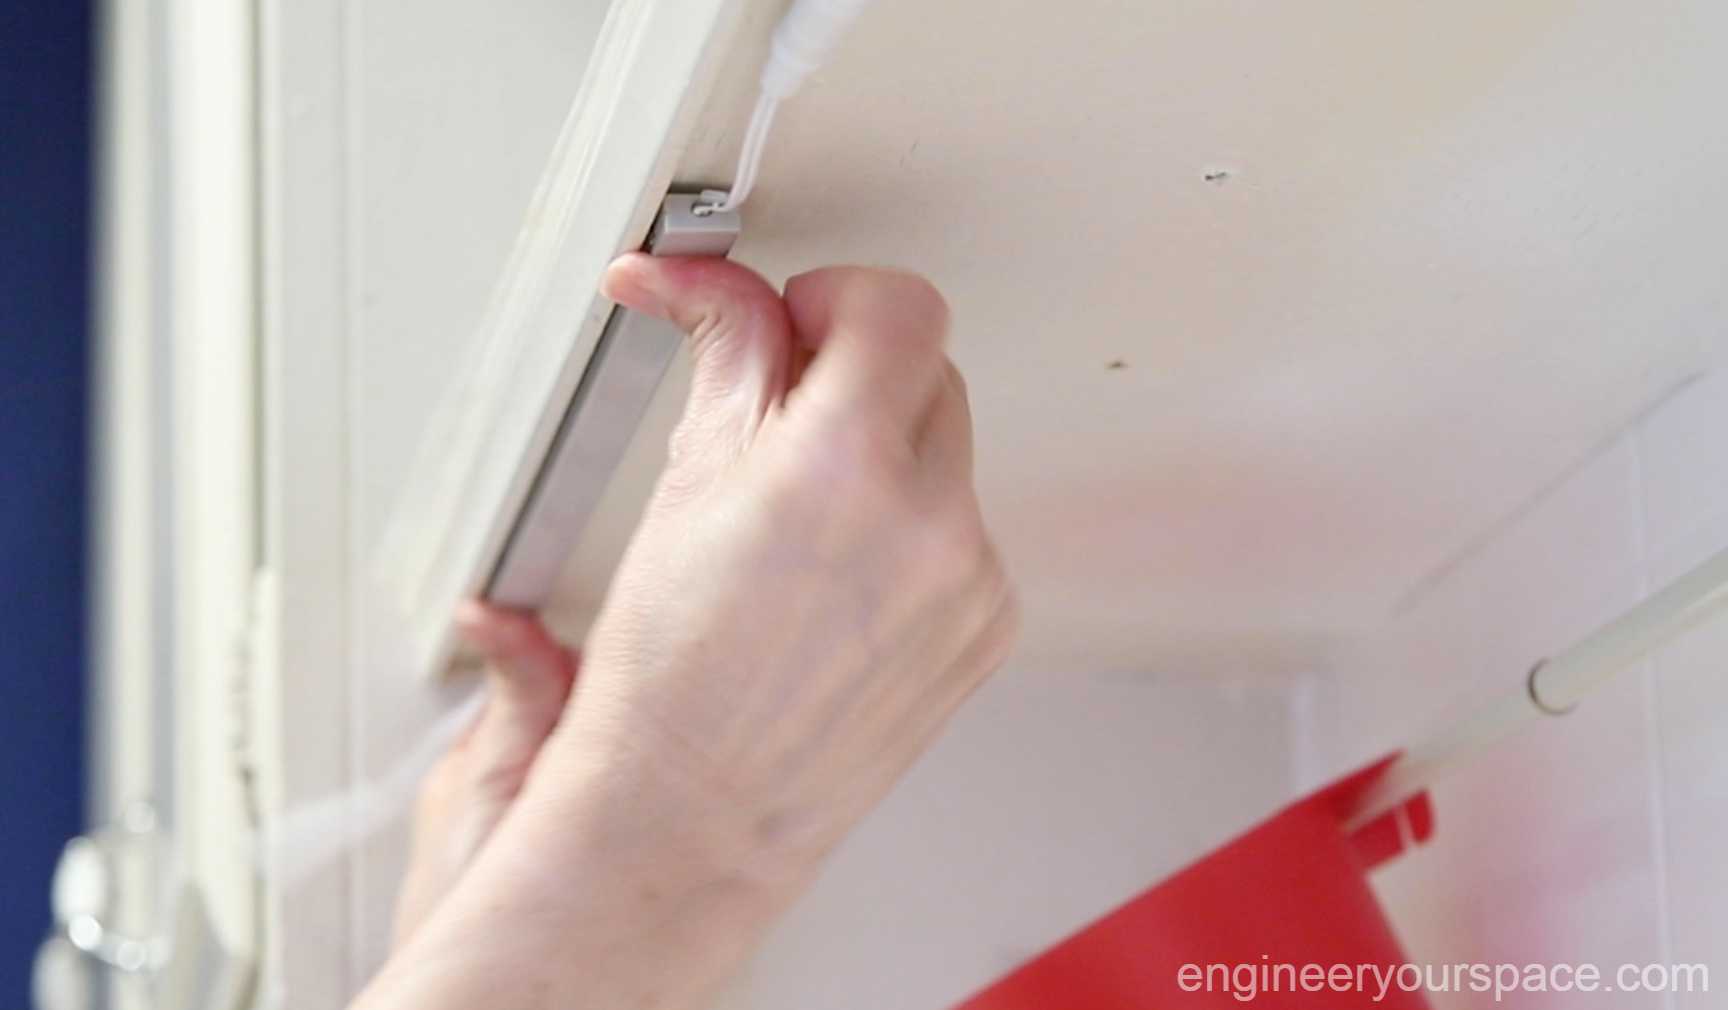
That wasn’t an issue under the cabinets so there I use the clips. After marking where the clips are going to go. I used the nail to make a small hole – this makes putting in those tiny screws a little bit easier.
Then the lights just snap in place really easily.
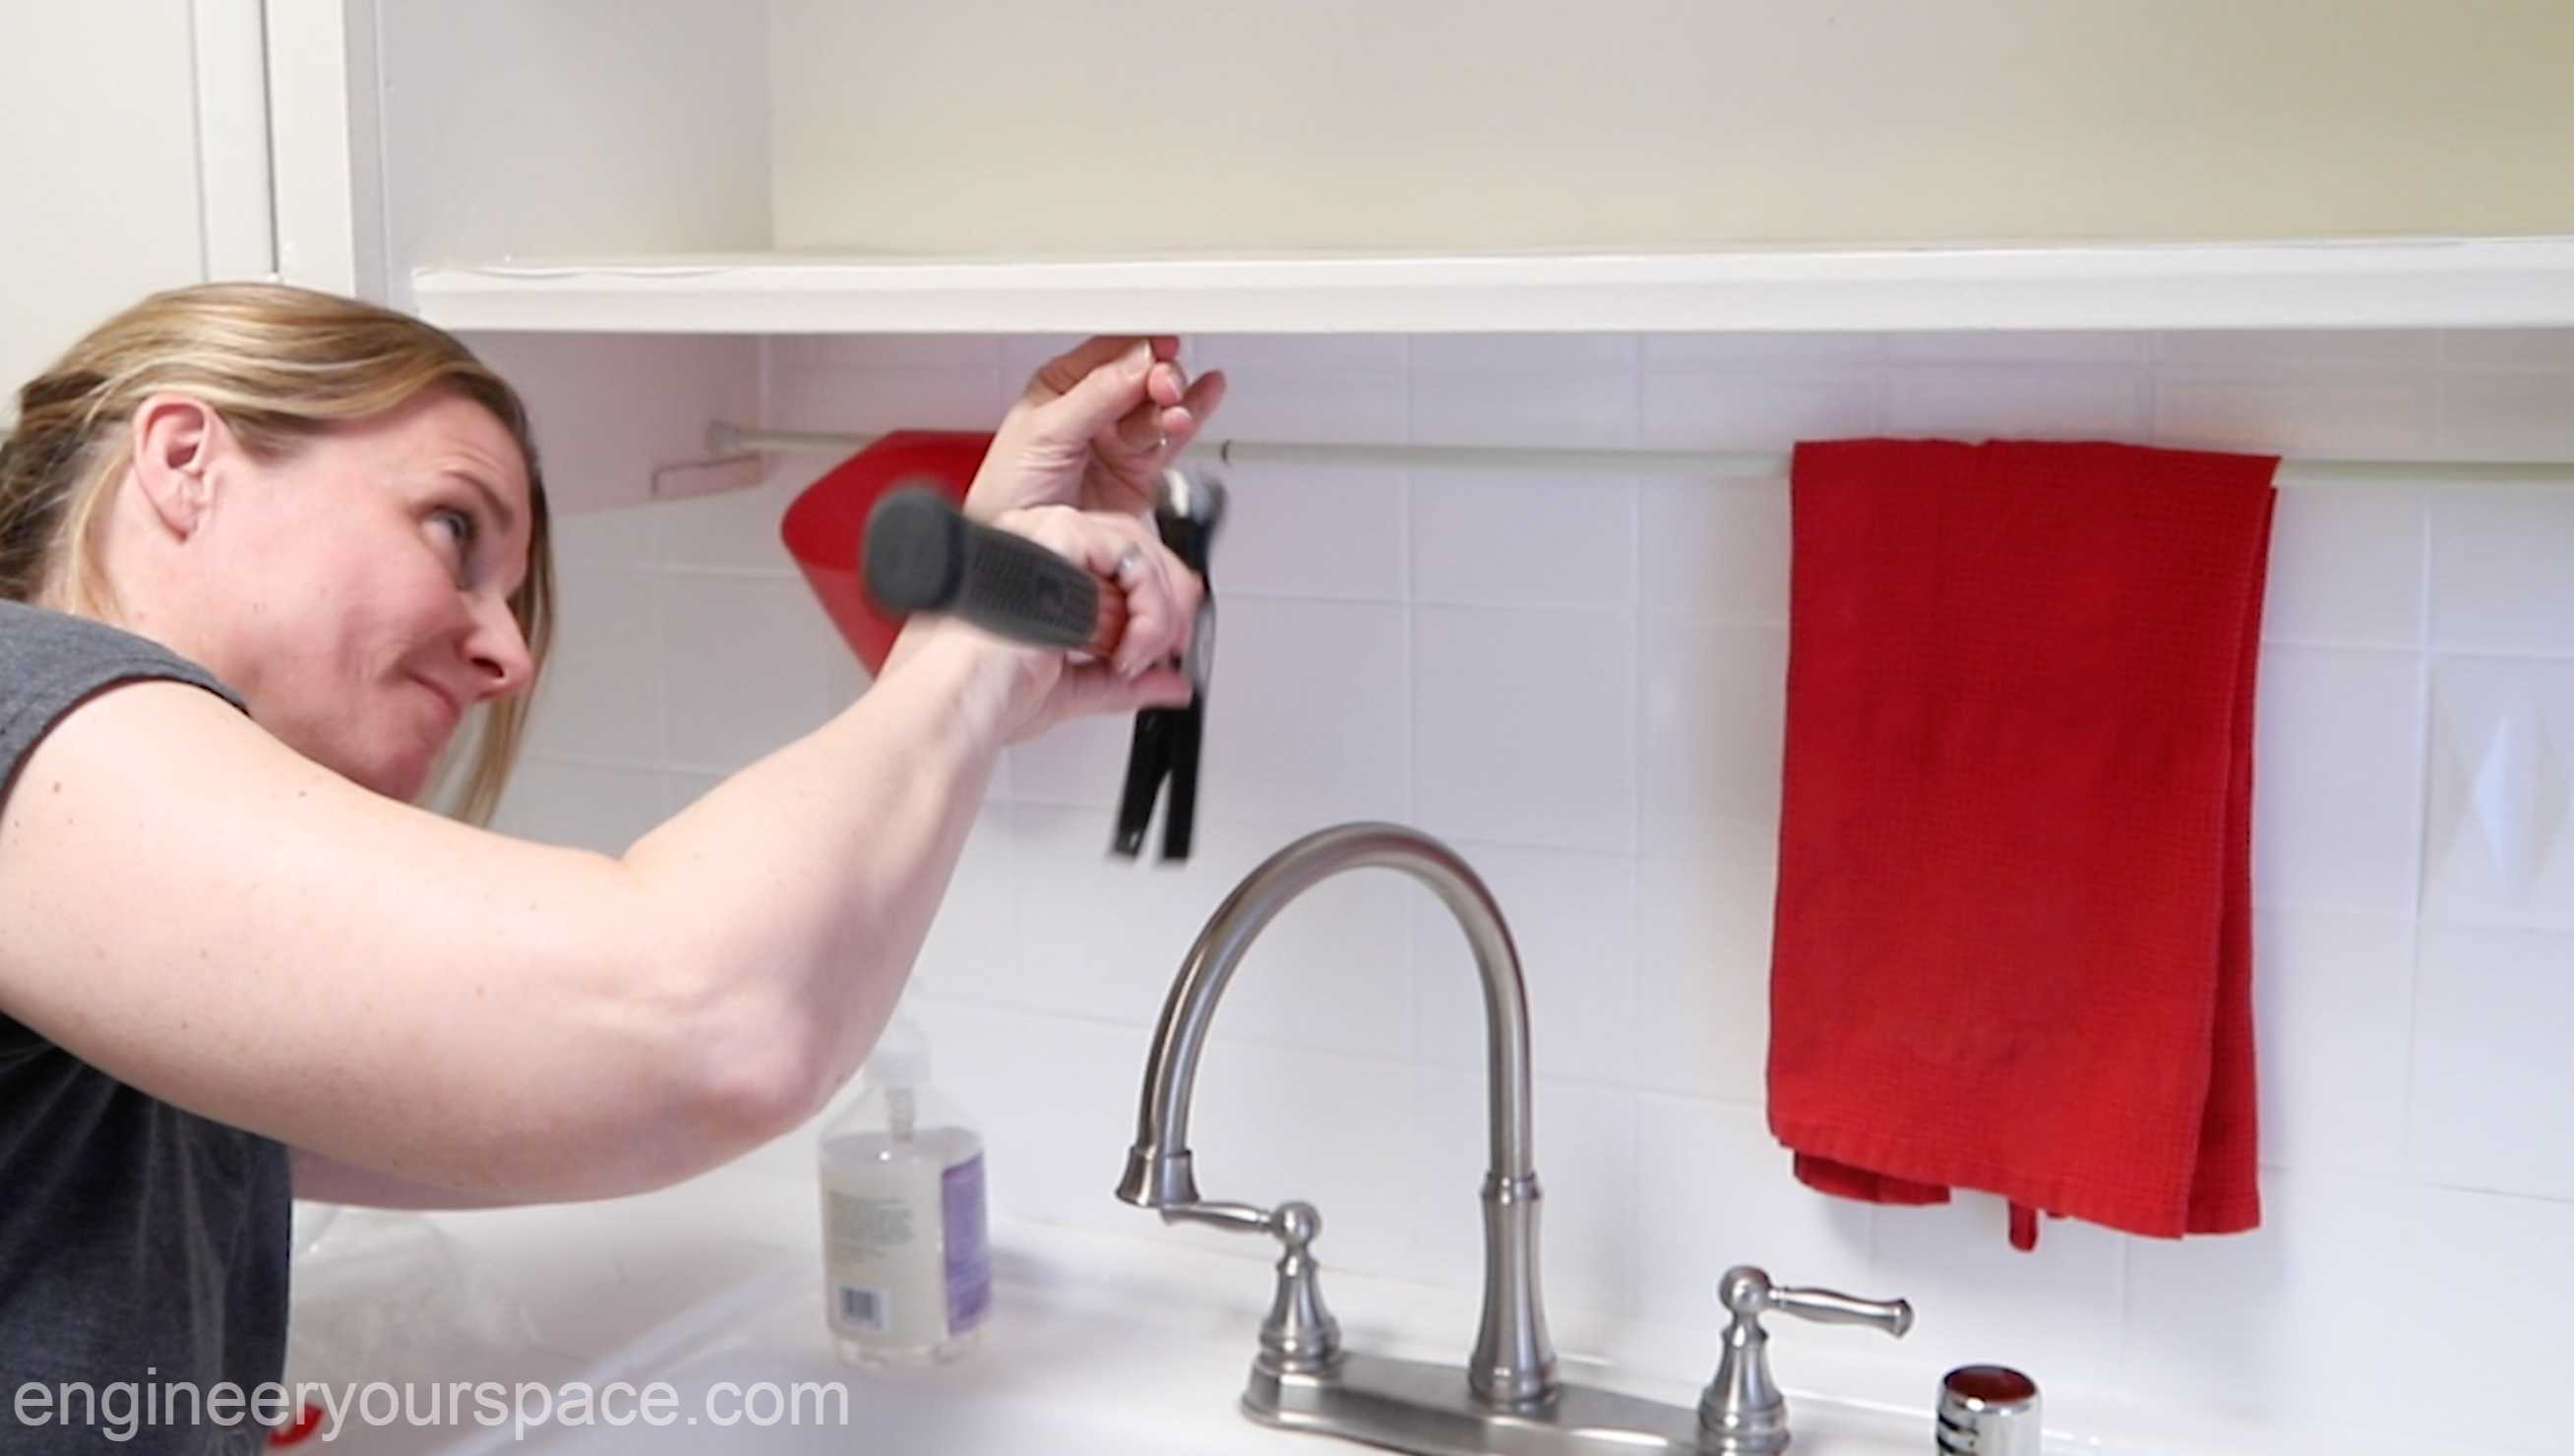
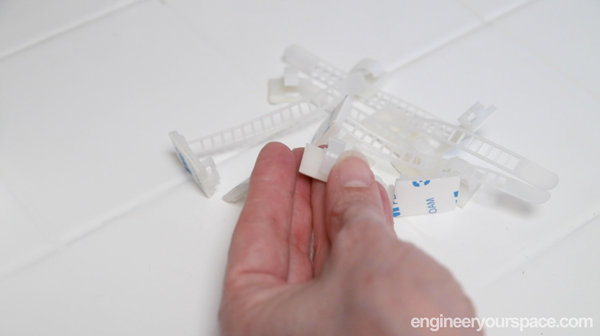
It’s really nice to also have all the hardware needed to secure the cables, not something that is usually provided with these types of lights. Makes it very easy to have all the wires be neat and tidy.
These lights are really well made and they’re backed with a five year warranty so you know they’re really built to last. They are so much brighter than the other lights I had and having the open-shelving with lighting also made that whole area a lot brighter!

Plus I really like having the option to use the dimmer or the on off switch to control the lights.
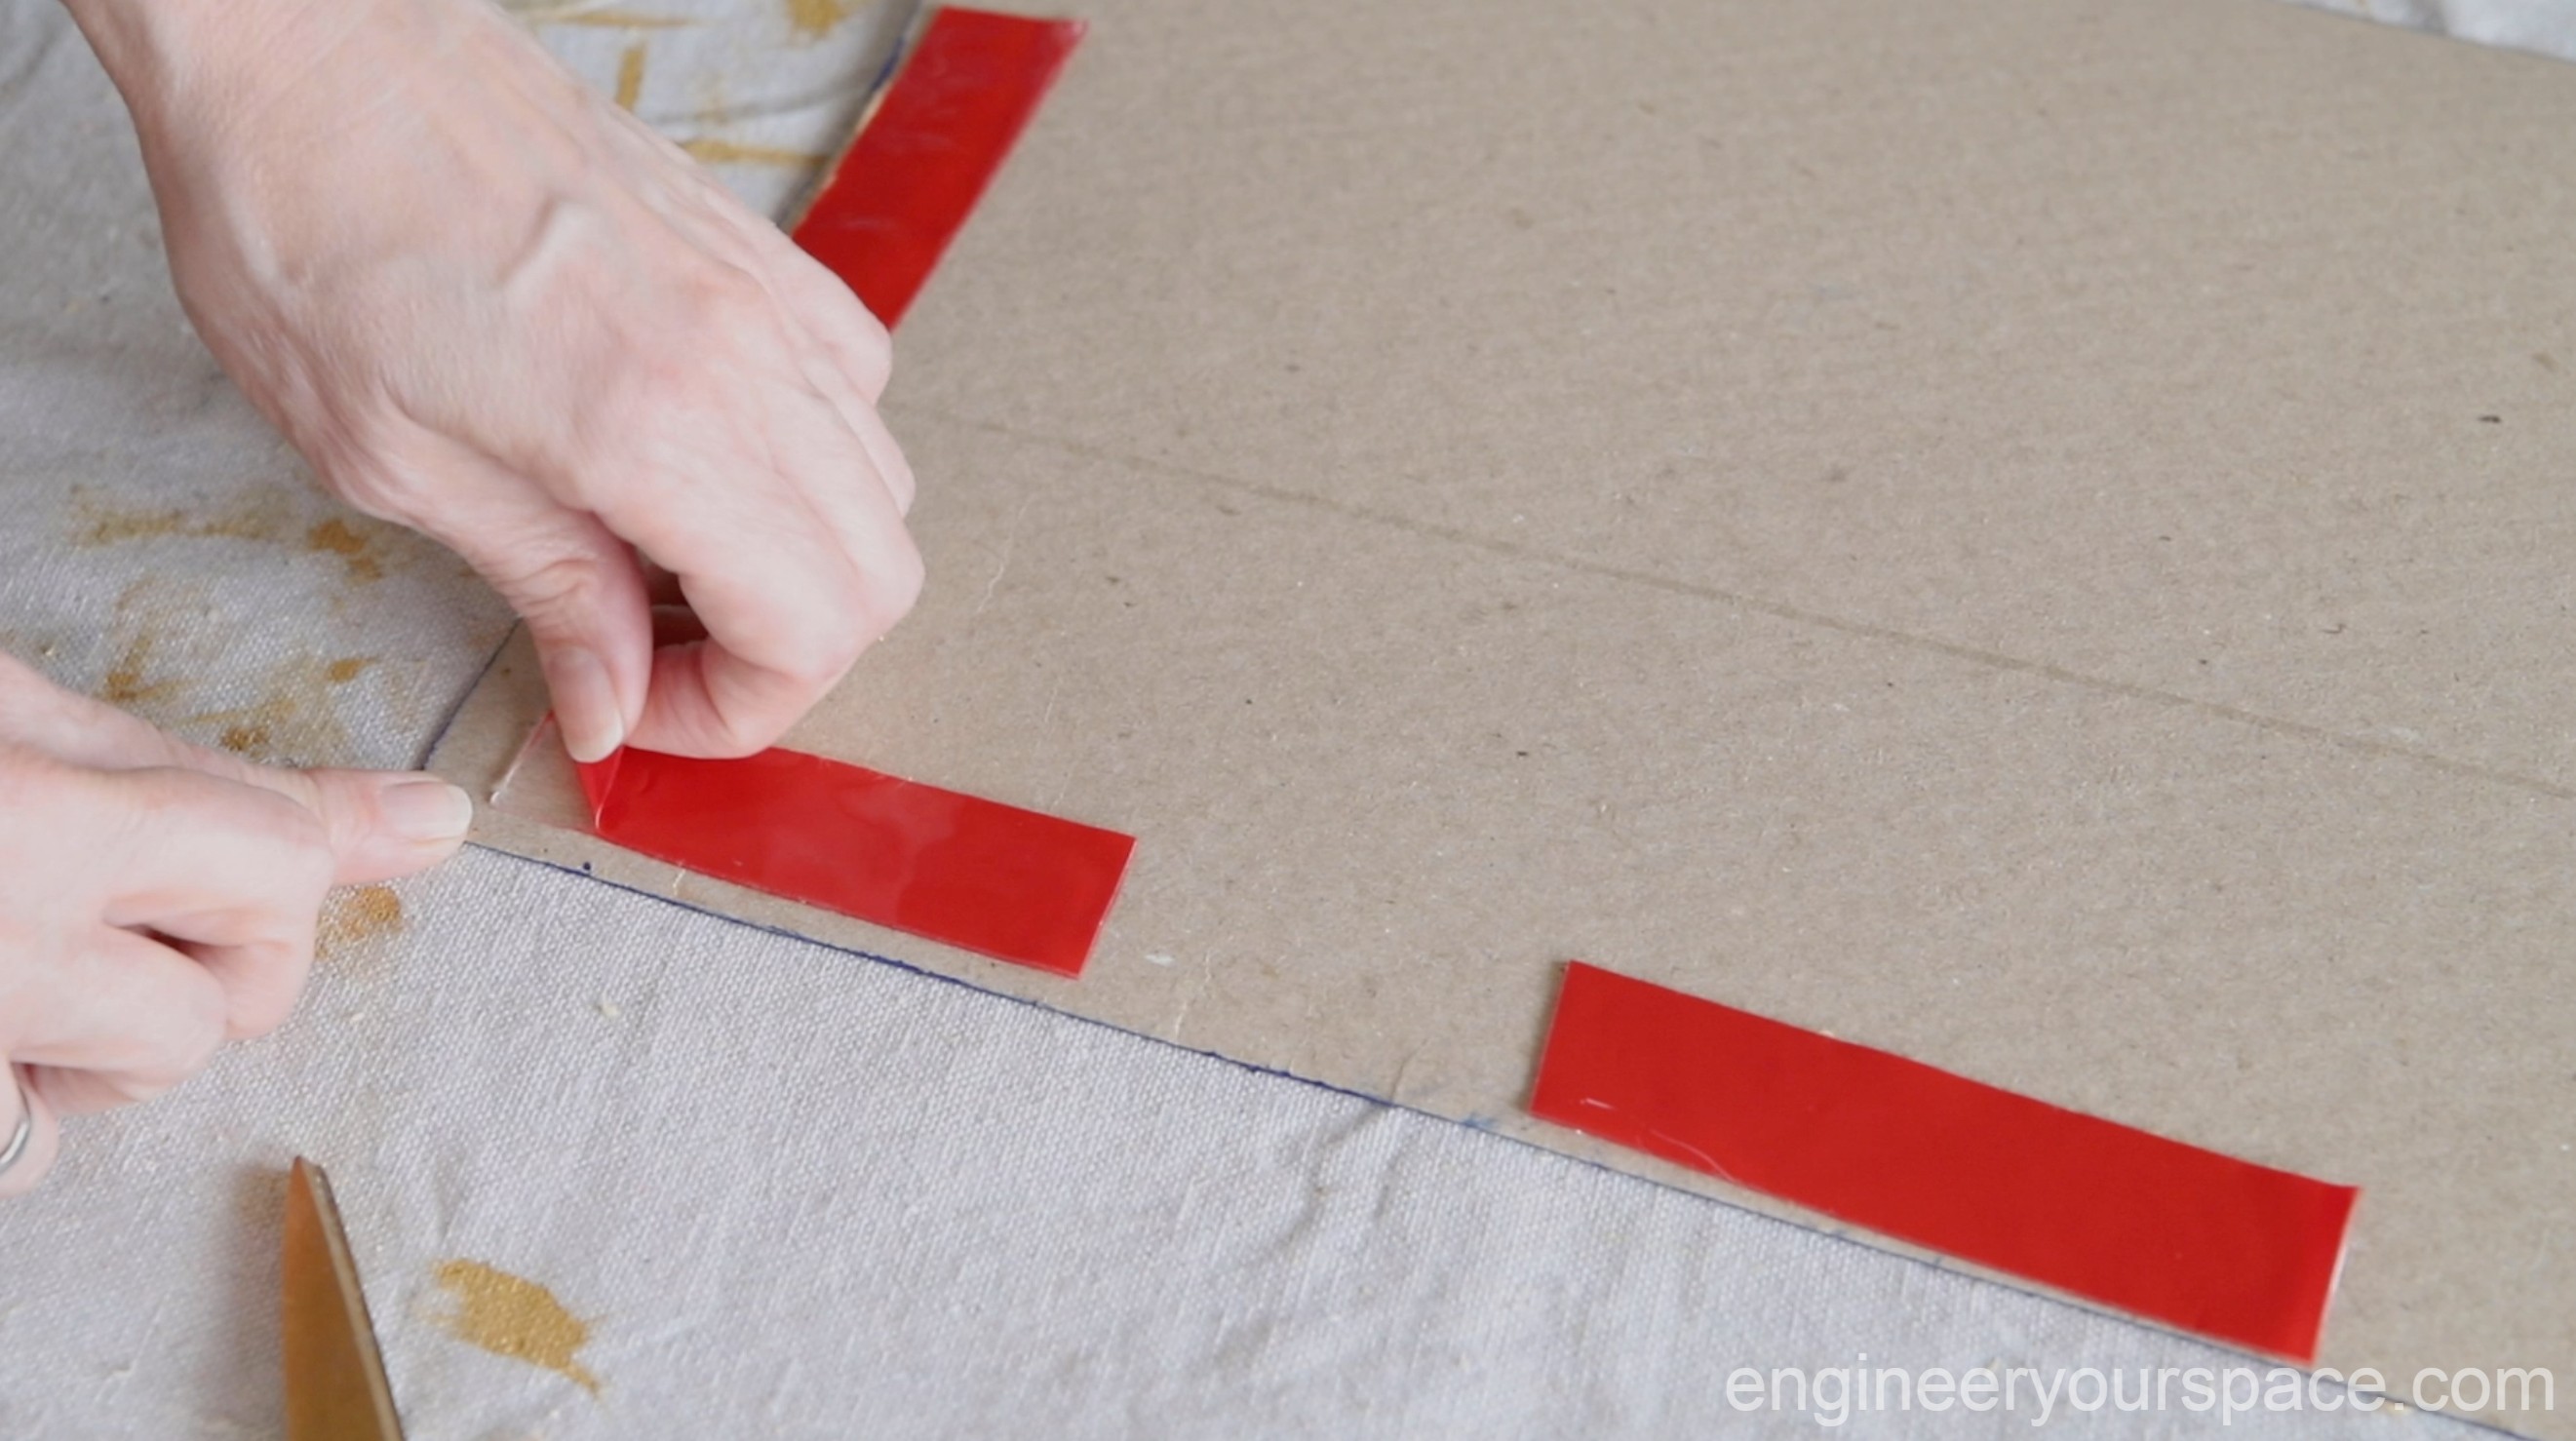
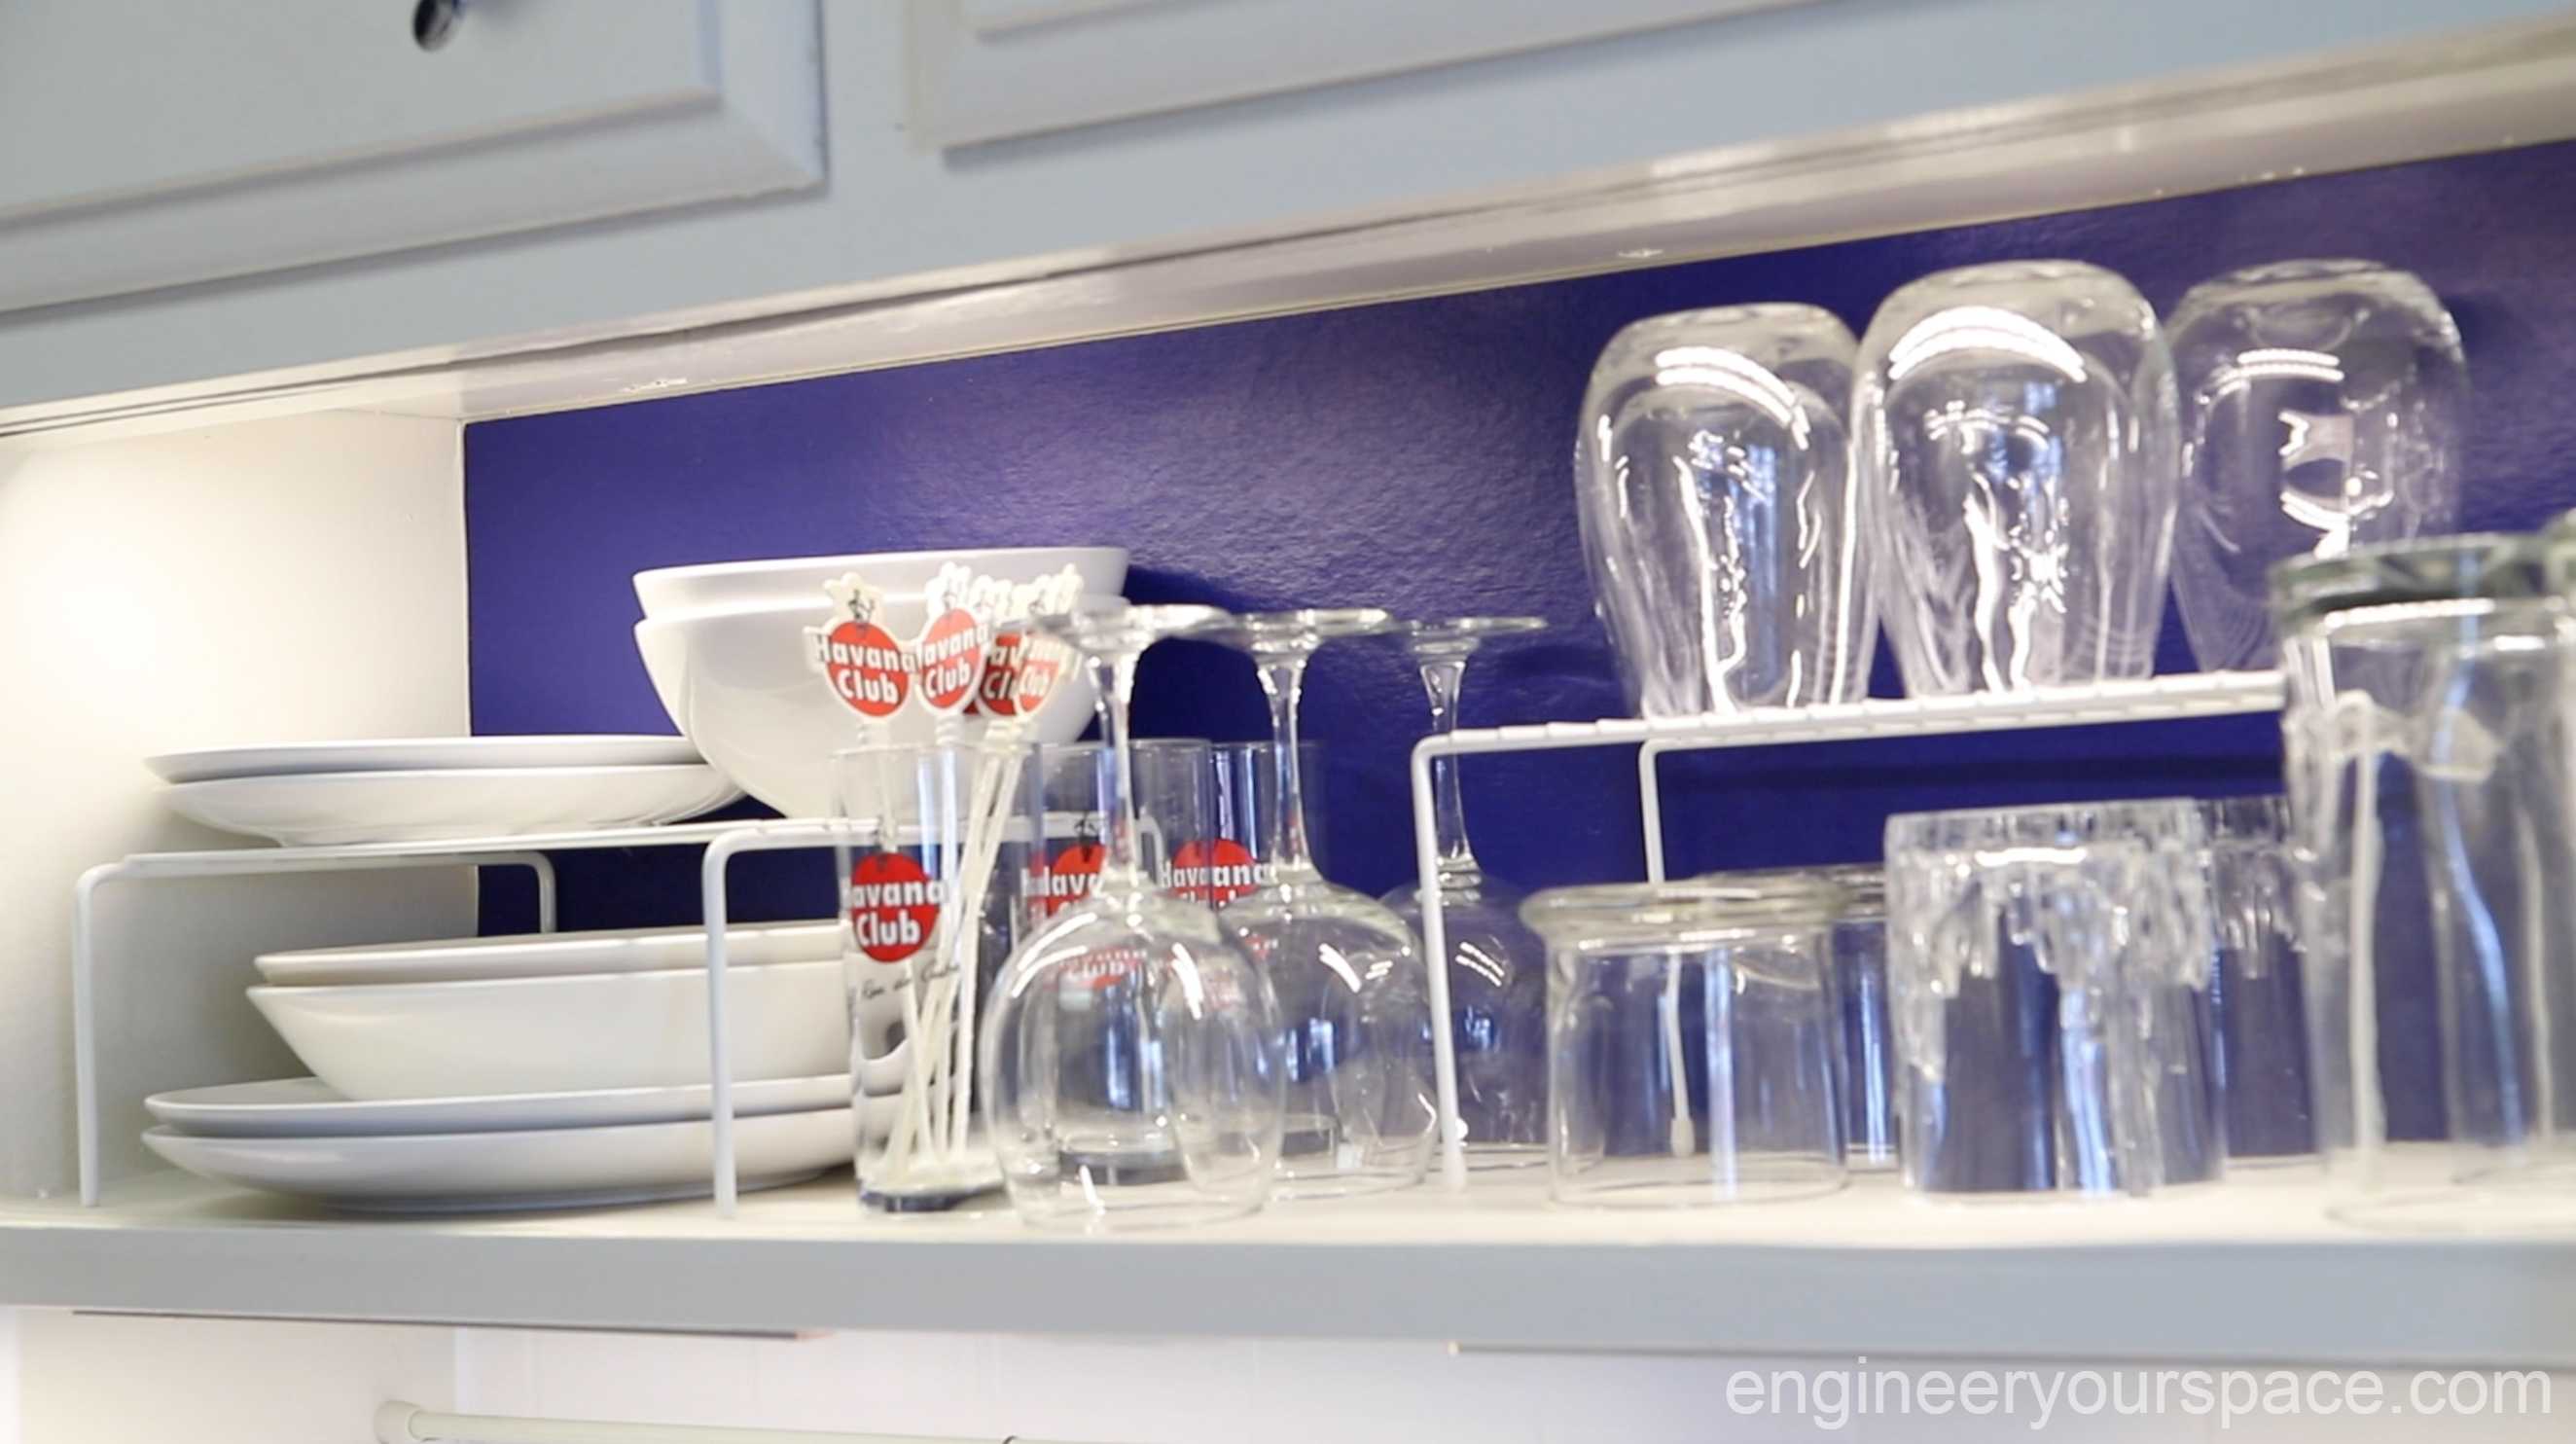
I could have stopped here but then I got the idea to add a blue background to the open shelves to match the accent wall. I didn’t want to paint the cabinets so instead I painted a leftover piece of RAMboard (essentially thick cardboard you can paint) that I had on hand from my bedroom black accent wall project.

Then I used removable double sided tape to secure it to the back of the cabinet.
I love how the blue makes the white dishes and glassware pop. And I think I actually prefer it to just all white, what do you think?
Here’s a video that shows the light installation and also how I used them to make a lighted coat rack and upgrade the lighting in my home office.
* this content was sponsored by Parmidaled – all thoughts and opinions are my own *


0 Comments