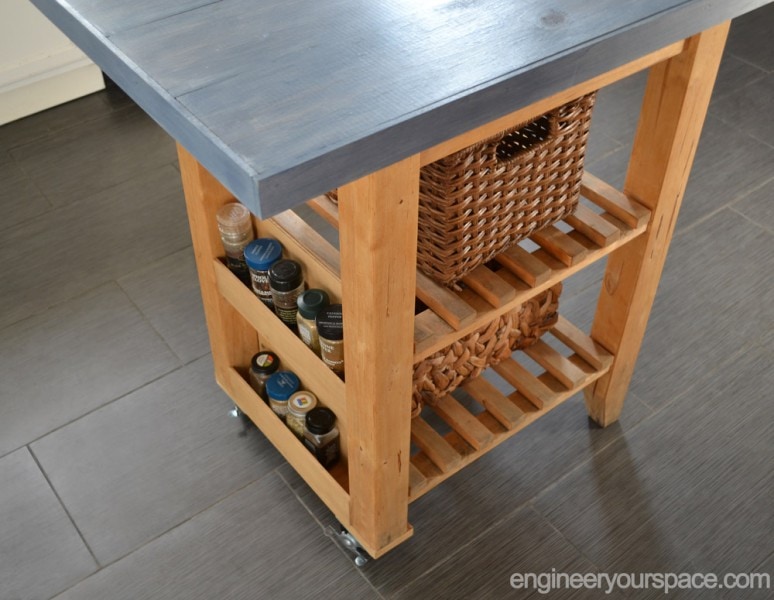
While working on a rental kitchen makeover for some friends, I needed to find a kitchen cart or island to add more counter space for food preparation. I considered buying a new a new island or building one from scratch but I opted instead to reuse an old IKEA kitchen cart that my friends already had. It was in pretty bad shape but I knew I could bring it back to life, and also make it even better by customizing it to work with the new look of the kitchen. I couldn’t be happier with the end result and the cart fit in perfectly in the new kitchen!
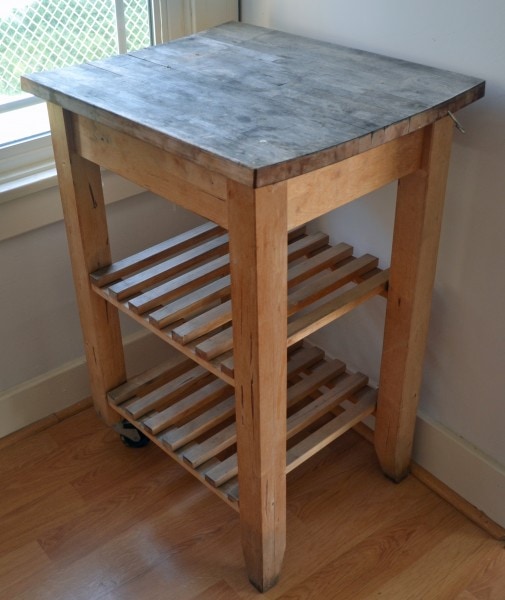
It started off looking like this and definitely had seen better days.
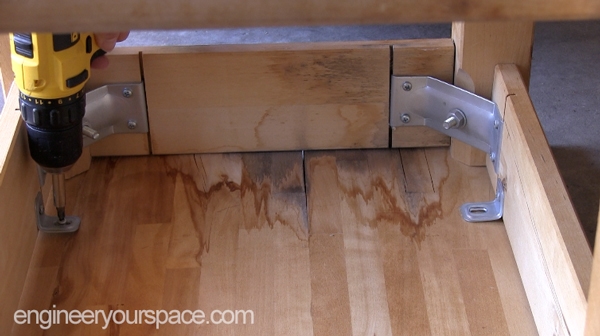
Step 1: Removing the top
I removed the top by unscrewing it from the existing brackets – very easy.
Step 2: Replacing the old casters
The existing casters were worn down and didn’t work anymore so they needed to be replaced.
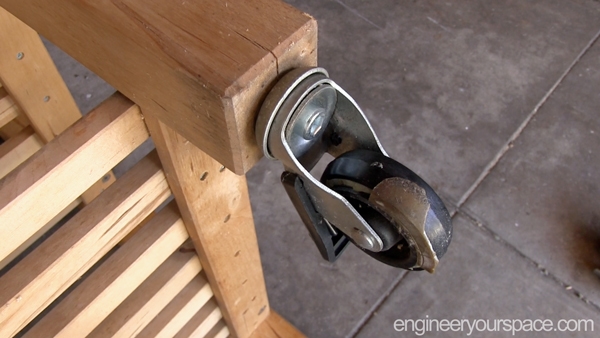
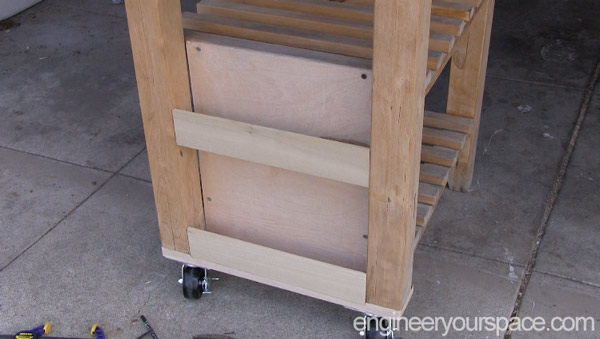
Because the new casters I bought were shorter (2 ½” inch ones) and had a bigger base, I needed to do a MacGyver fix: I screwed a piece of ½” plywood to the bottom of the legs and used that to secure the new casters to.
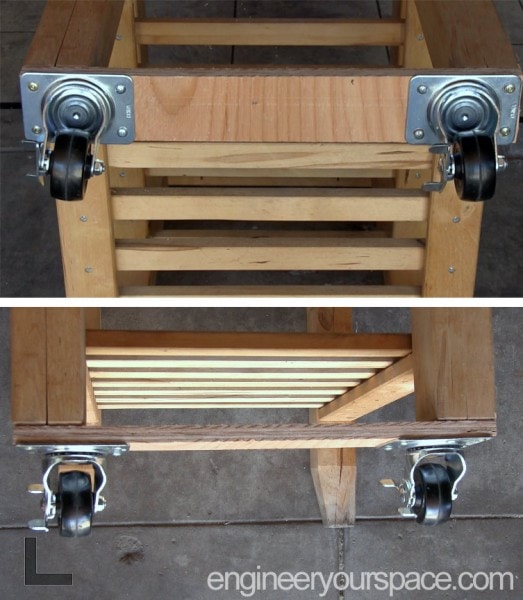
Step 3: Making the spice rack
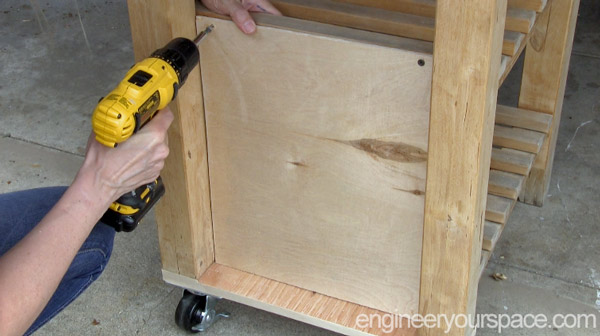
The MacGyver fix for the casters created a shelf of sorts and it gave me the idea to use the space to make a spice rack. I had lots of wood left over from other projects so I used that to make it. First I added some wood edging to pretty up the sides of the plywood. Then I attached a piece of ¼” thick plywood to the existing shelves to make the back of the spice rack.
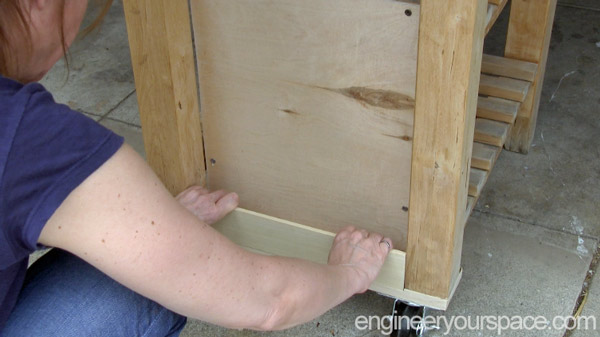
For the bottom shelf, I simply glued a ¼” thick 3” wide pine board wedged between the legs.
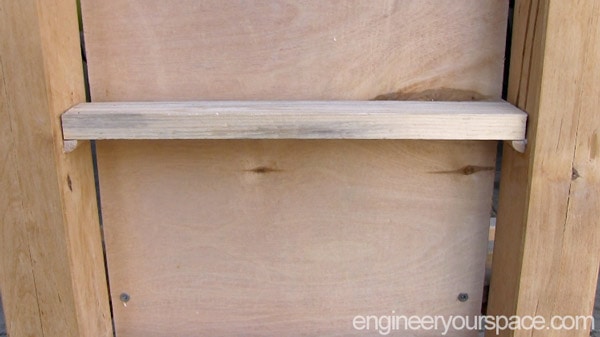
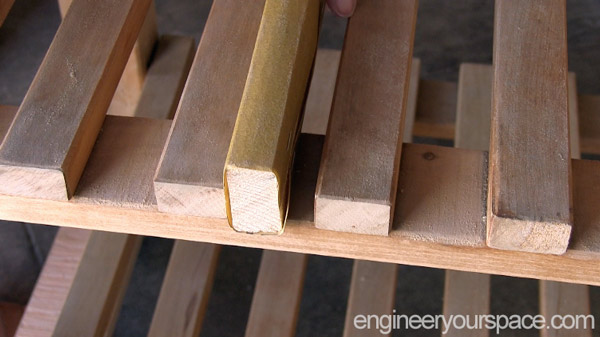
For the top shelf, I used small pieces of quarter round molding as supports for 1”x2” and then I glued another piece of ¼” thick 3” wide pine board to complete the shelf.
Step 4: Sand and stain the base of the cart
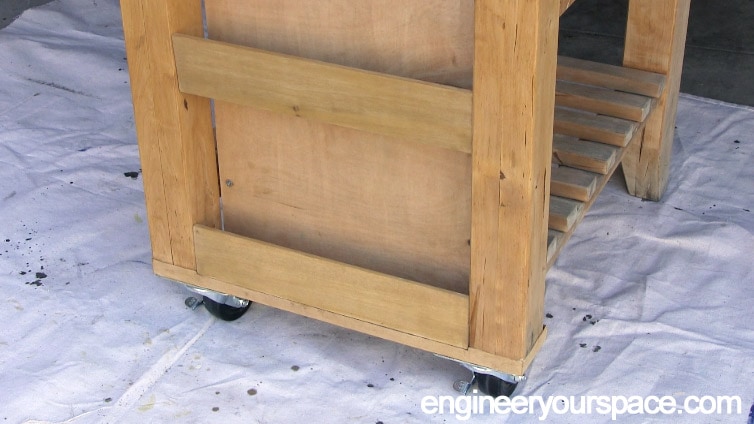
By using all the different types of wood for the spice rack, the side of the cart looked a bit like a frankenstein.
But by sanding the cart and staining it, it all blended nicely. I used an antiquing stain I had from IKEA that I don’t think they make anymore.
Tip: I made my own sanding blocks by stapling sandpaper to scrap pieced of wood – works like a charm and it’s a lot cheaper than buying sanding blocks.
Step 5: Building the new top
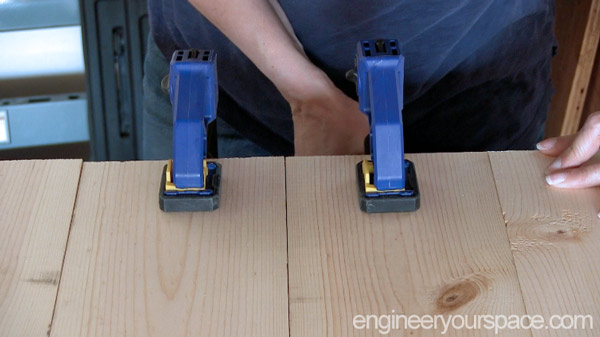
a) The original top was 23” x 19” and I wanted to make the new top slightly wider and longer. I used four 1” x 6” boards to make a new top that’s 22” wide x 32” long. Because I had limited tools on hand, I kept this build very simple by using 1”x2” furring strips to attach the wider boards together. I was using SPAX screws that don’t need to have holes pre-drilled but if you use regular screws, you’ll want to pre-drill holes before screwing the boards together.
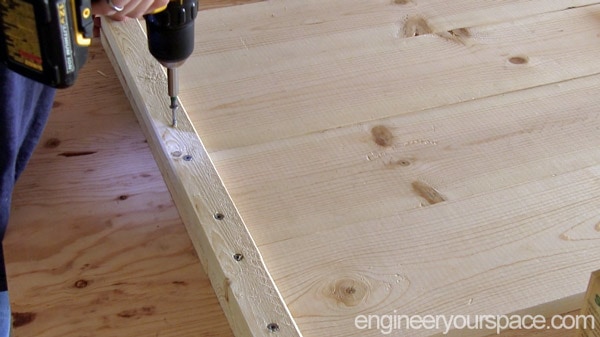
I wanted to be able to take this apart later if necessary so I didn’t put glue in between the boards. After doing 1 end and one side, I screwed in place the middle 1”x2″ which is cut short to allow the top to sit flush on the sides of the cart base, and I used clamps to keep the boards close together while screwing it in place.
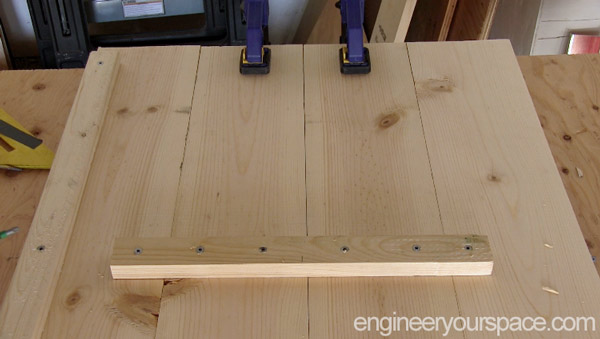
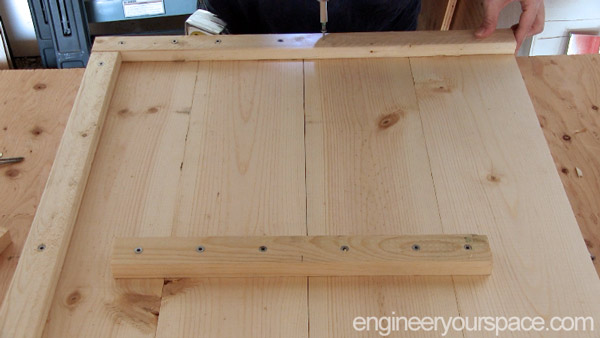
b) Then I screwed in place the other end board and the last side board.
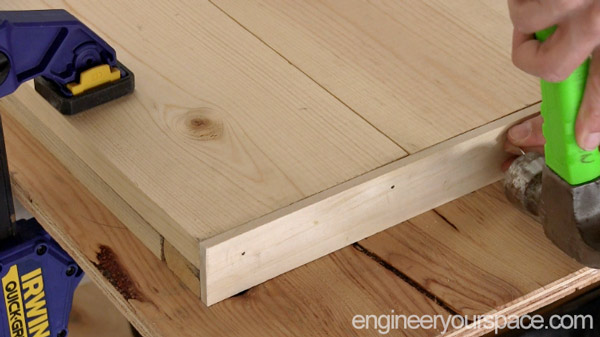
c) The edges look thicker thanks to the 1”x2” but it’s not very pretty to look at so I glued and nailed ¼” thick 1” x 2” boards to the sides for a cleaner look.
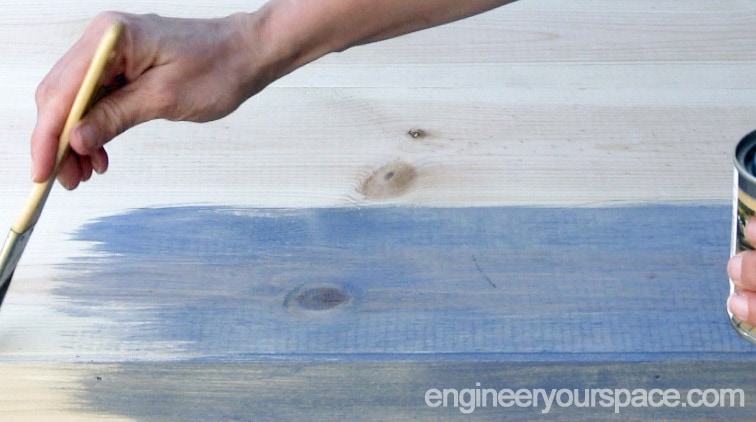
d) I stained the top with the semi-transparent exterior stain from Behr in a color called Wedgwood which coordinates nicely with the tiles in the kitchen makeover. I didn’t mind if the top got worn over time but you could also add a coat of polyurethane to protect the surface even more. Then all that was left was to attach the new top using the existing brackets.
It took a bit of time and effort to bring this cart back to life, and the total cost came in around $50 but it feels really great to reuse something that otherwise would have gone into a landfill, plus it gave me the chance to customize the cart to fit the kitchen perfectly and to make it even more functional. Win-Win!

You can see the complete makeover of the kitchen in this video – enjoy!


This was a very good re-use–saved something from the landfill and ended up with a useful, sturdy little cart. I watched the video of the entire makeover and enjoyed it–small changes to make such a big difference. I was delighted when this new episode popped up in my e-mail. I’ve missed your videos; always enjoy them a lot. You’ve inspired me to buy my own tools and try a few new things. I liked the valance you built for the kitchen window–that might be my first project. Look forward to your next video!
Thank you so much Sue, so happy to hear that you got your own tools! Can’t wait to see what you make 🙂