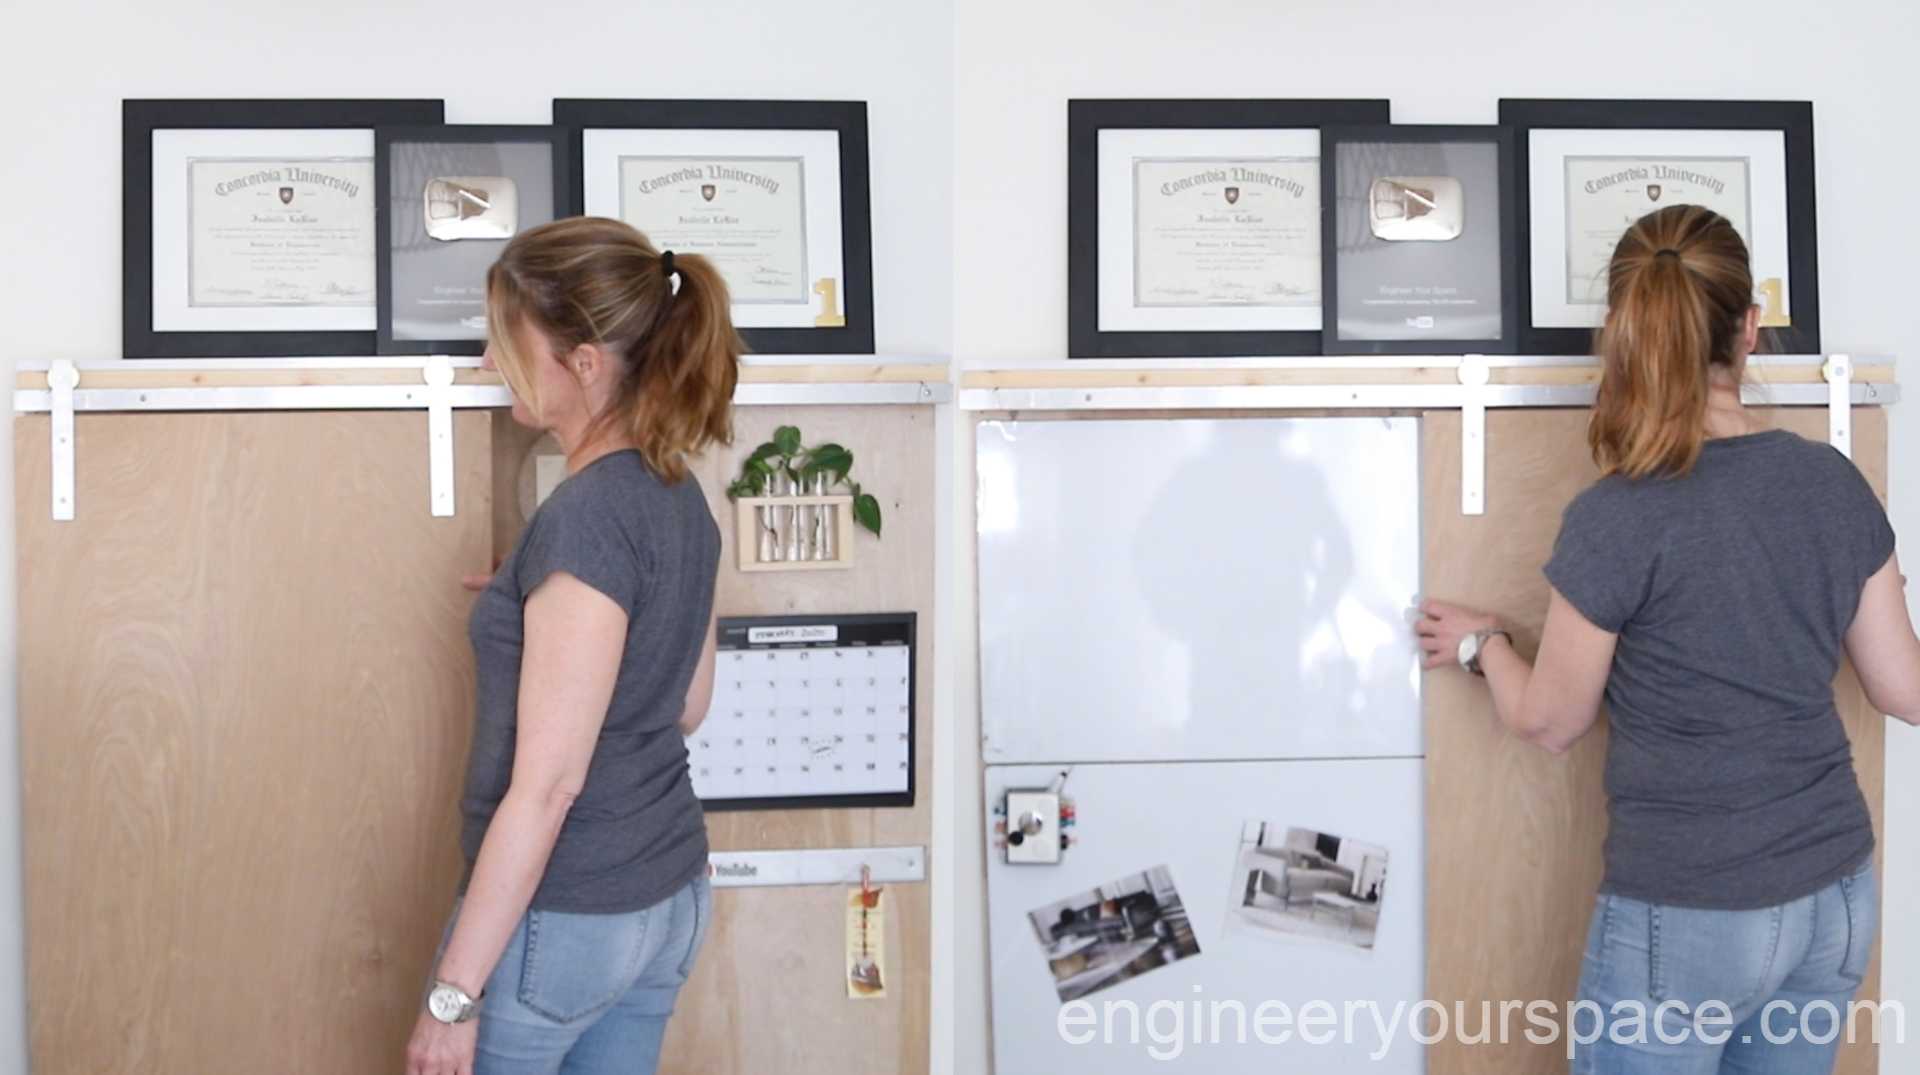
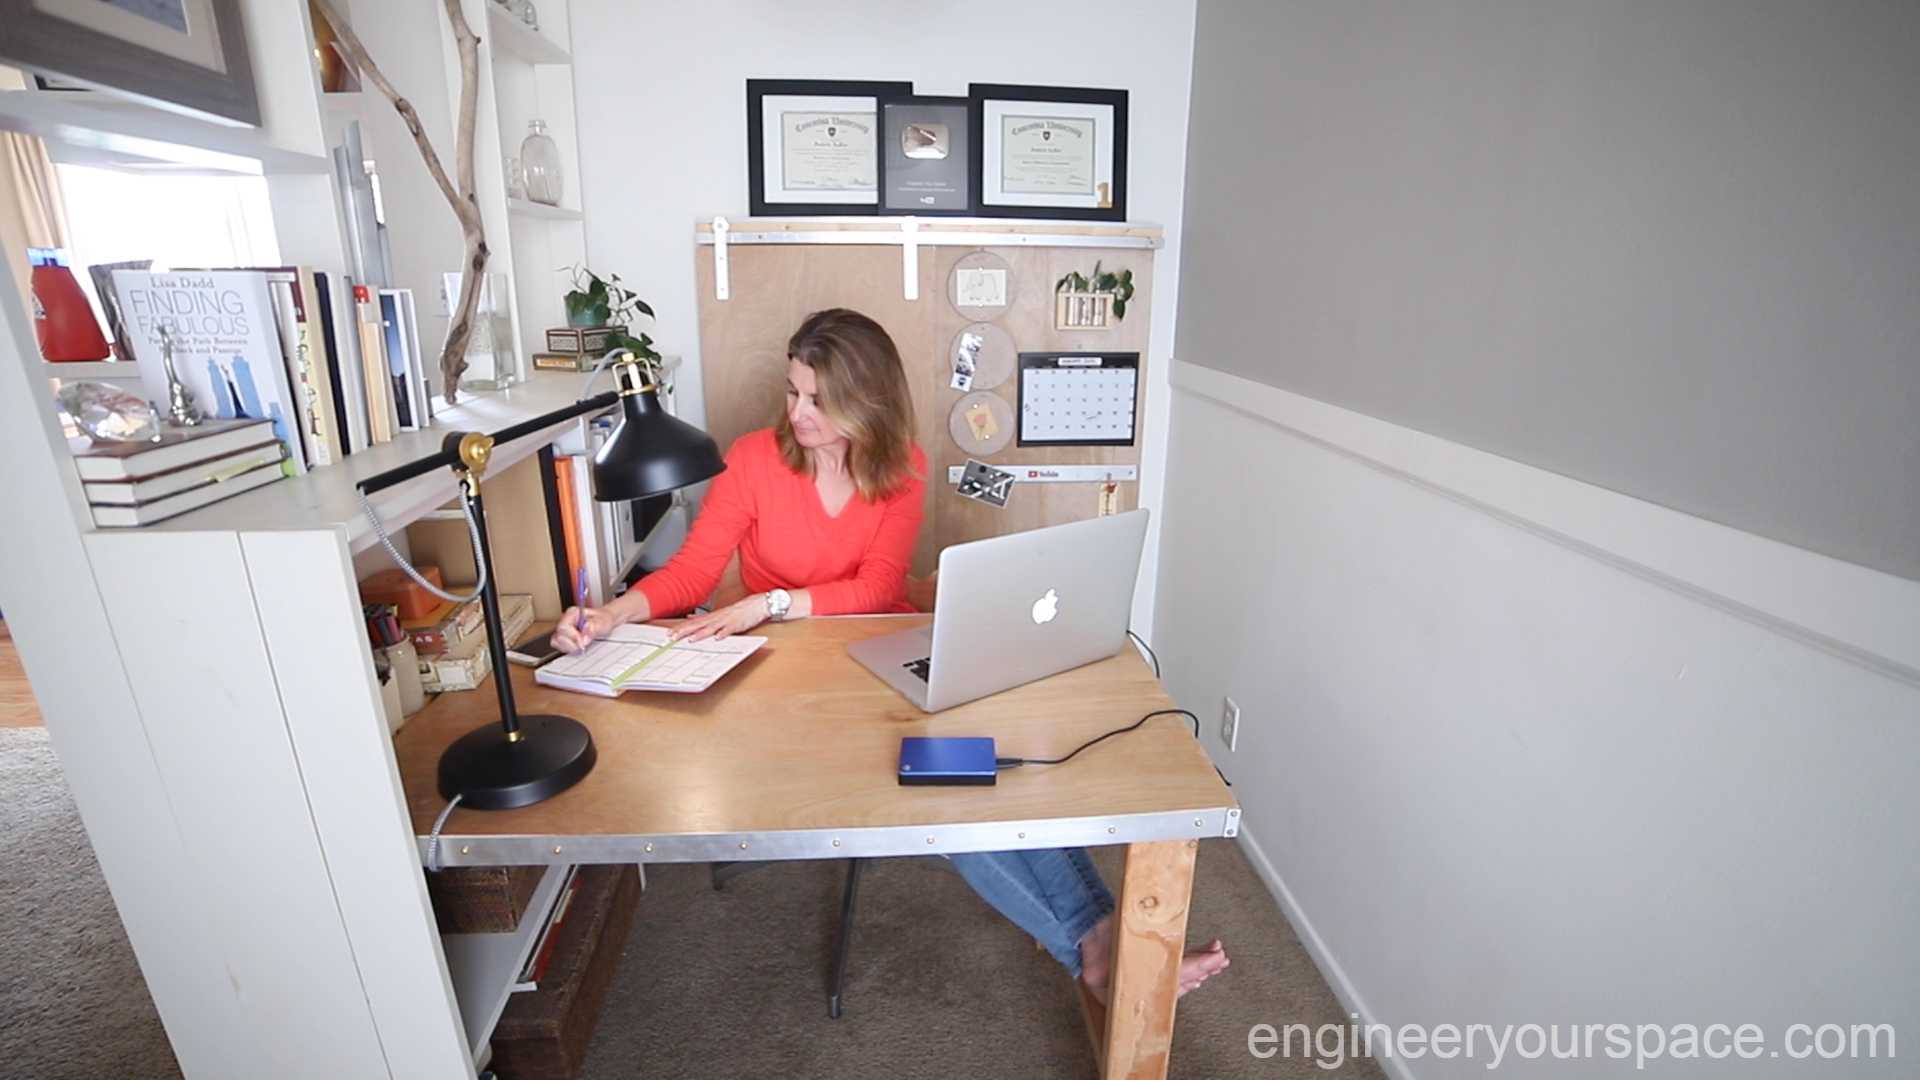
While I was redoing my tiny 5’x6’ home office set up, I wanted to incorporate a white board, but do it in a way that it could be hidden when I wasn’t working with it. So I came up with this idea to build a multipurpose wall panel that would allow me to incorporate a track for a barn door that could easily slide back and forth to cover up the whiteboard. This meant I had to do a bit of MacGyvering to come up with a way to make my own DIY barn door hardware!
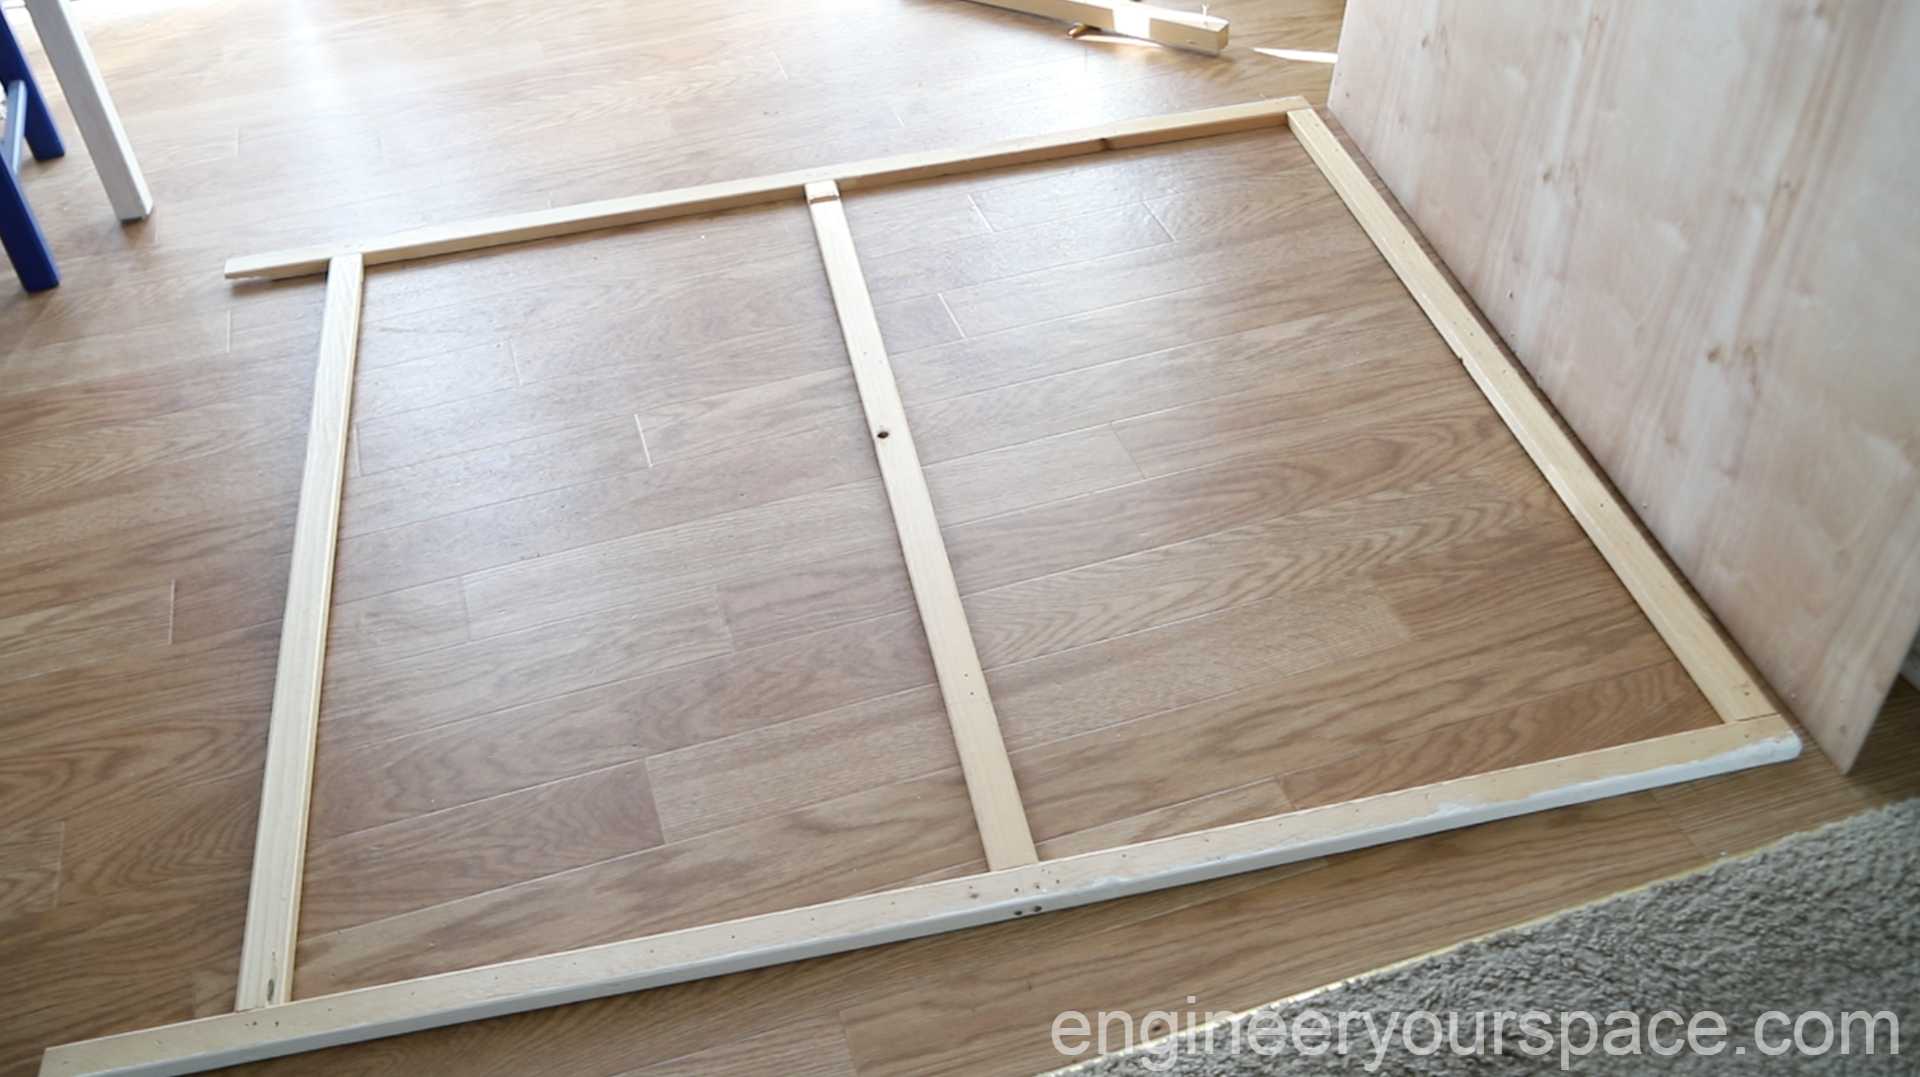
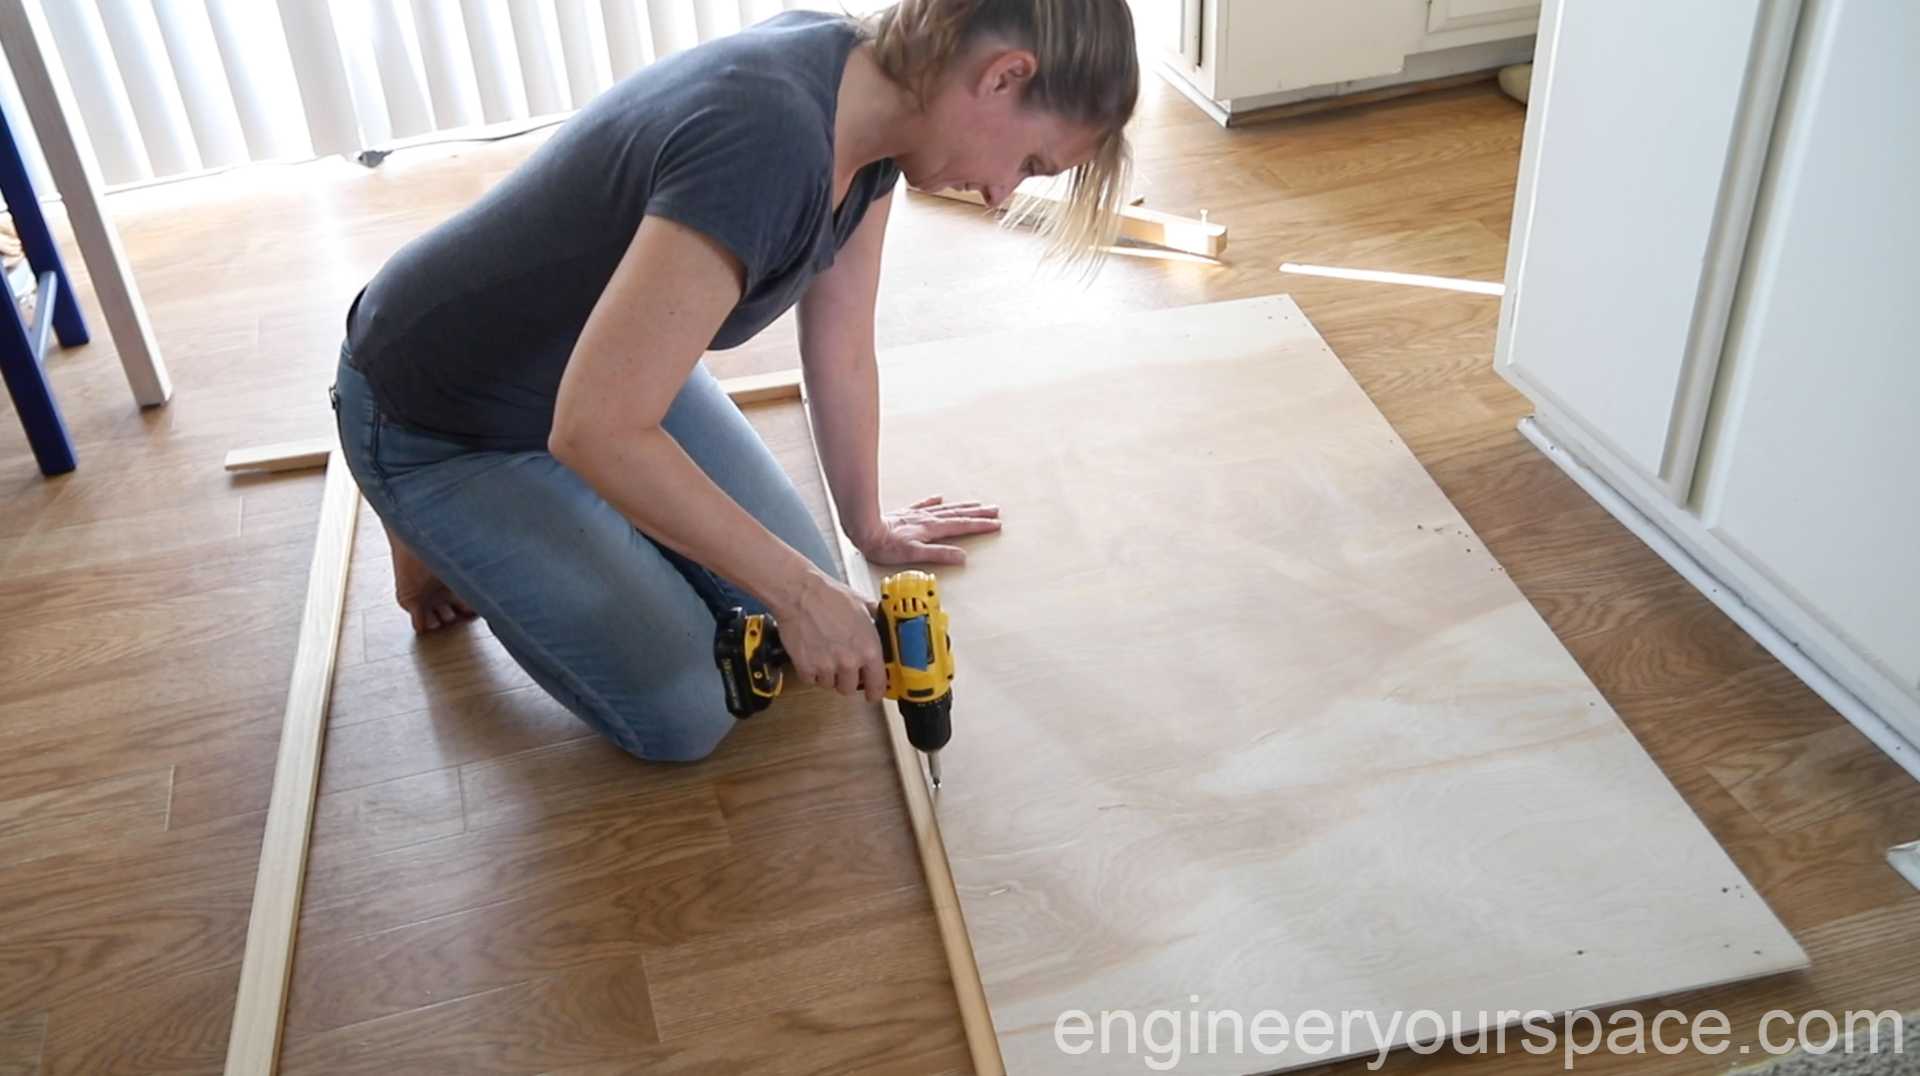
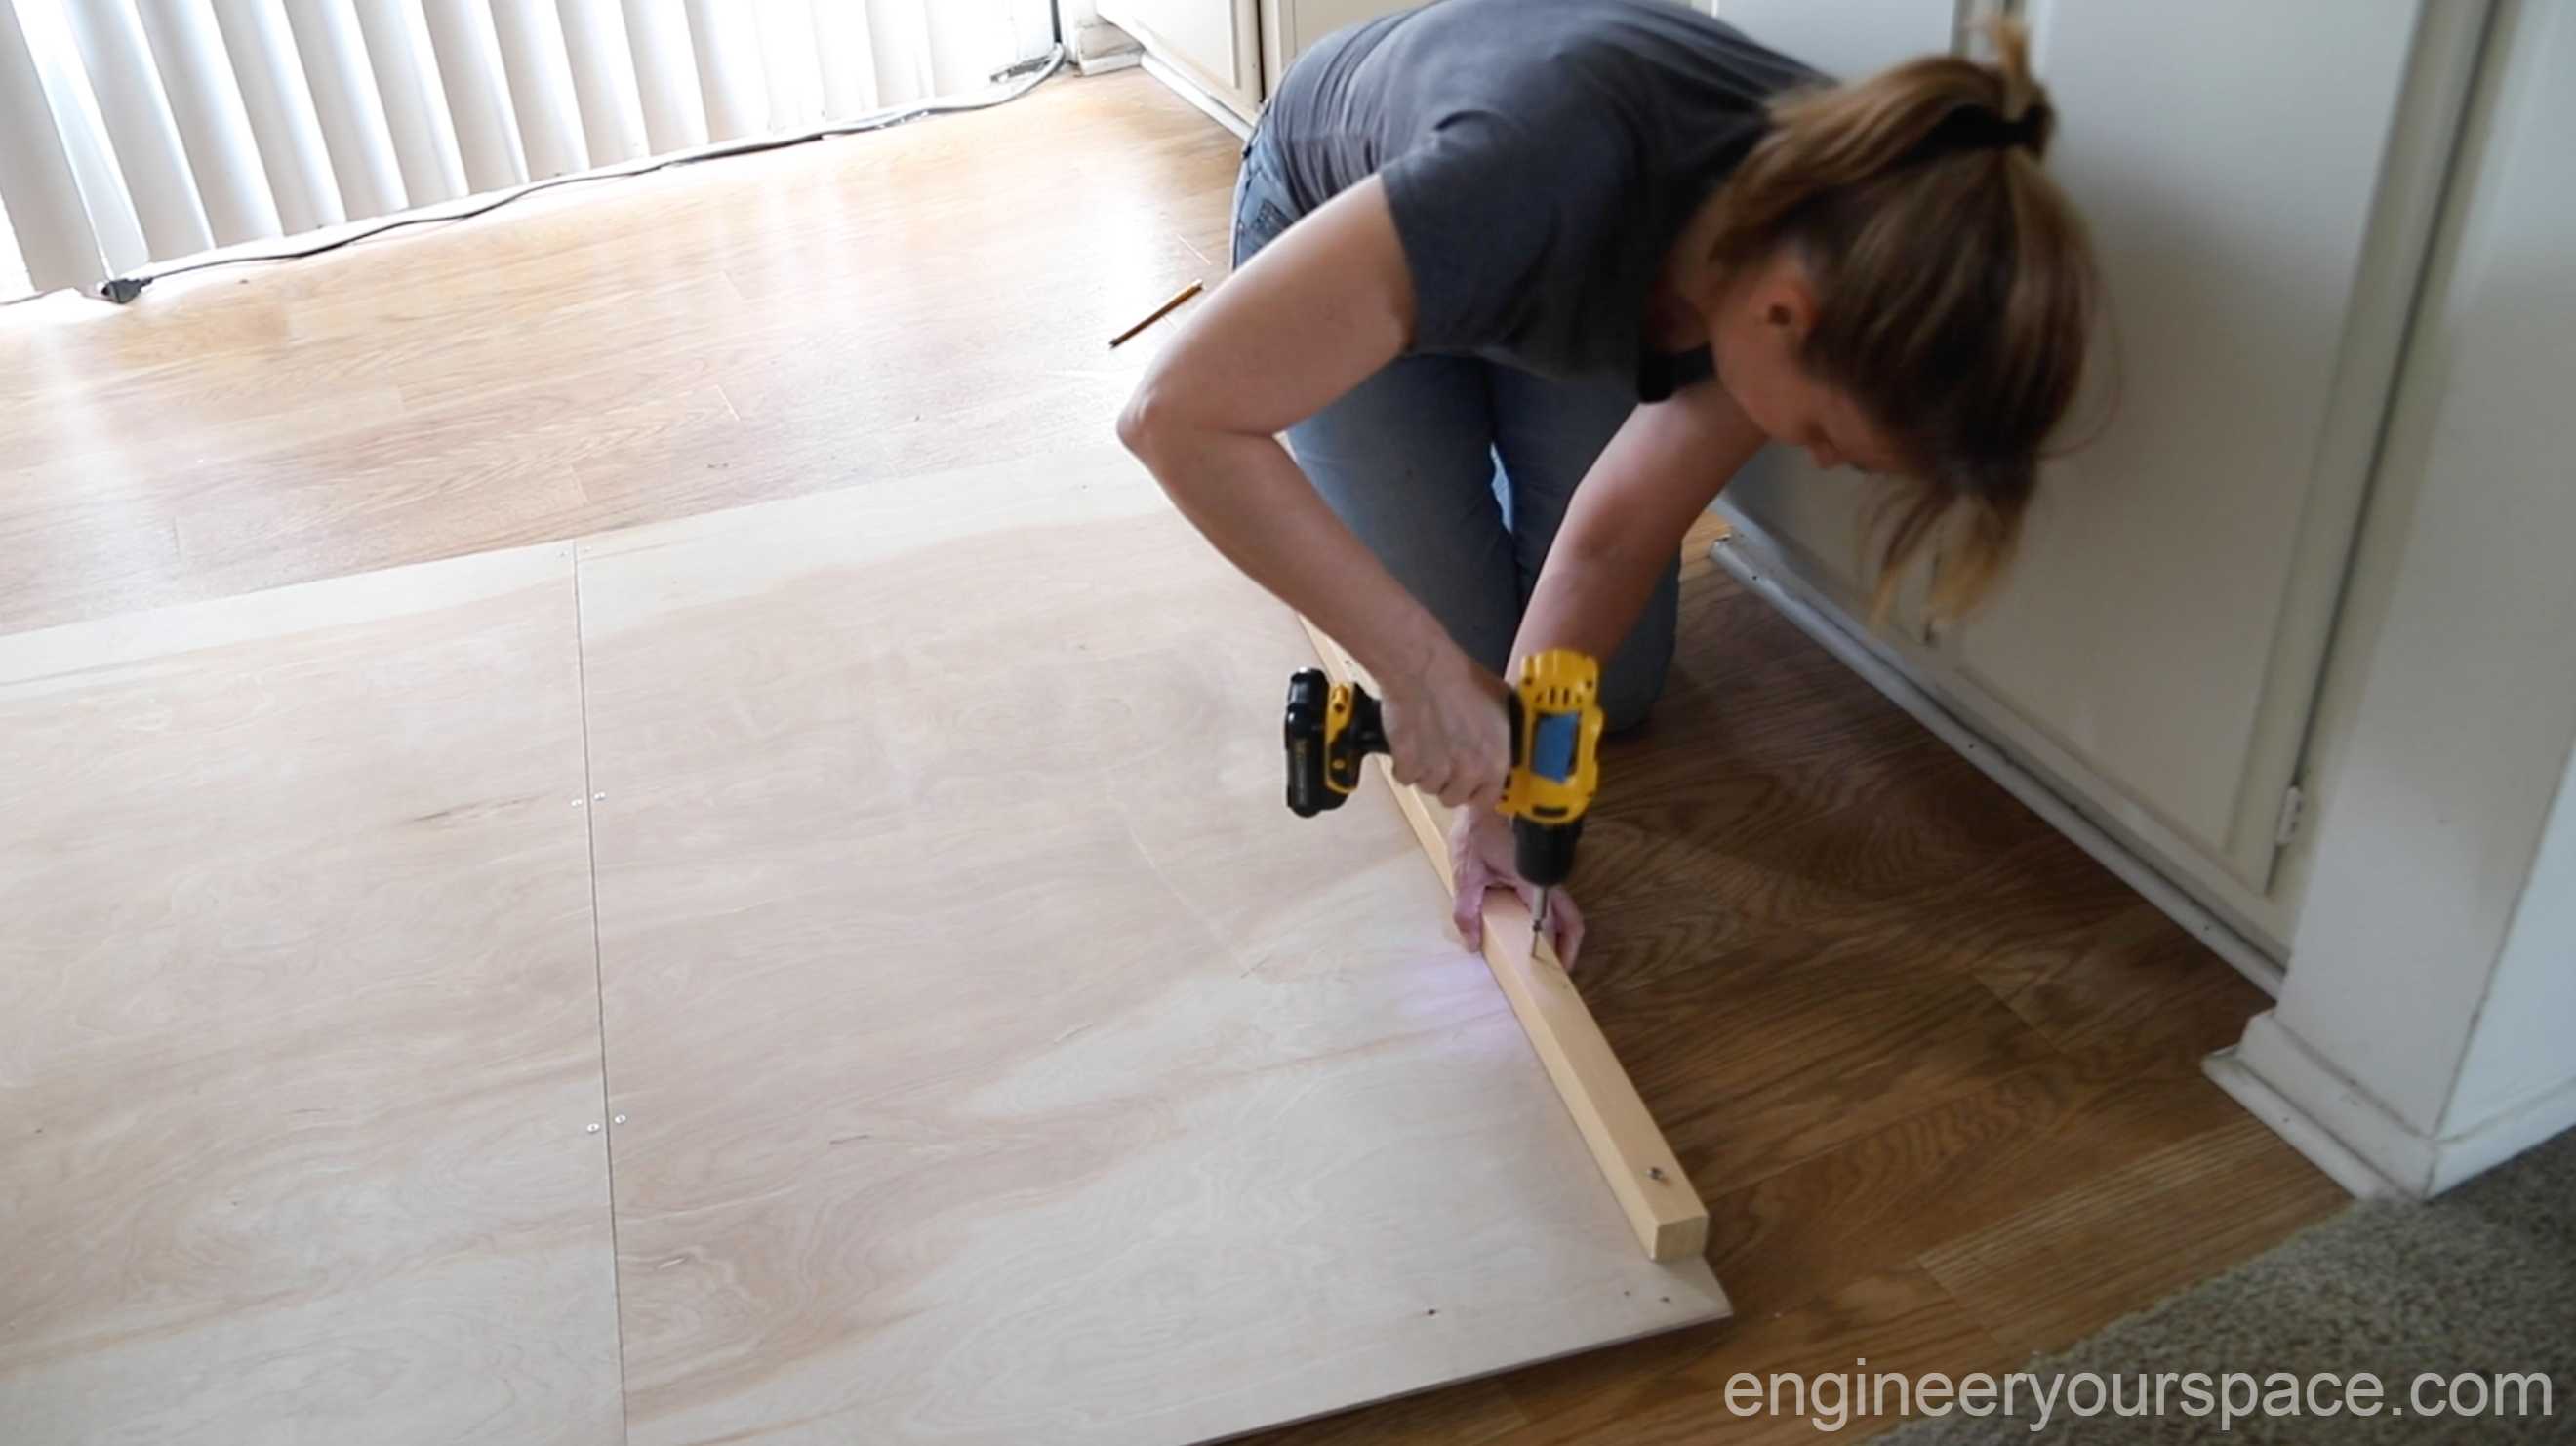
I built the wall panel out of a 1”x2” furring strips and ¼” thick plywood.
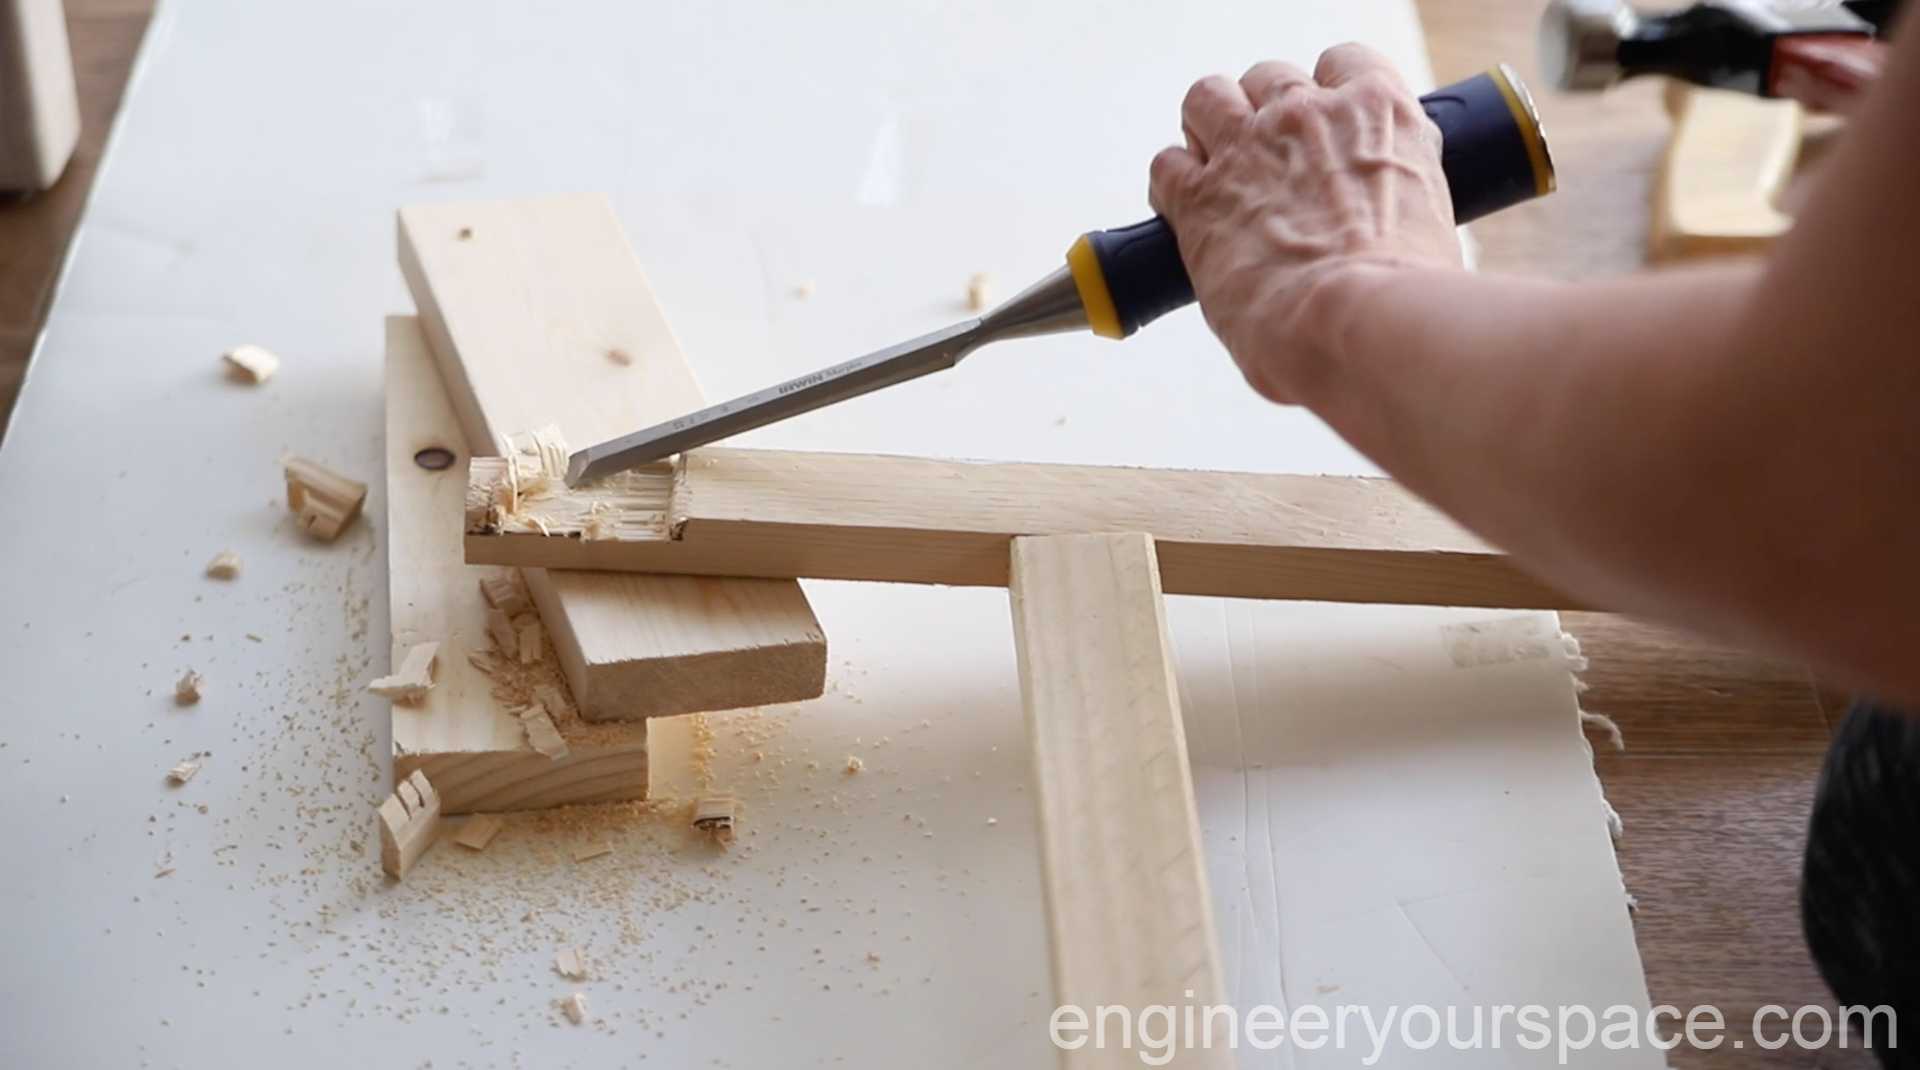
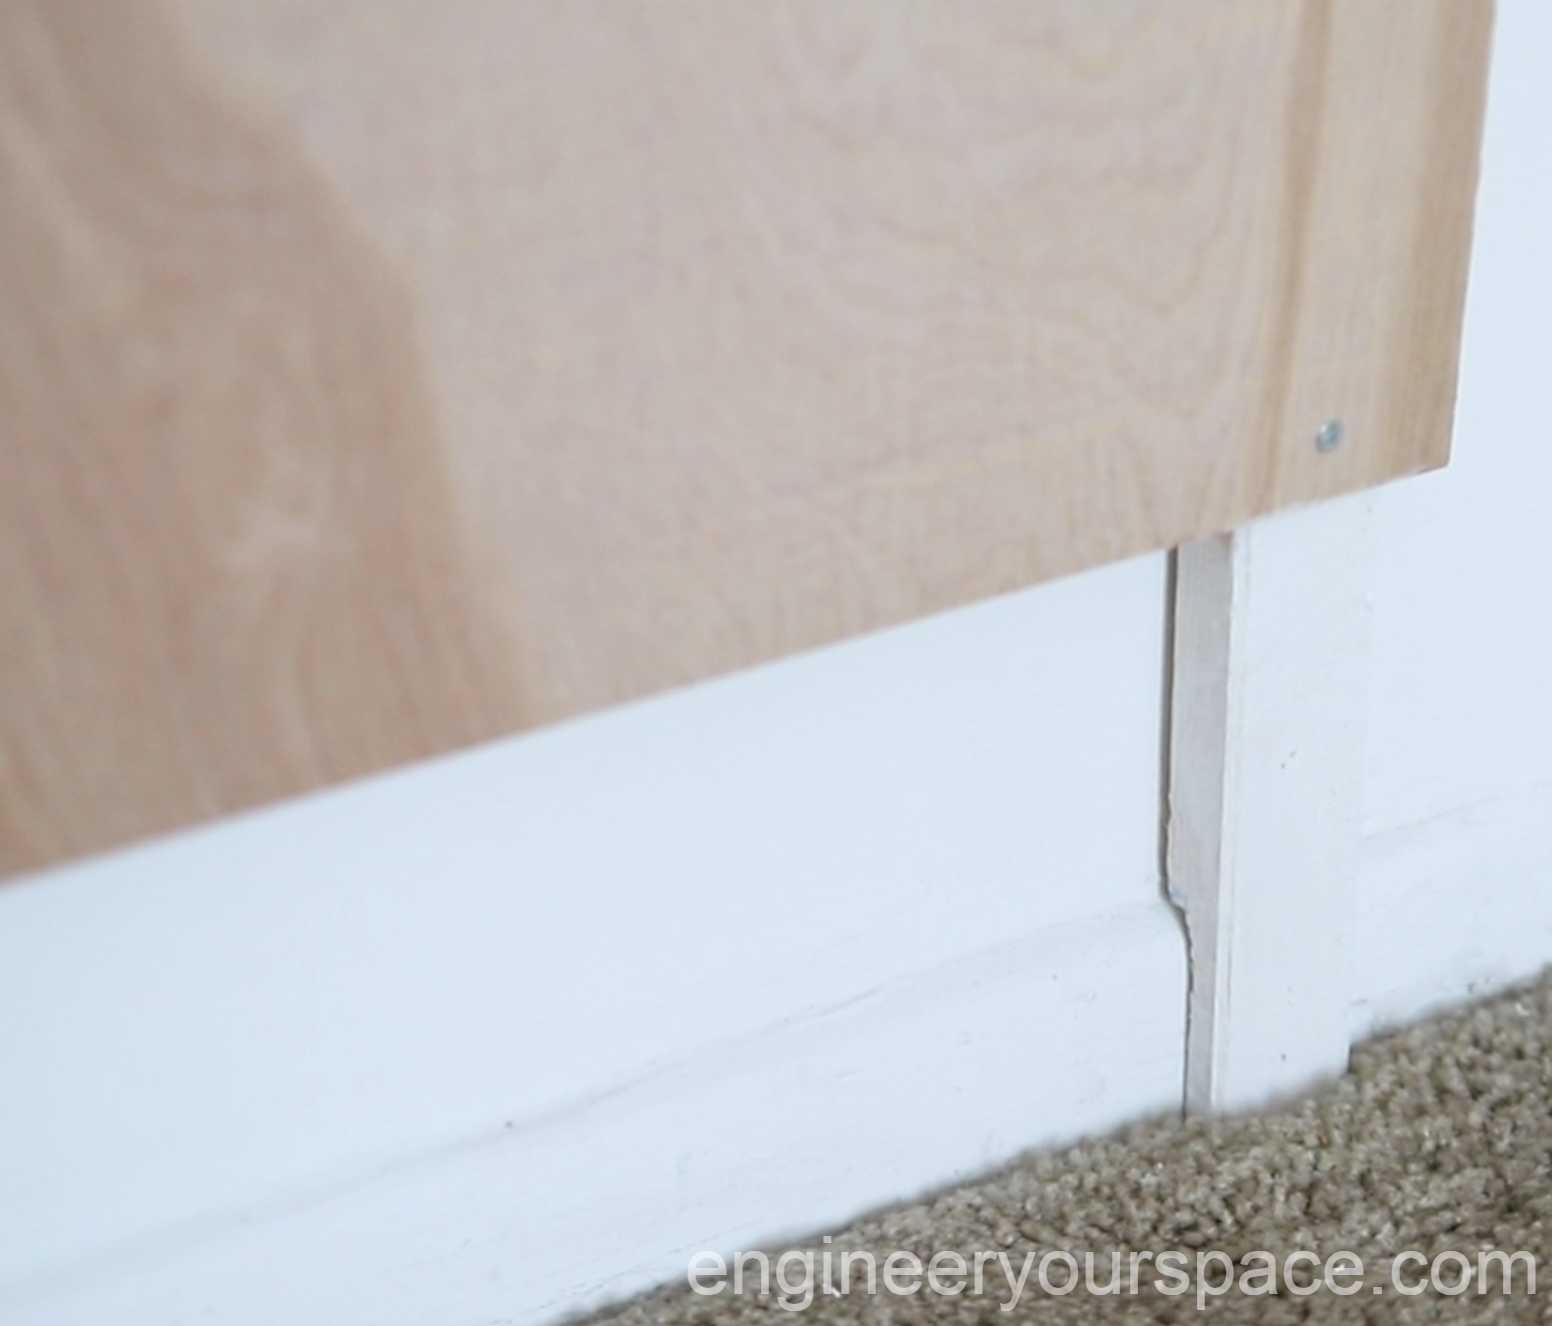
The legs rest on the floor to hold the weight of the panel and I curved out the back of the legs so that they can sit flush with the wall. To do this, I used a hand saw to make shallow cuts across the back of the 1”x2” and used a chisel to remove them. Not a very refined technique but since you don’t see it, it worked out OK.
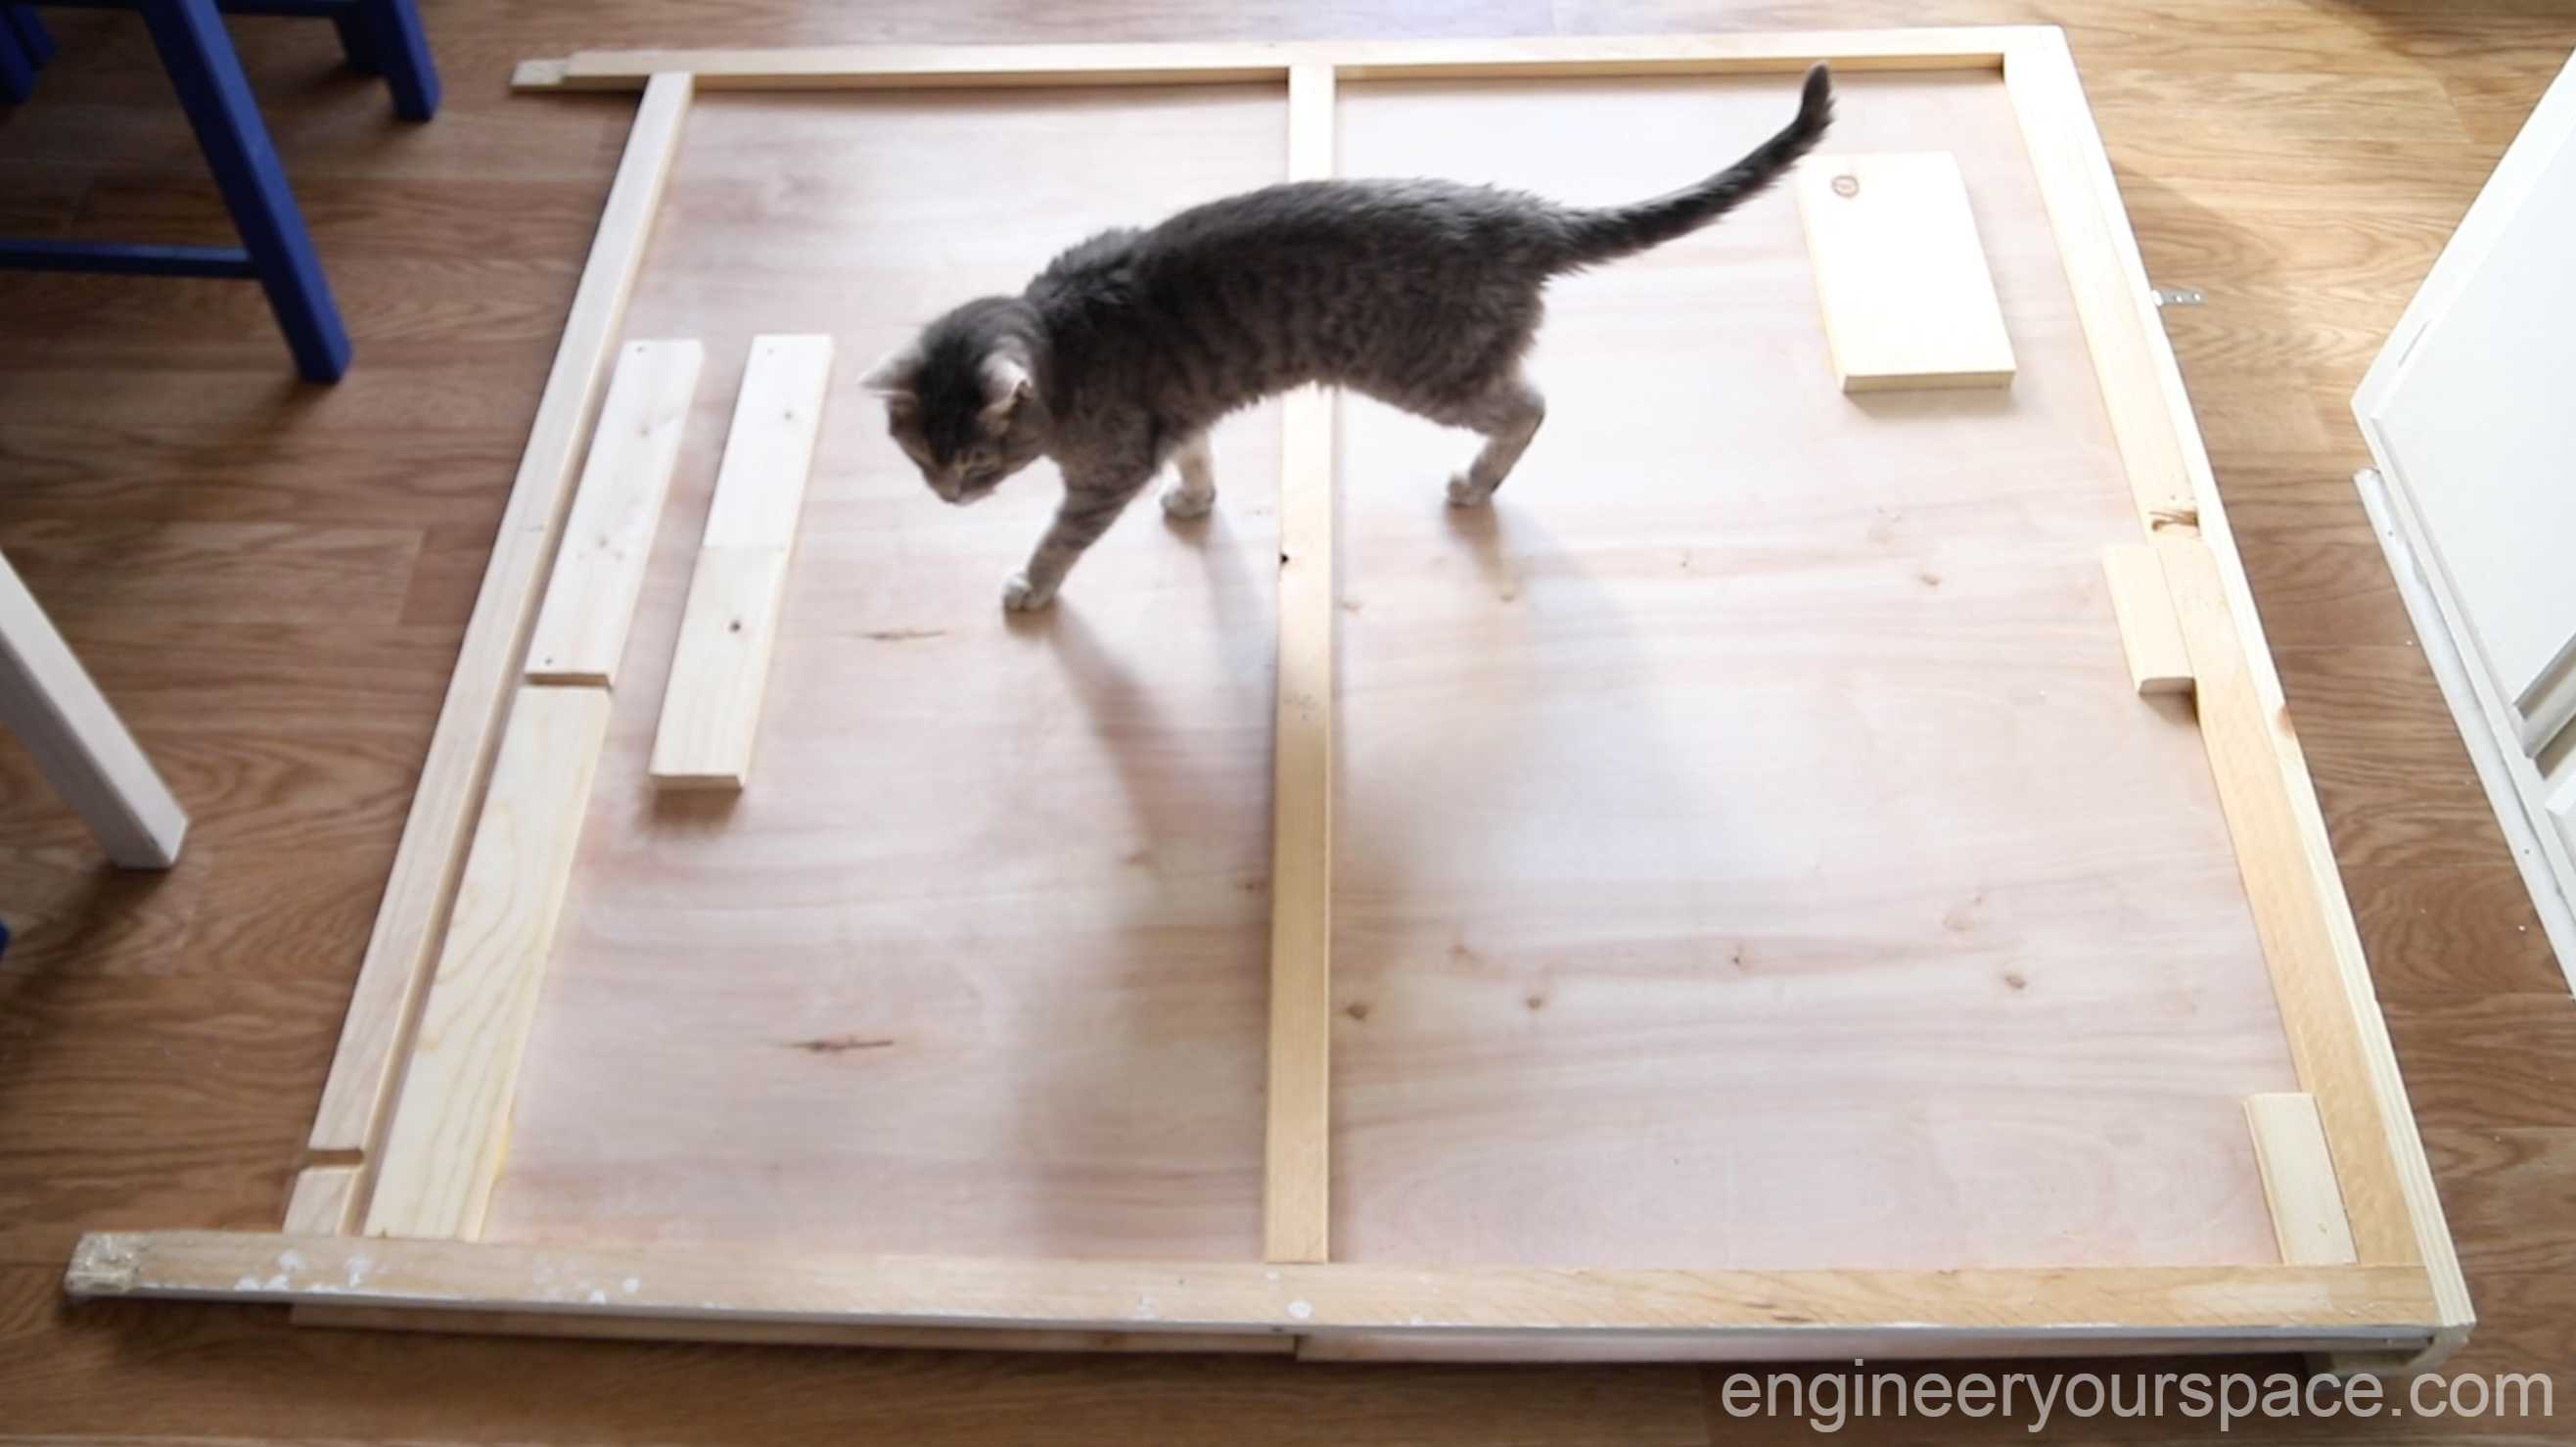
I incorporated some blocking on the backside of the panel (my supervisor likes to do impromptu inspections!) so I could have something to screw into to attach the white board and other things.
I attached a 2”x2” at the top of the panel to give me something to attach the header piece that will have the barn door track.
Making the Header piece and barn door track:

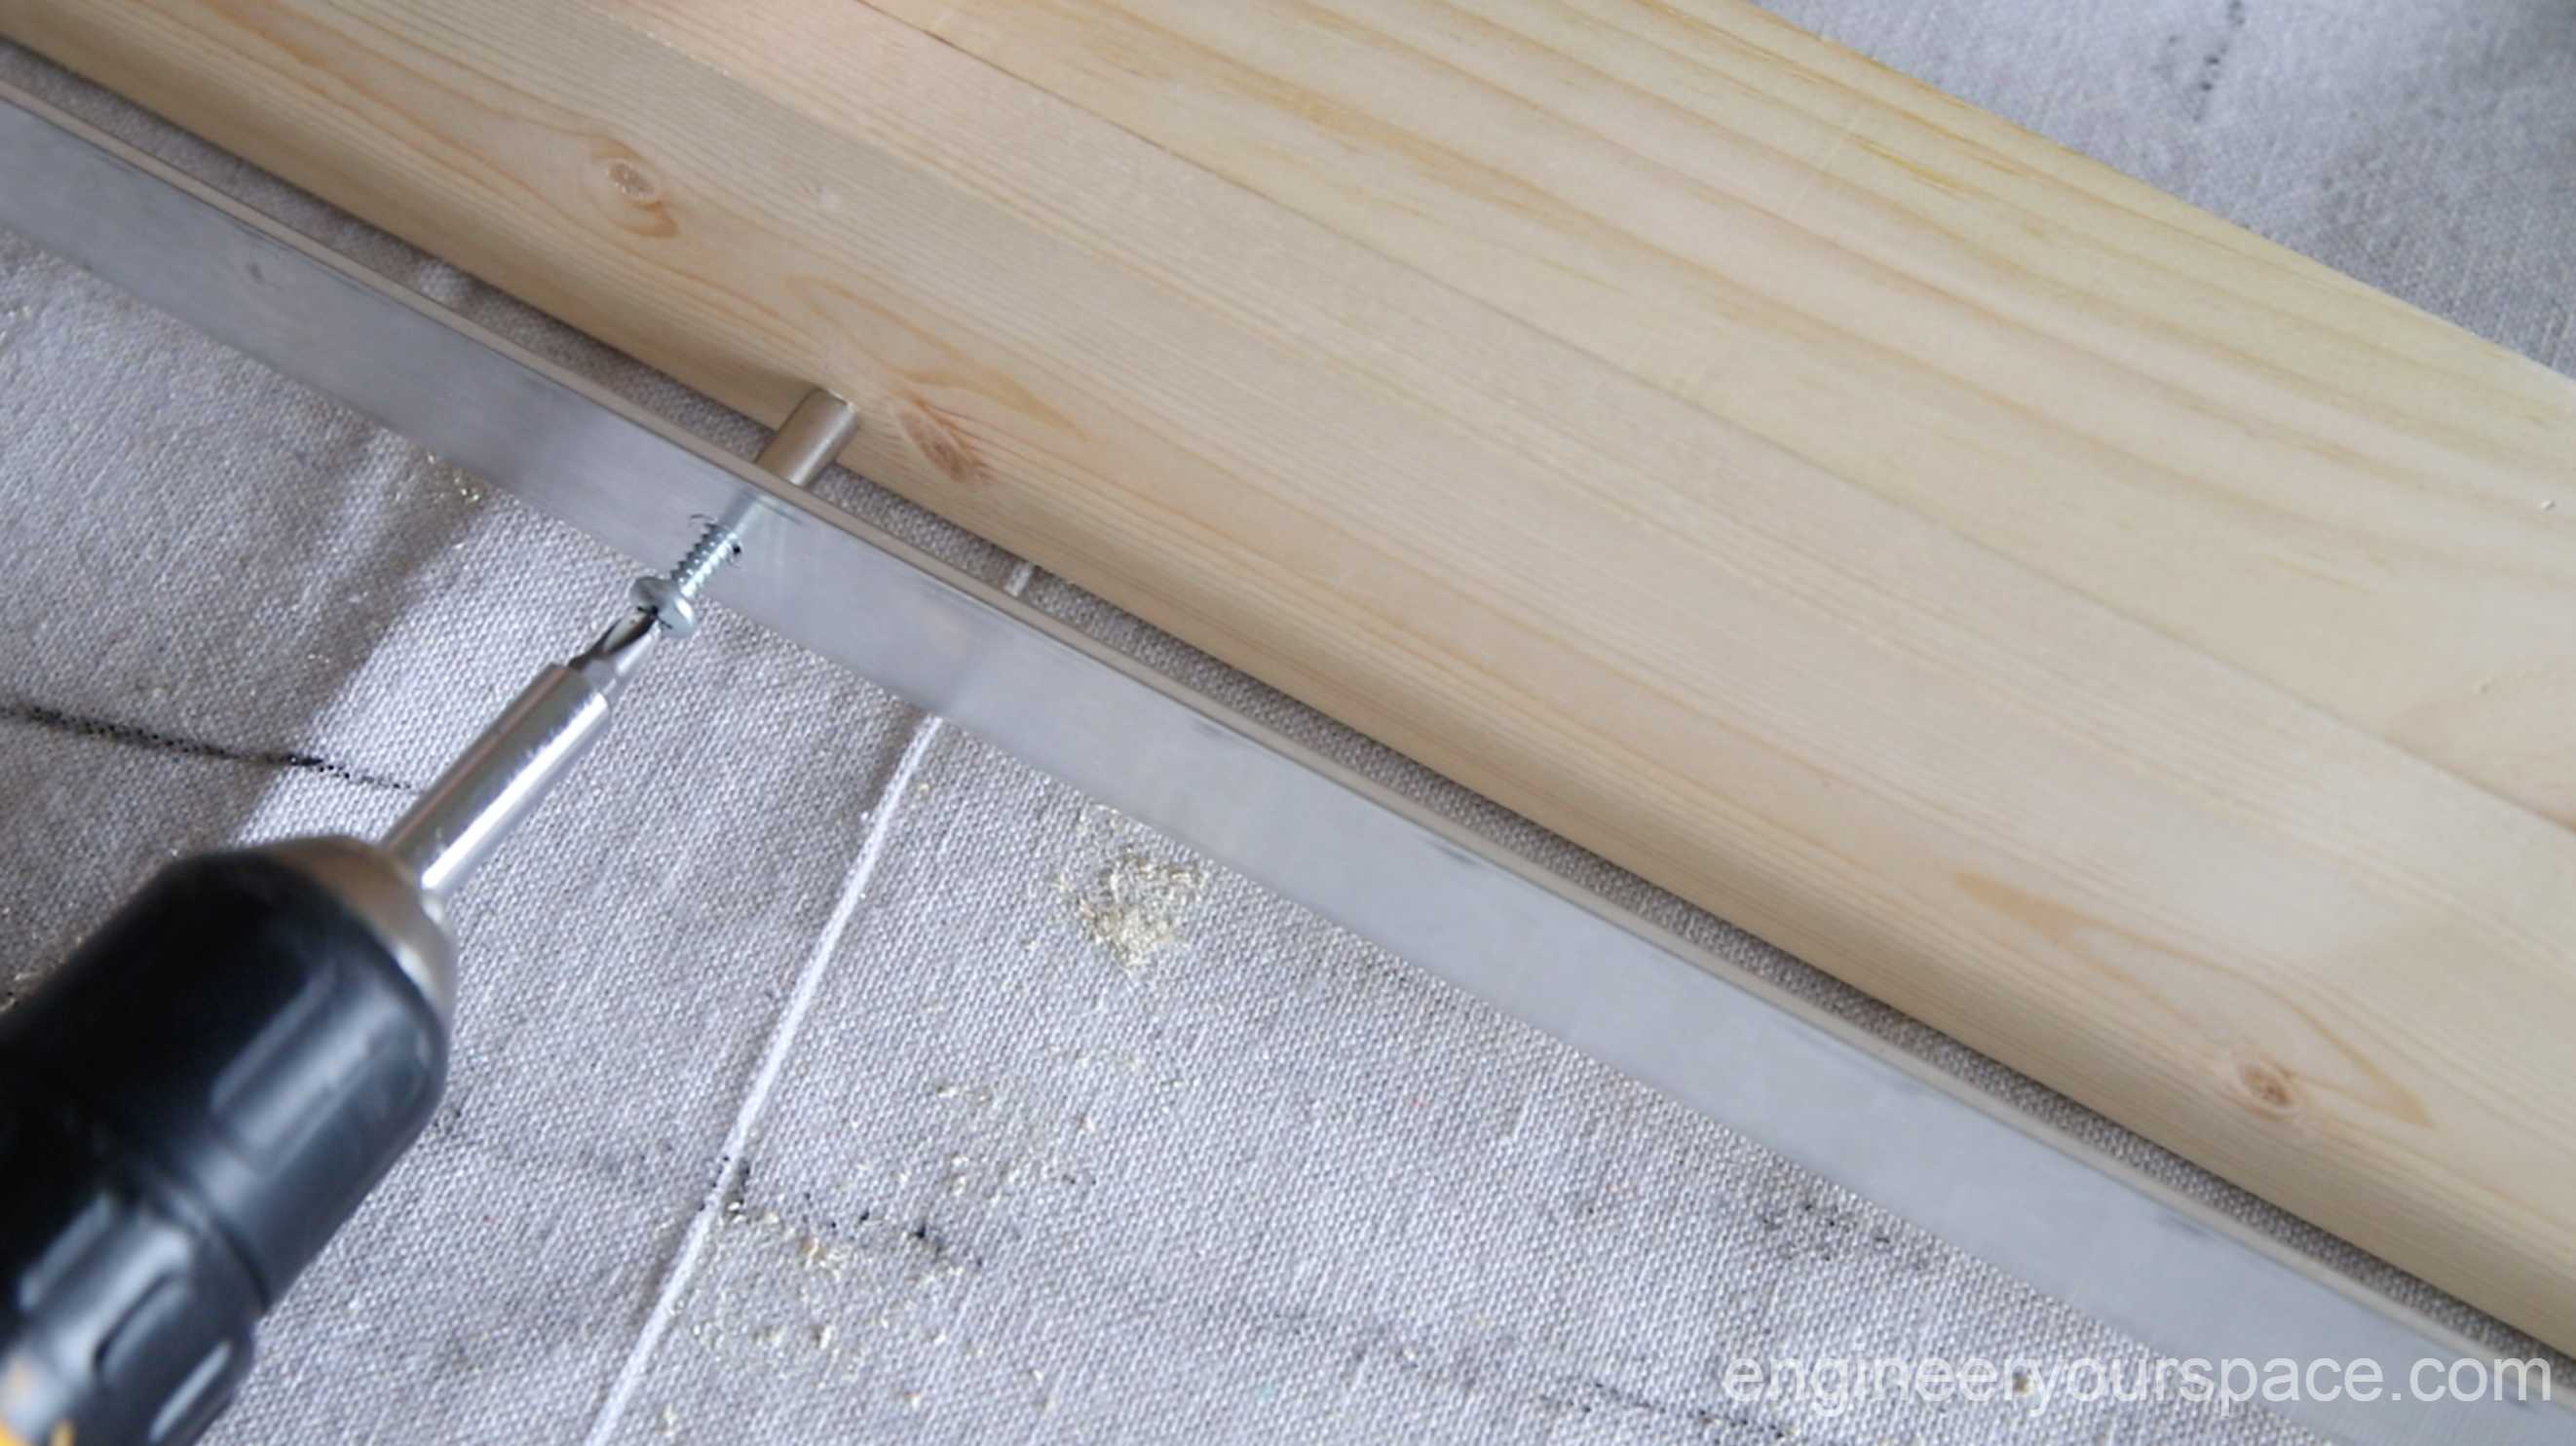
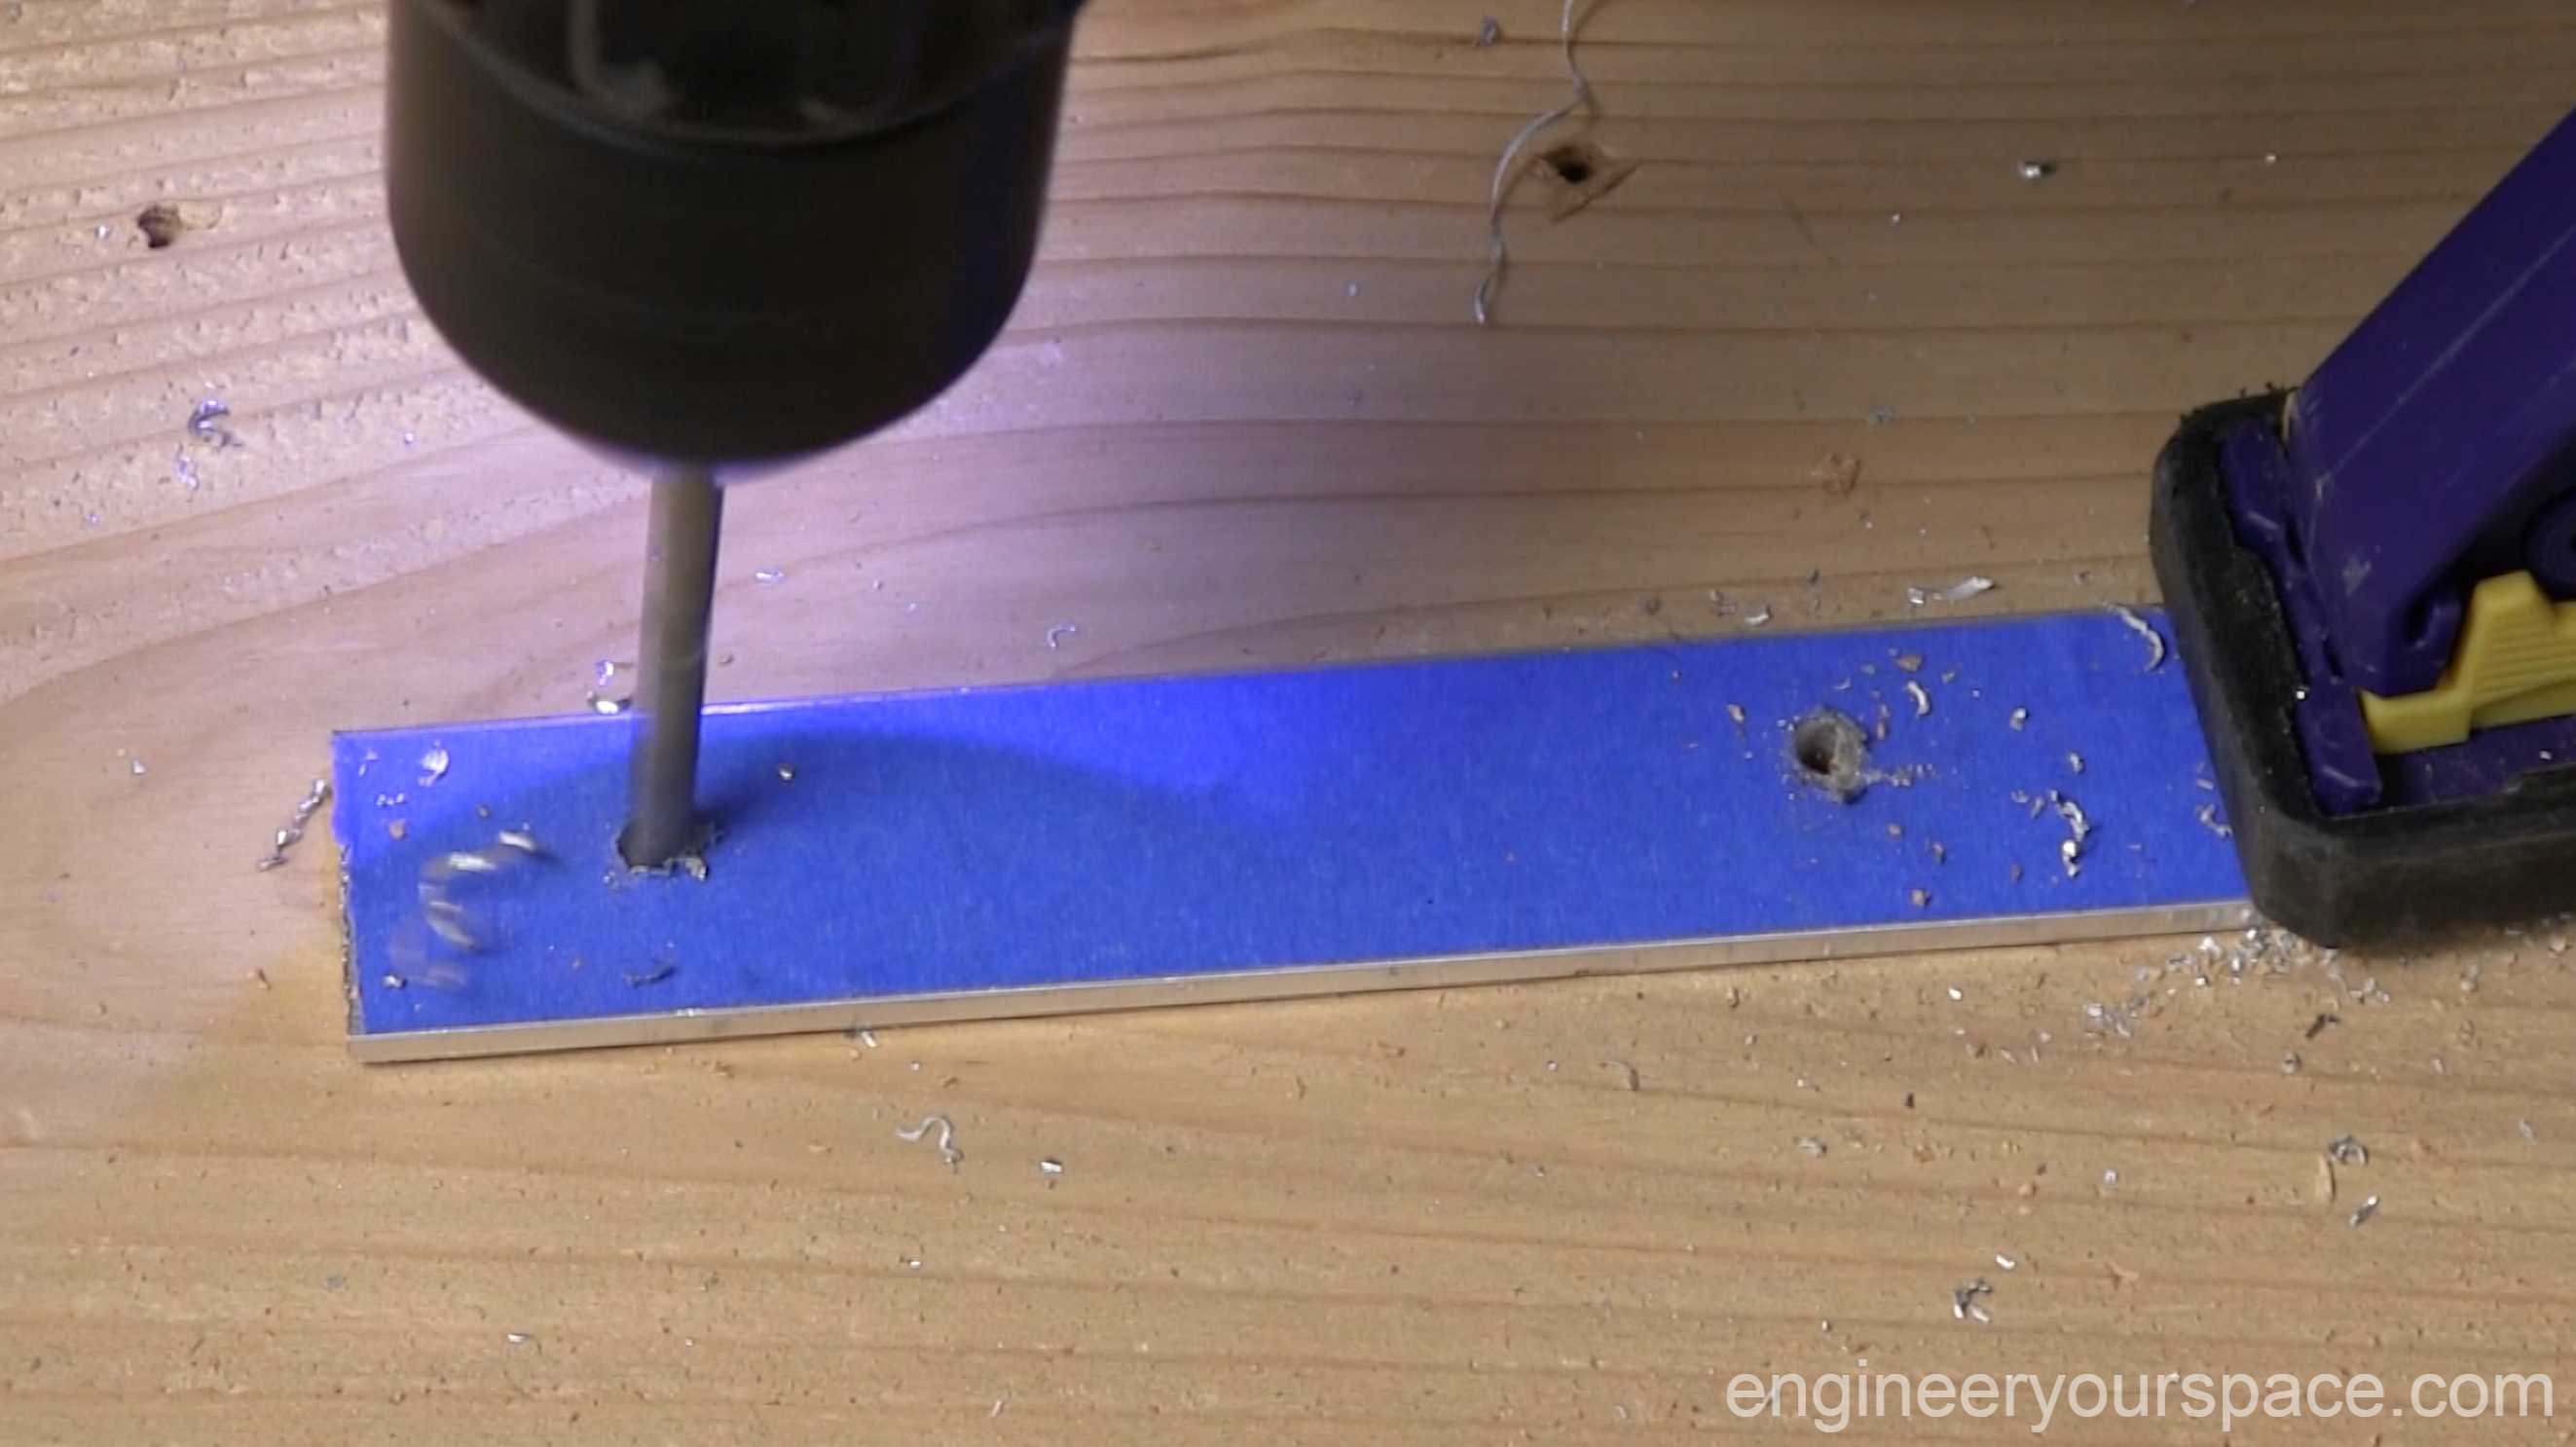
I built the header with 1”x3” boards joined at 90 degrees. To install the track (a 1” wide aluminum bar), I drilled holes into the bar and then clamped it to the front of the header to drill pilot holes.

Because the track needs to be installed away from the surface of the shelving unit to leave enough space for the doors, I also needed to make spacers. After looking for something that would work, I discovered these stainless steel straws have the perfect inside diameter for number 10 screws. I marked the length that I needed (¾”) with tape and used a mini pipe cutter to cut the straw.
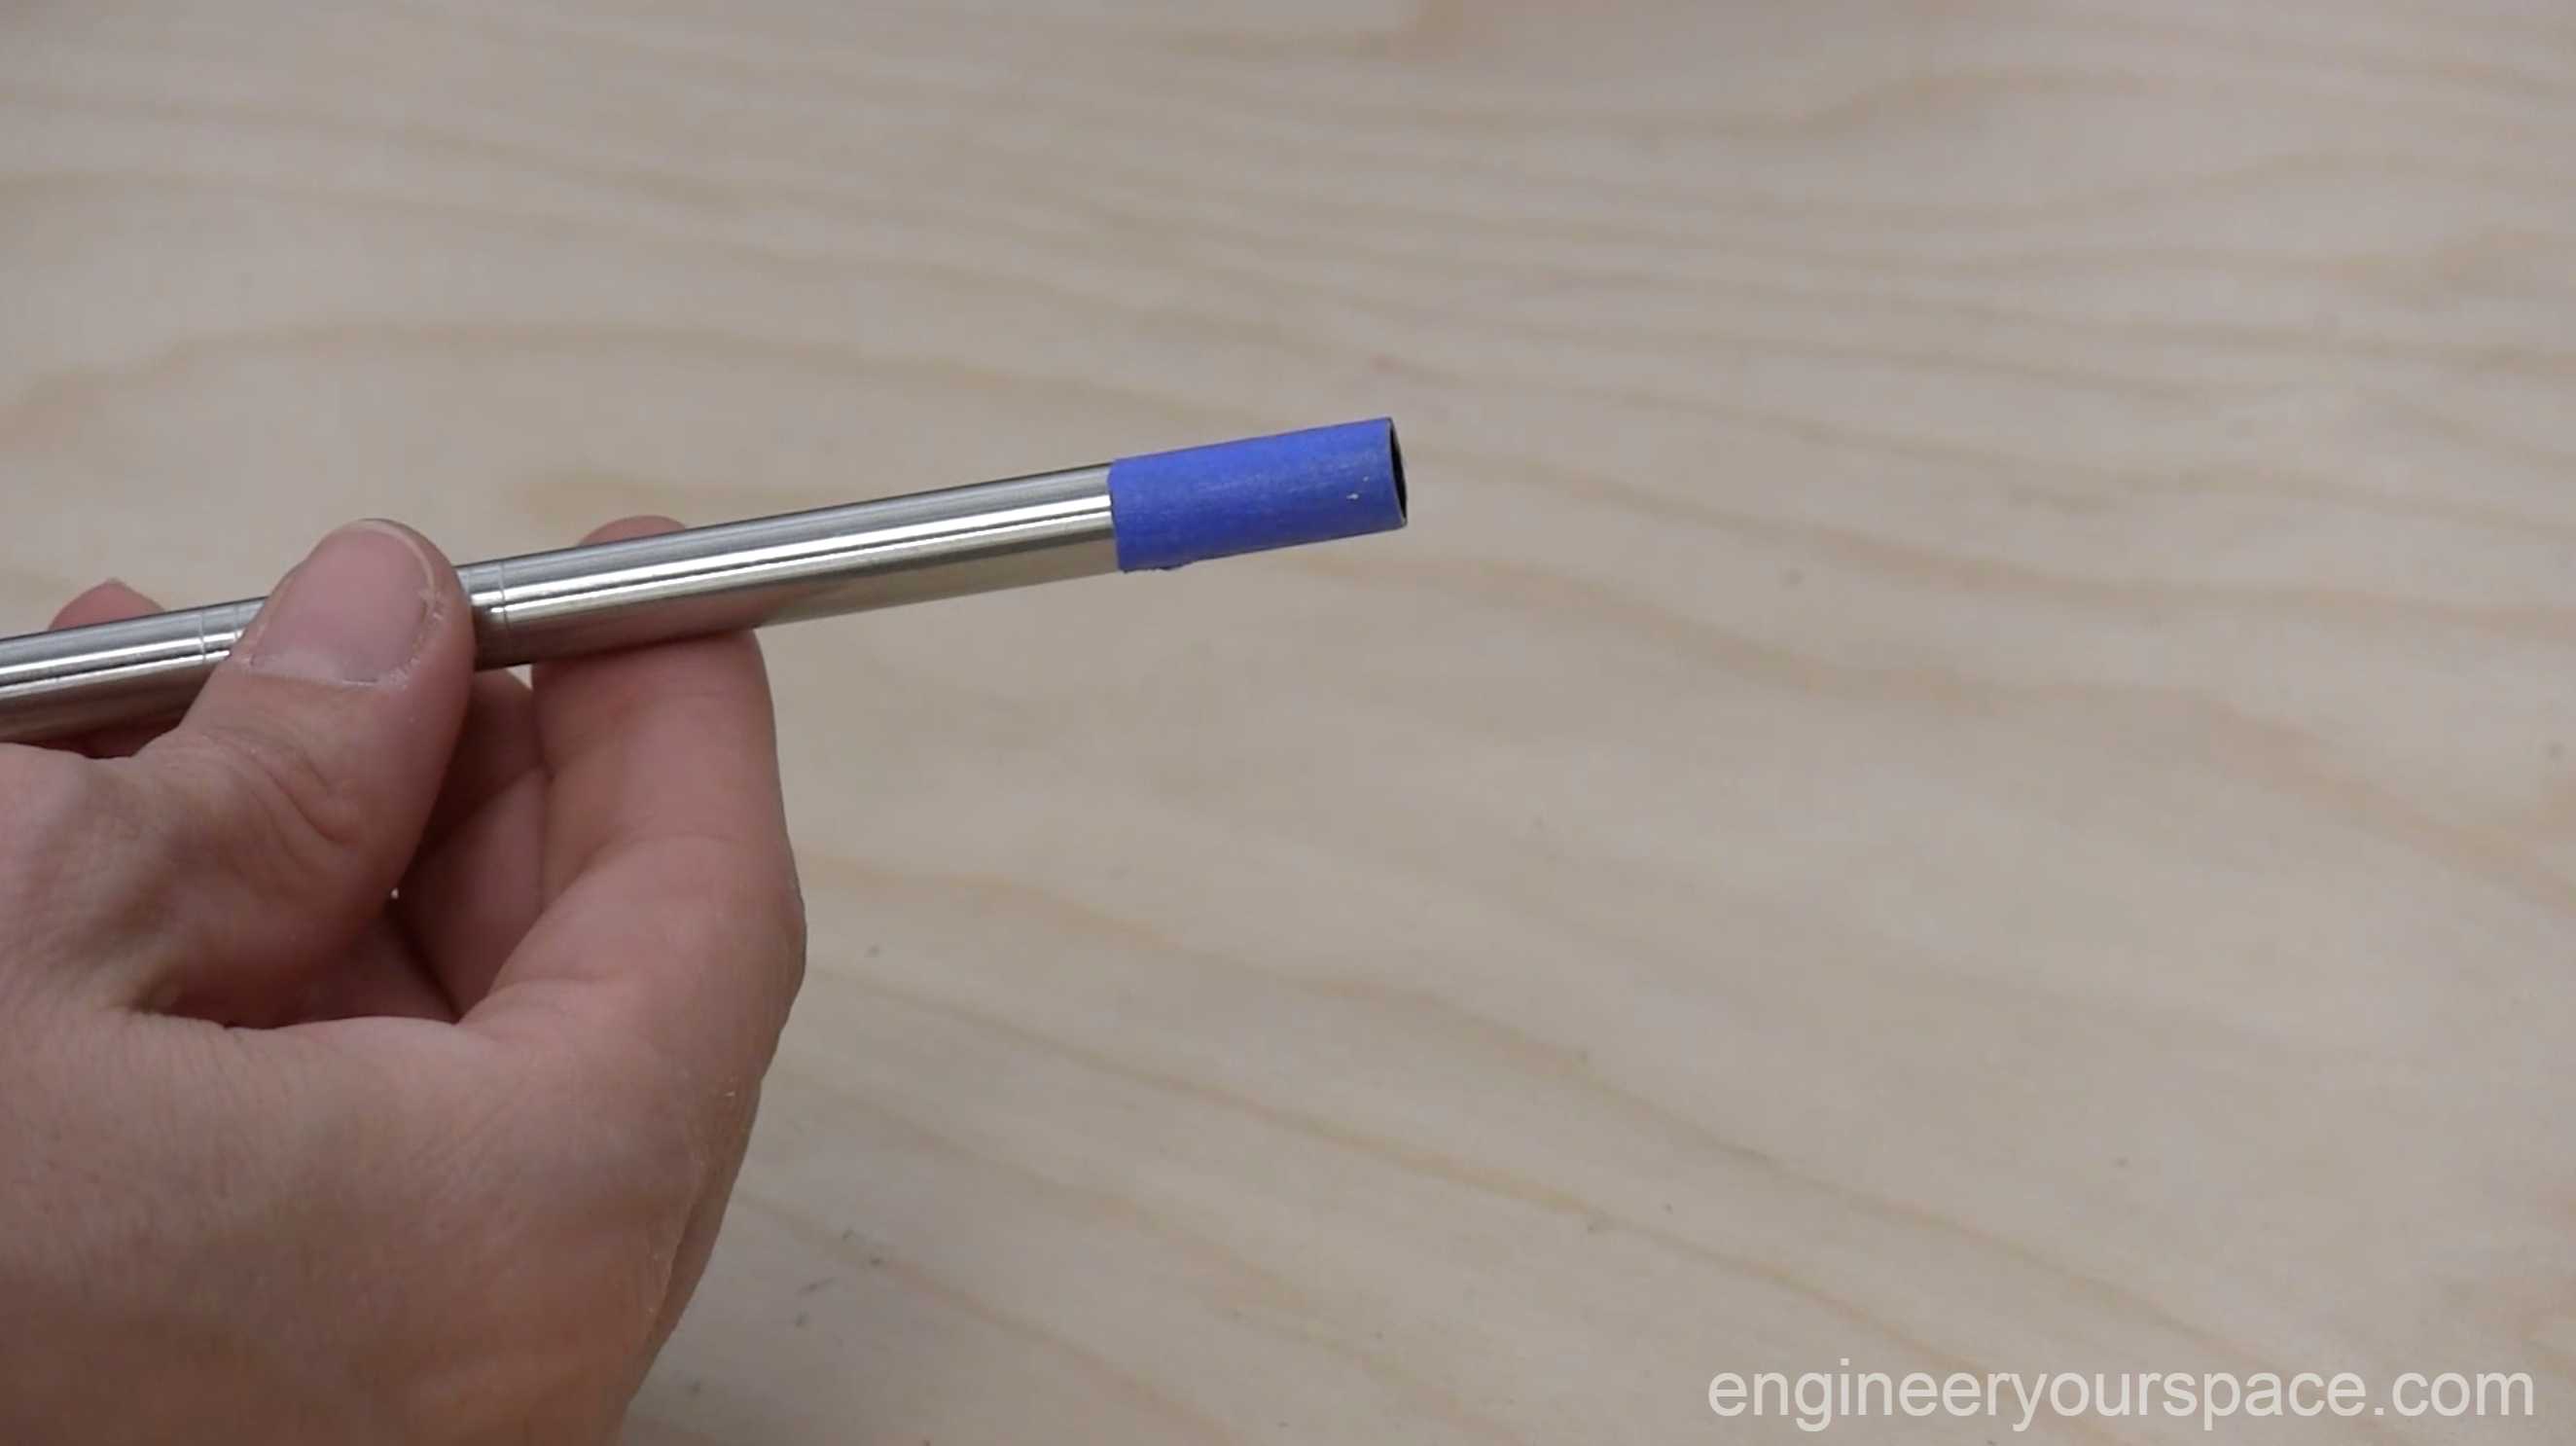
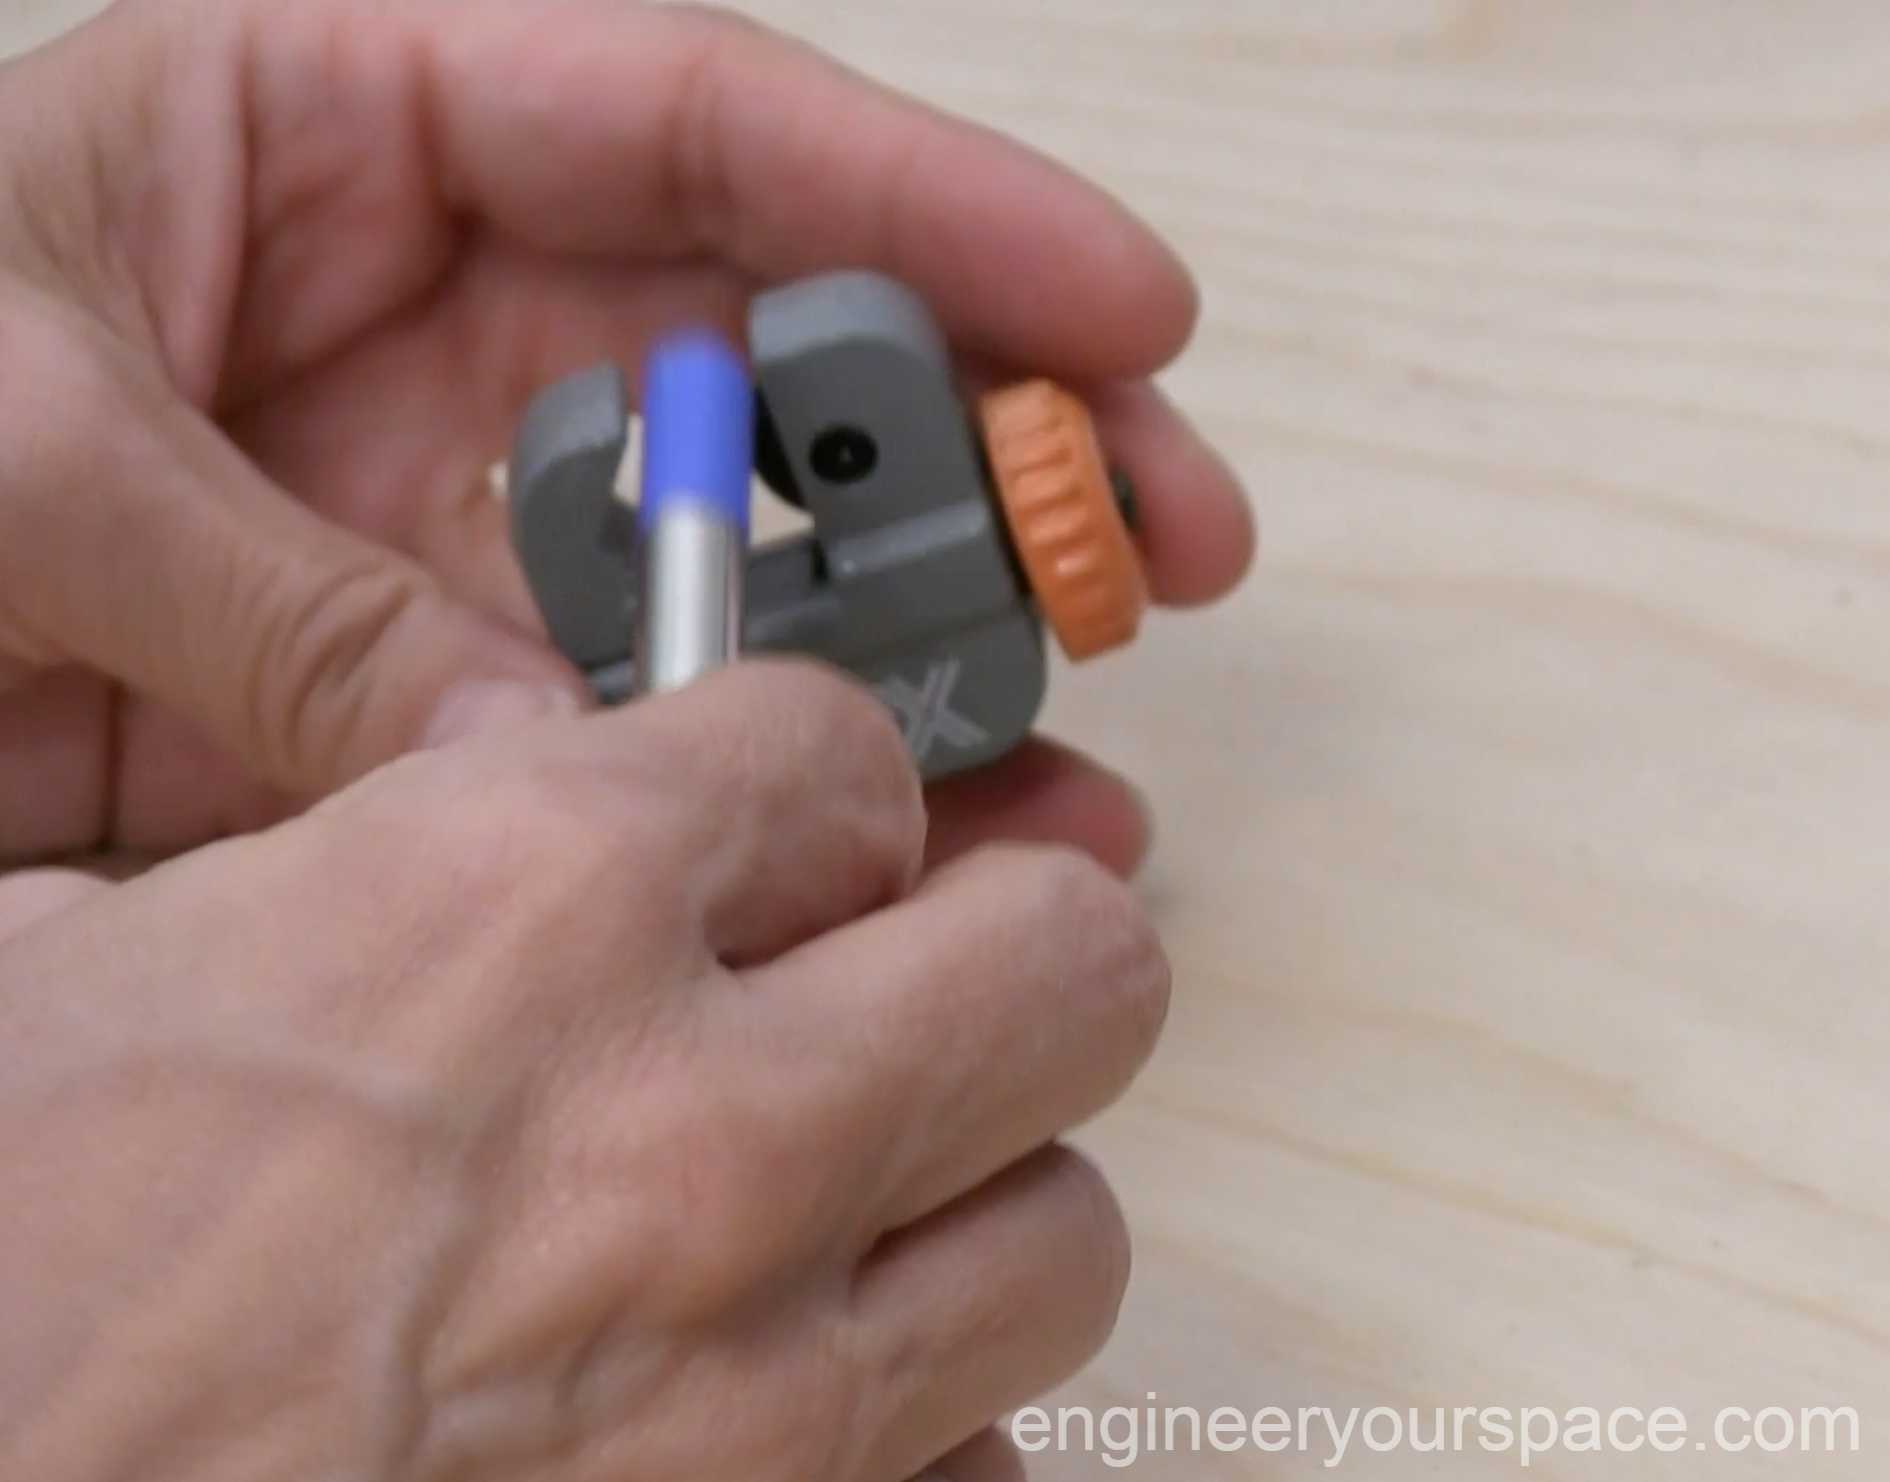
The process was fairly easy but it did take a bit of time and patience to do all the pieces. The most important thing is to make sure that all the spacers are the same way to ensure that the track is straight.
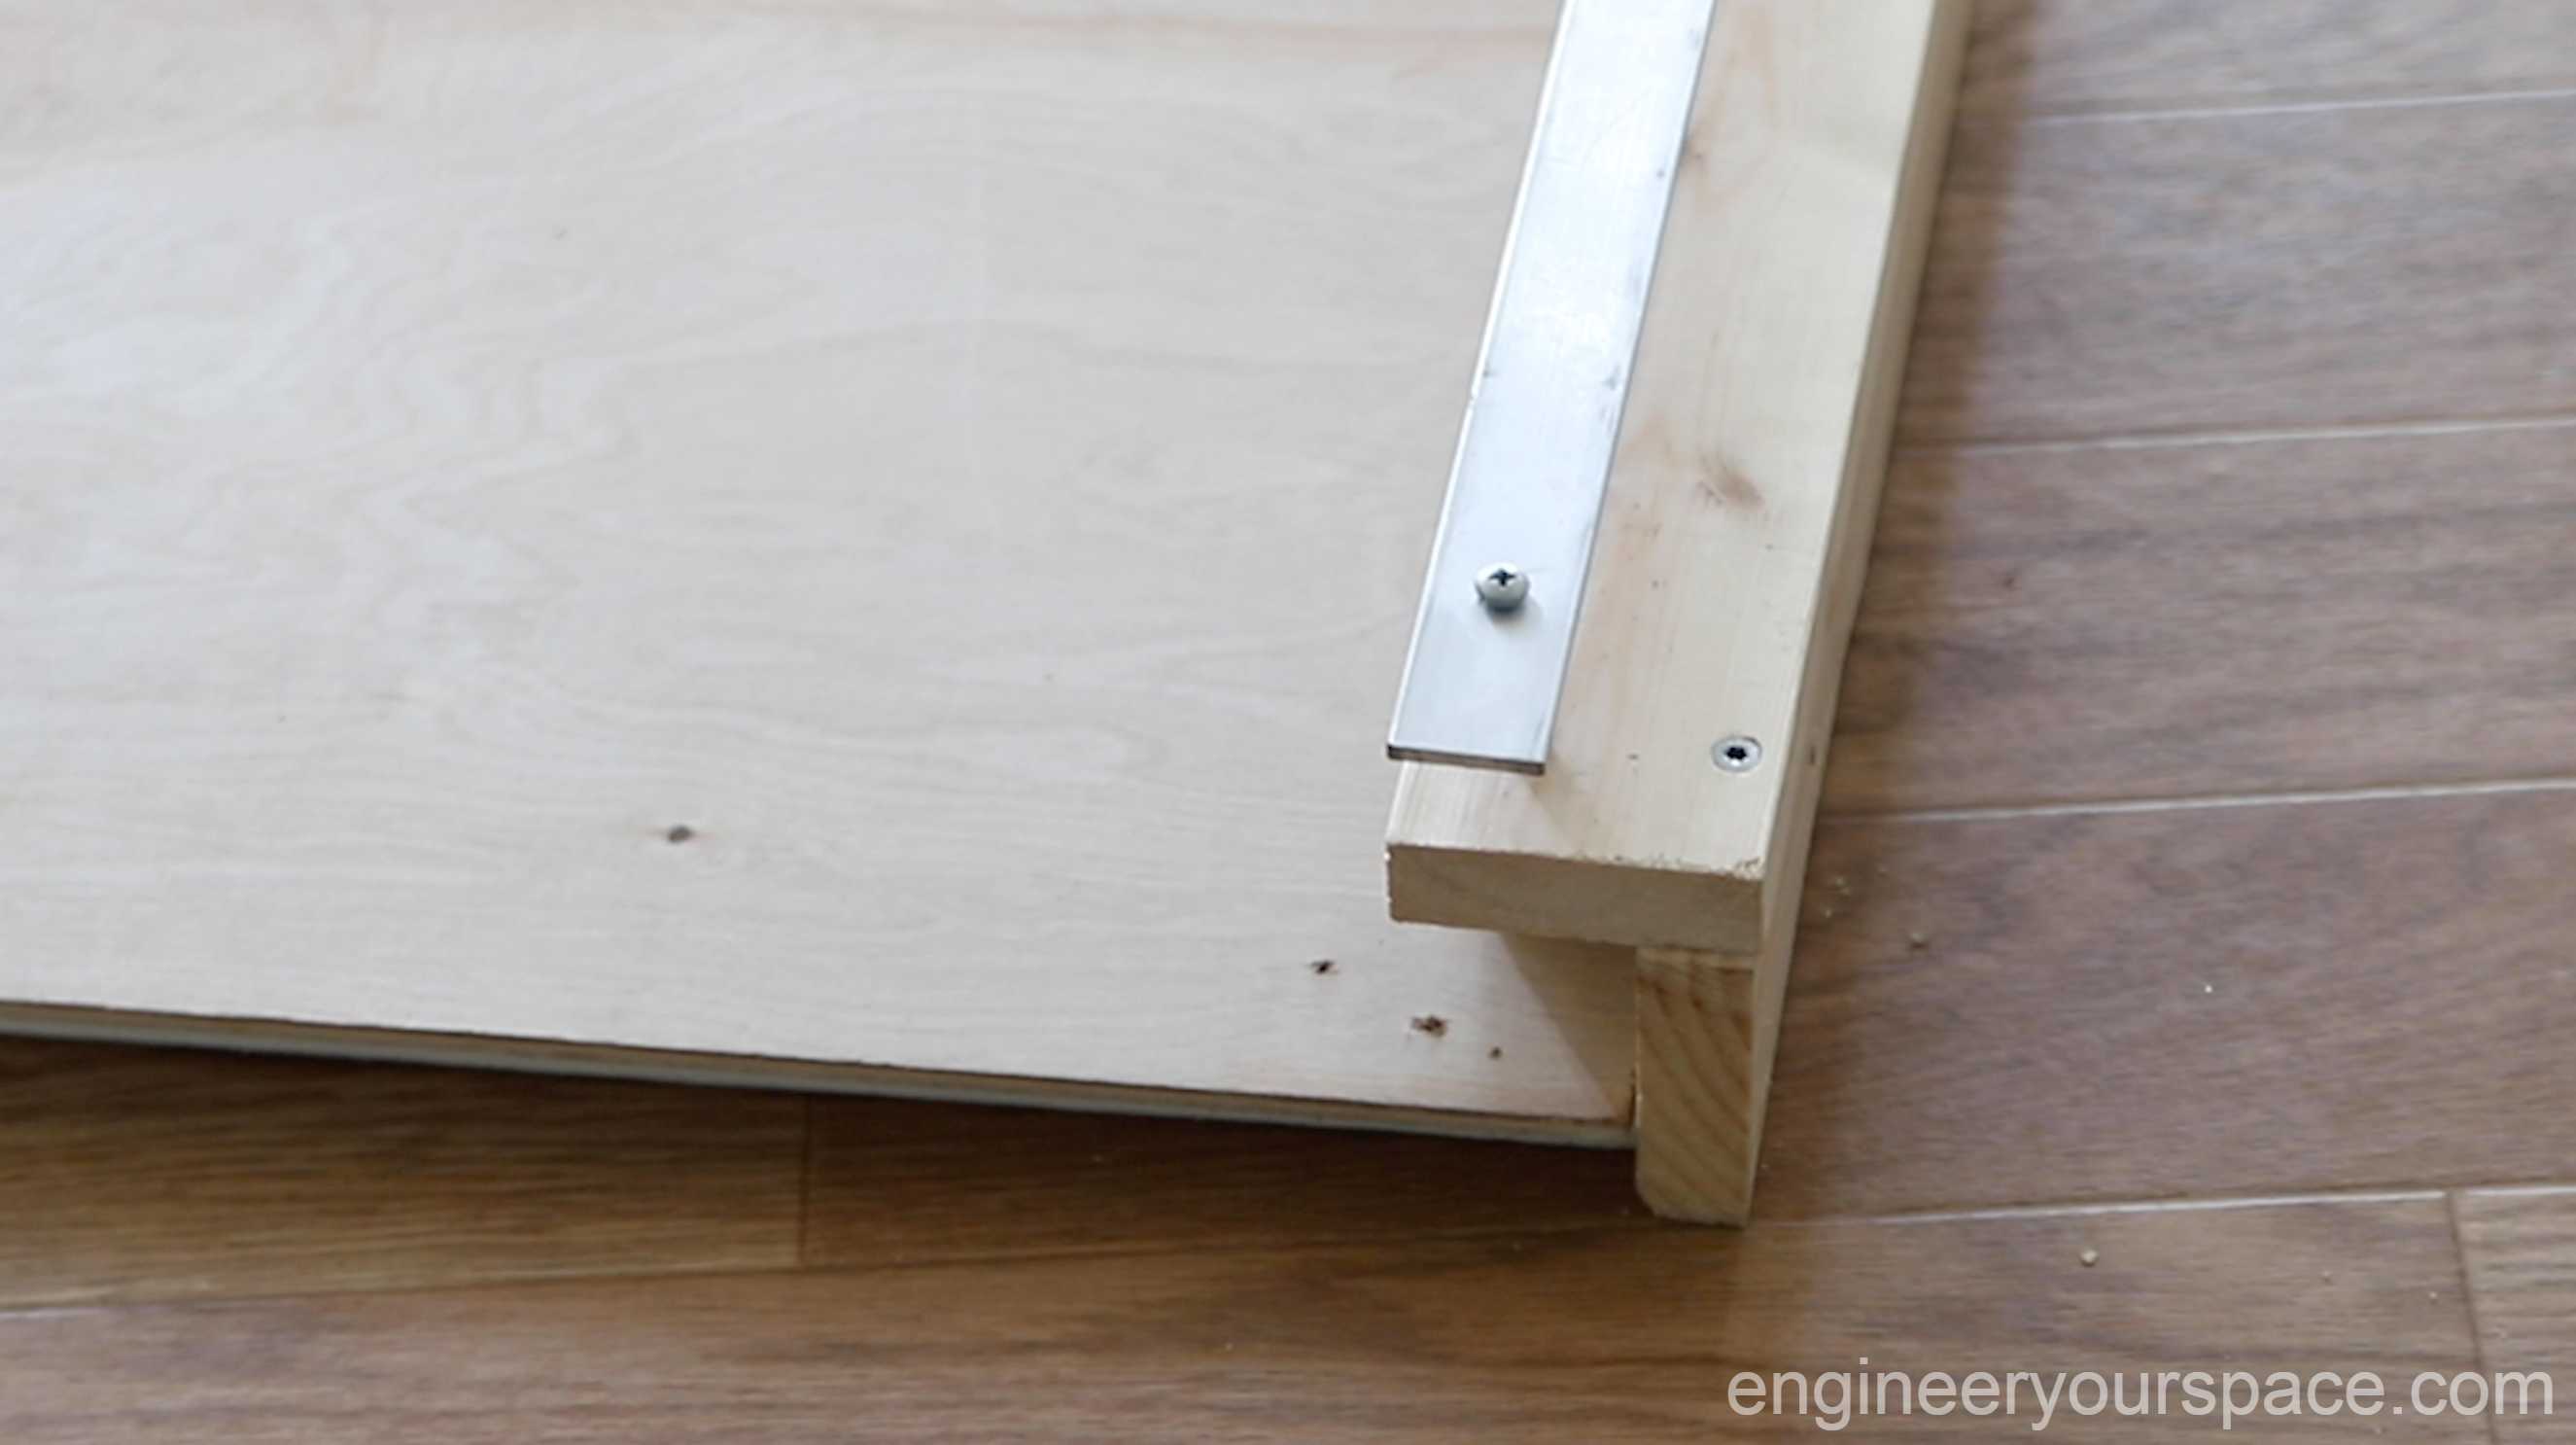
Once the header was built, I attached it to the 2”x2” with screws.
Hangers:
I wasn’t sure what to use for the wheels initially but after wandering the aisles of the hardware store, I was lucky to find patio door roller kits that have two metal wheels that are the perfect size for my project.
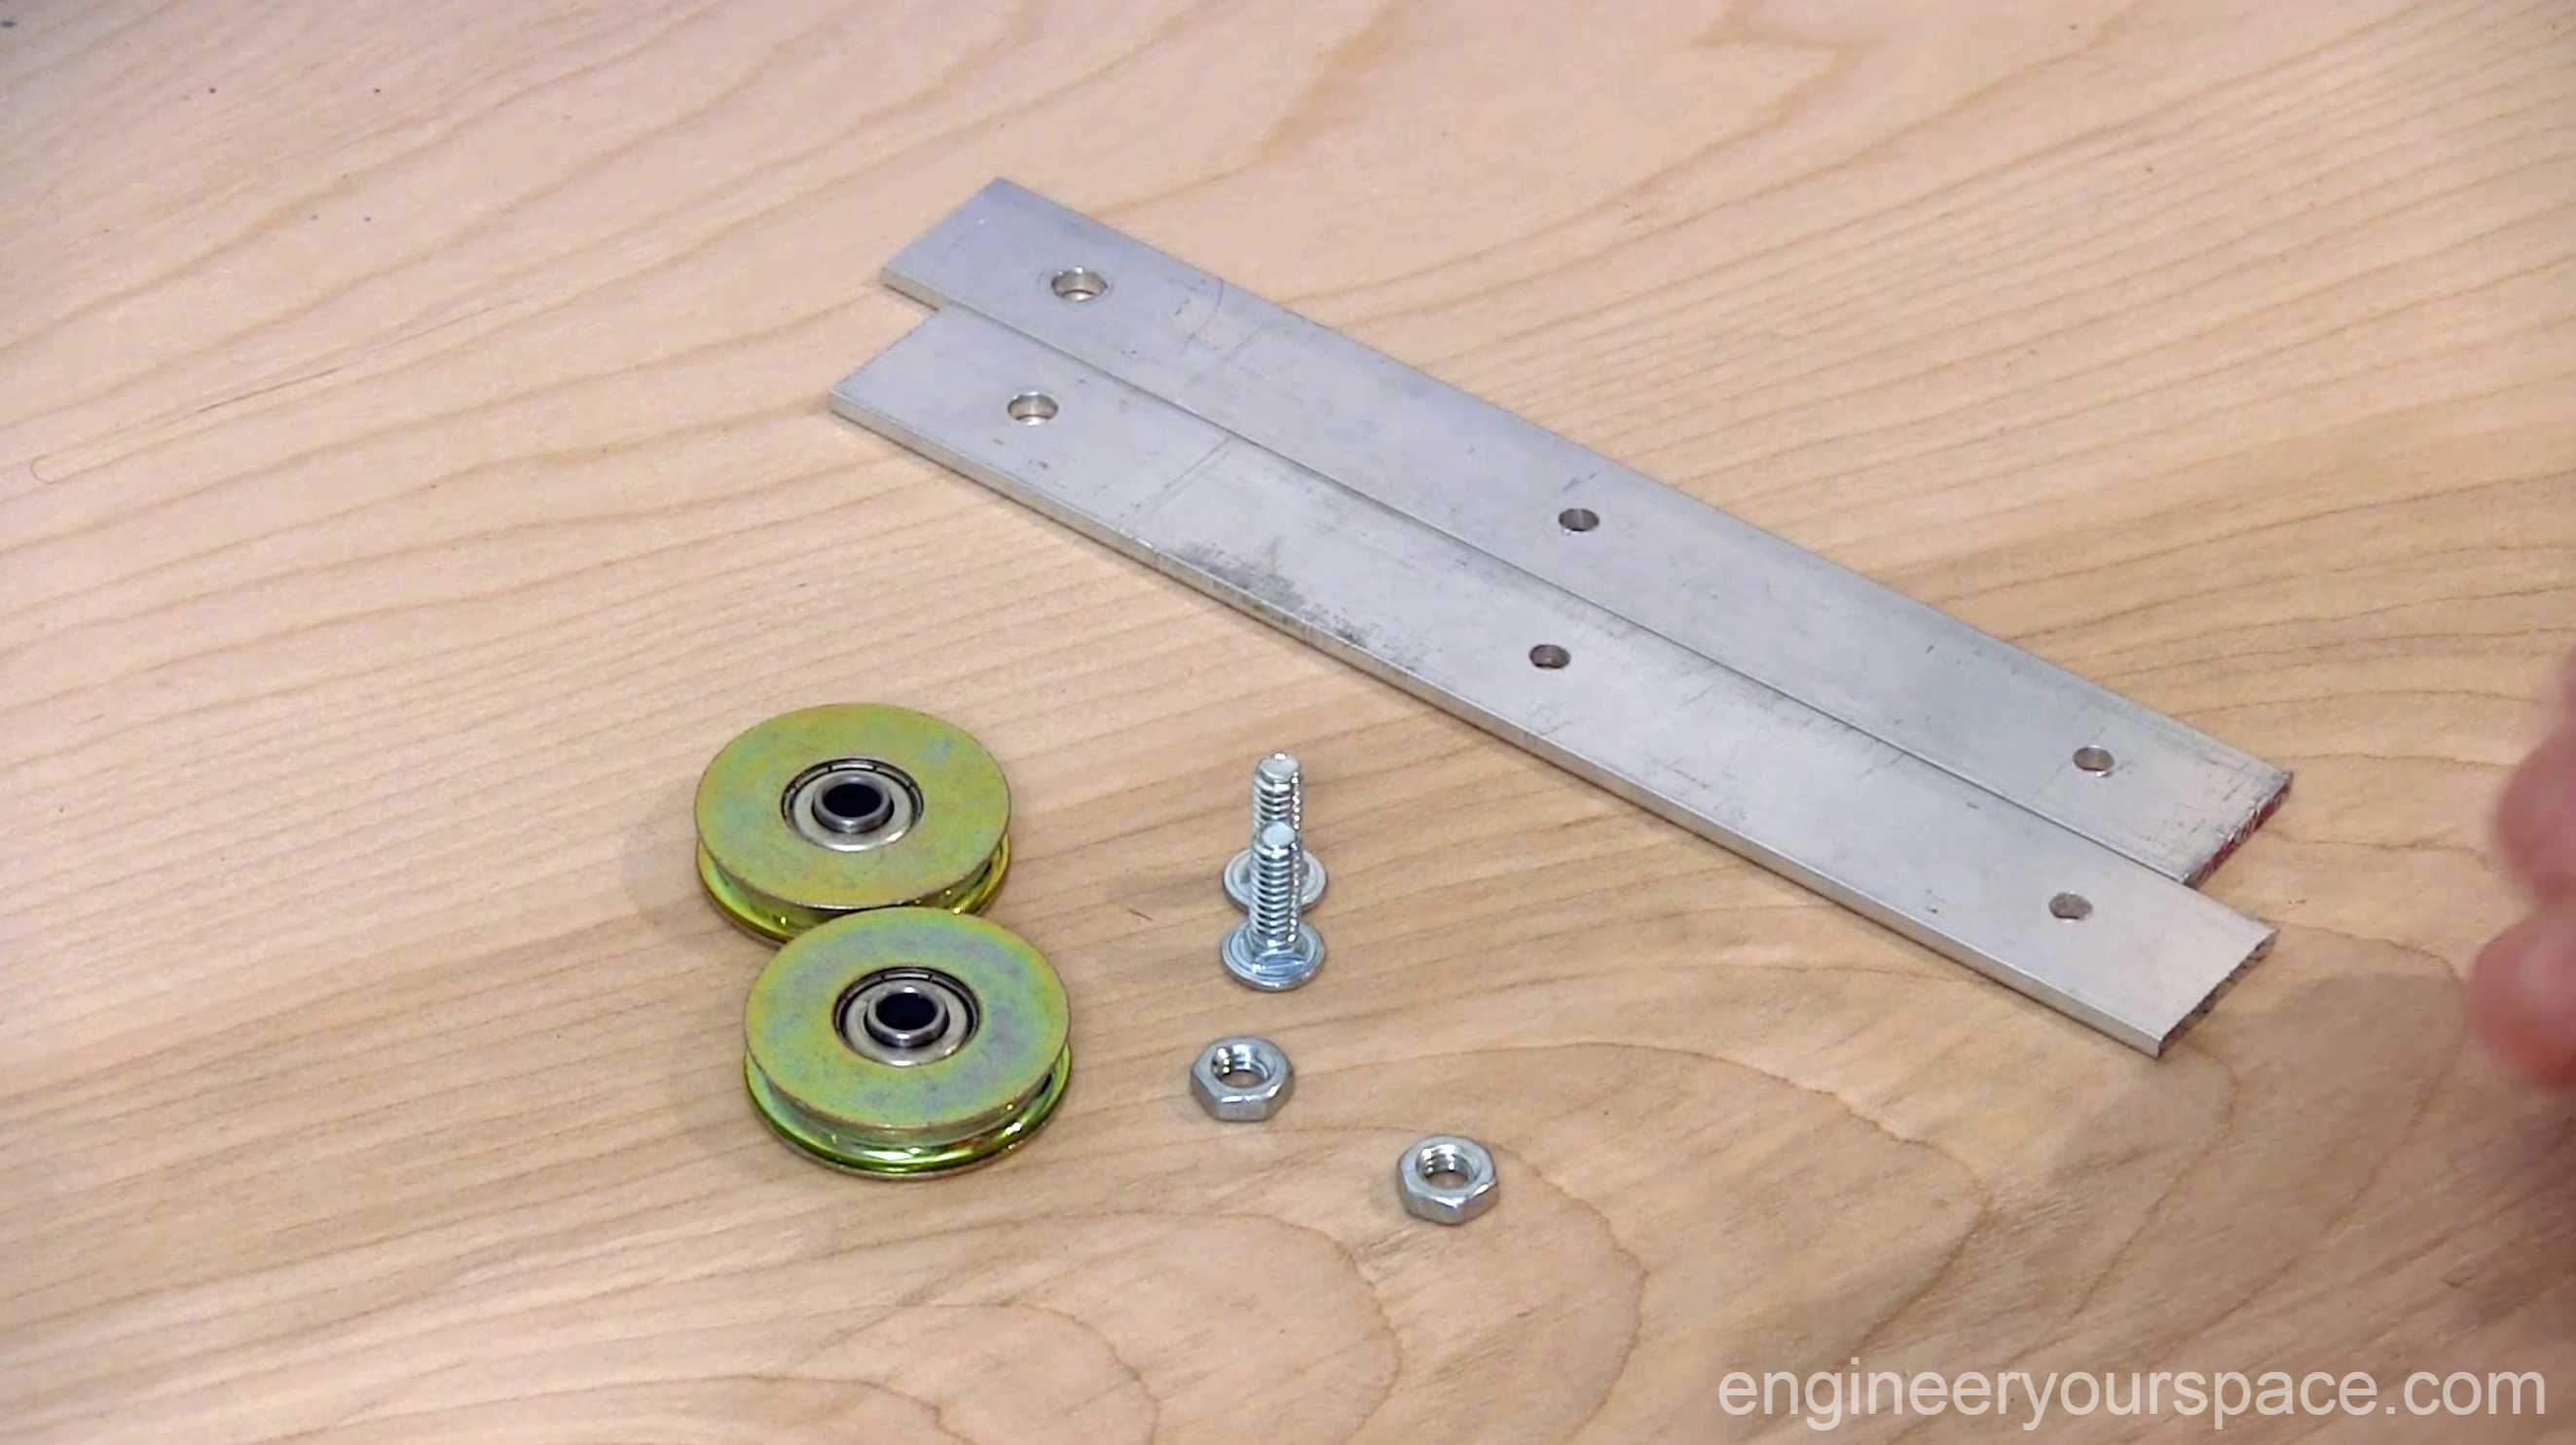
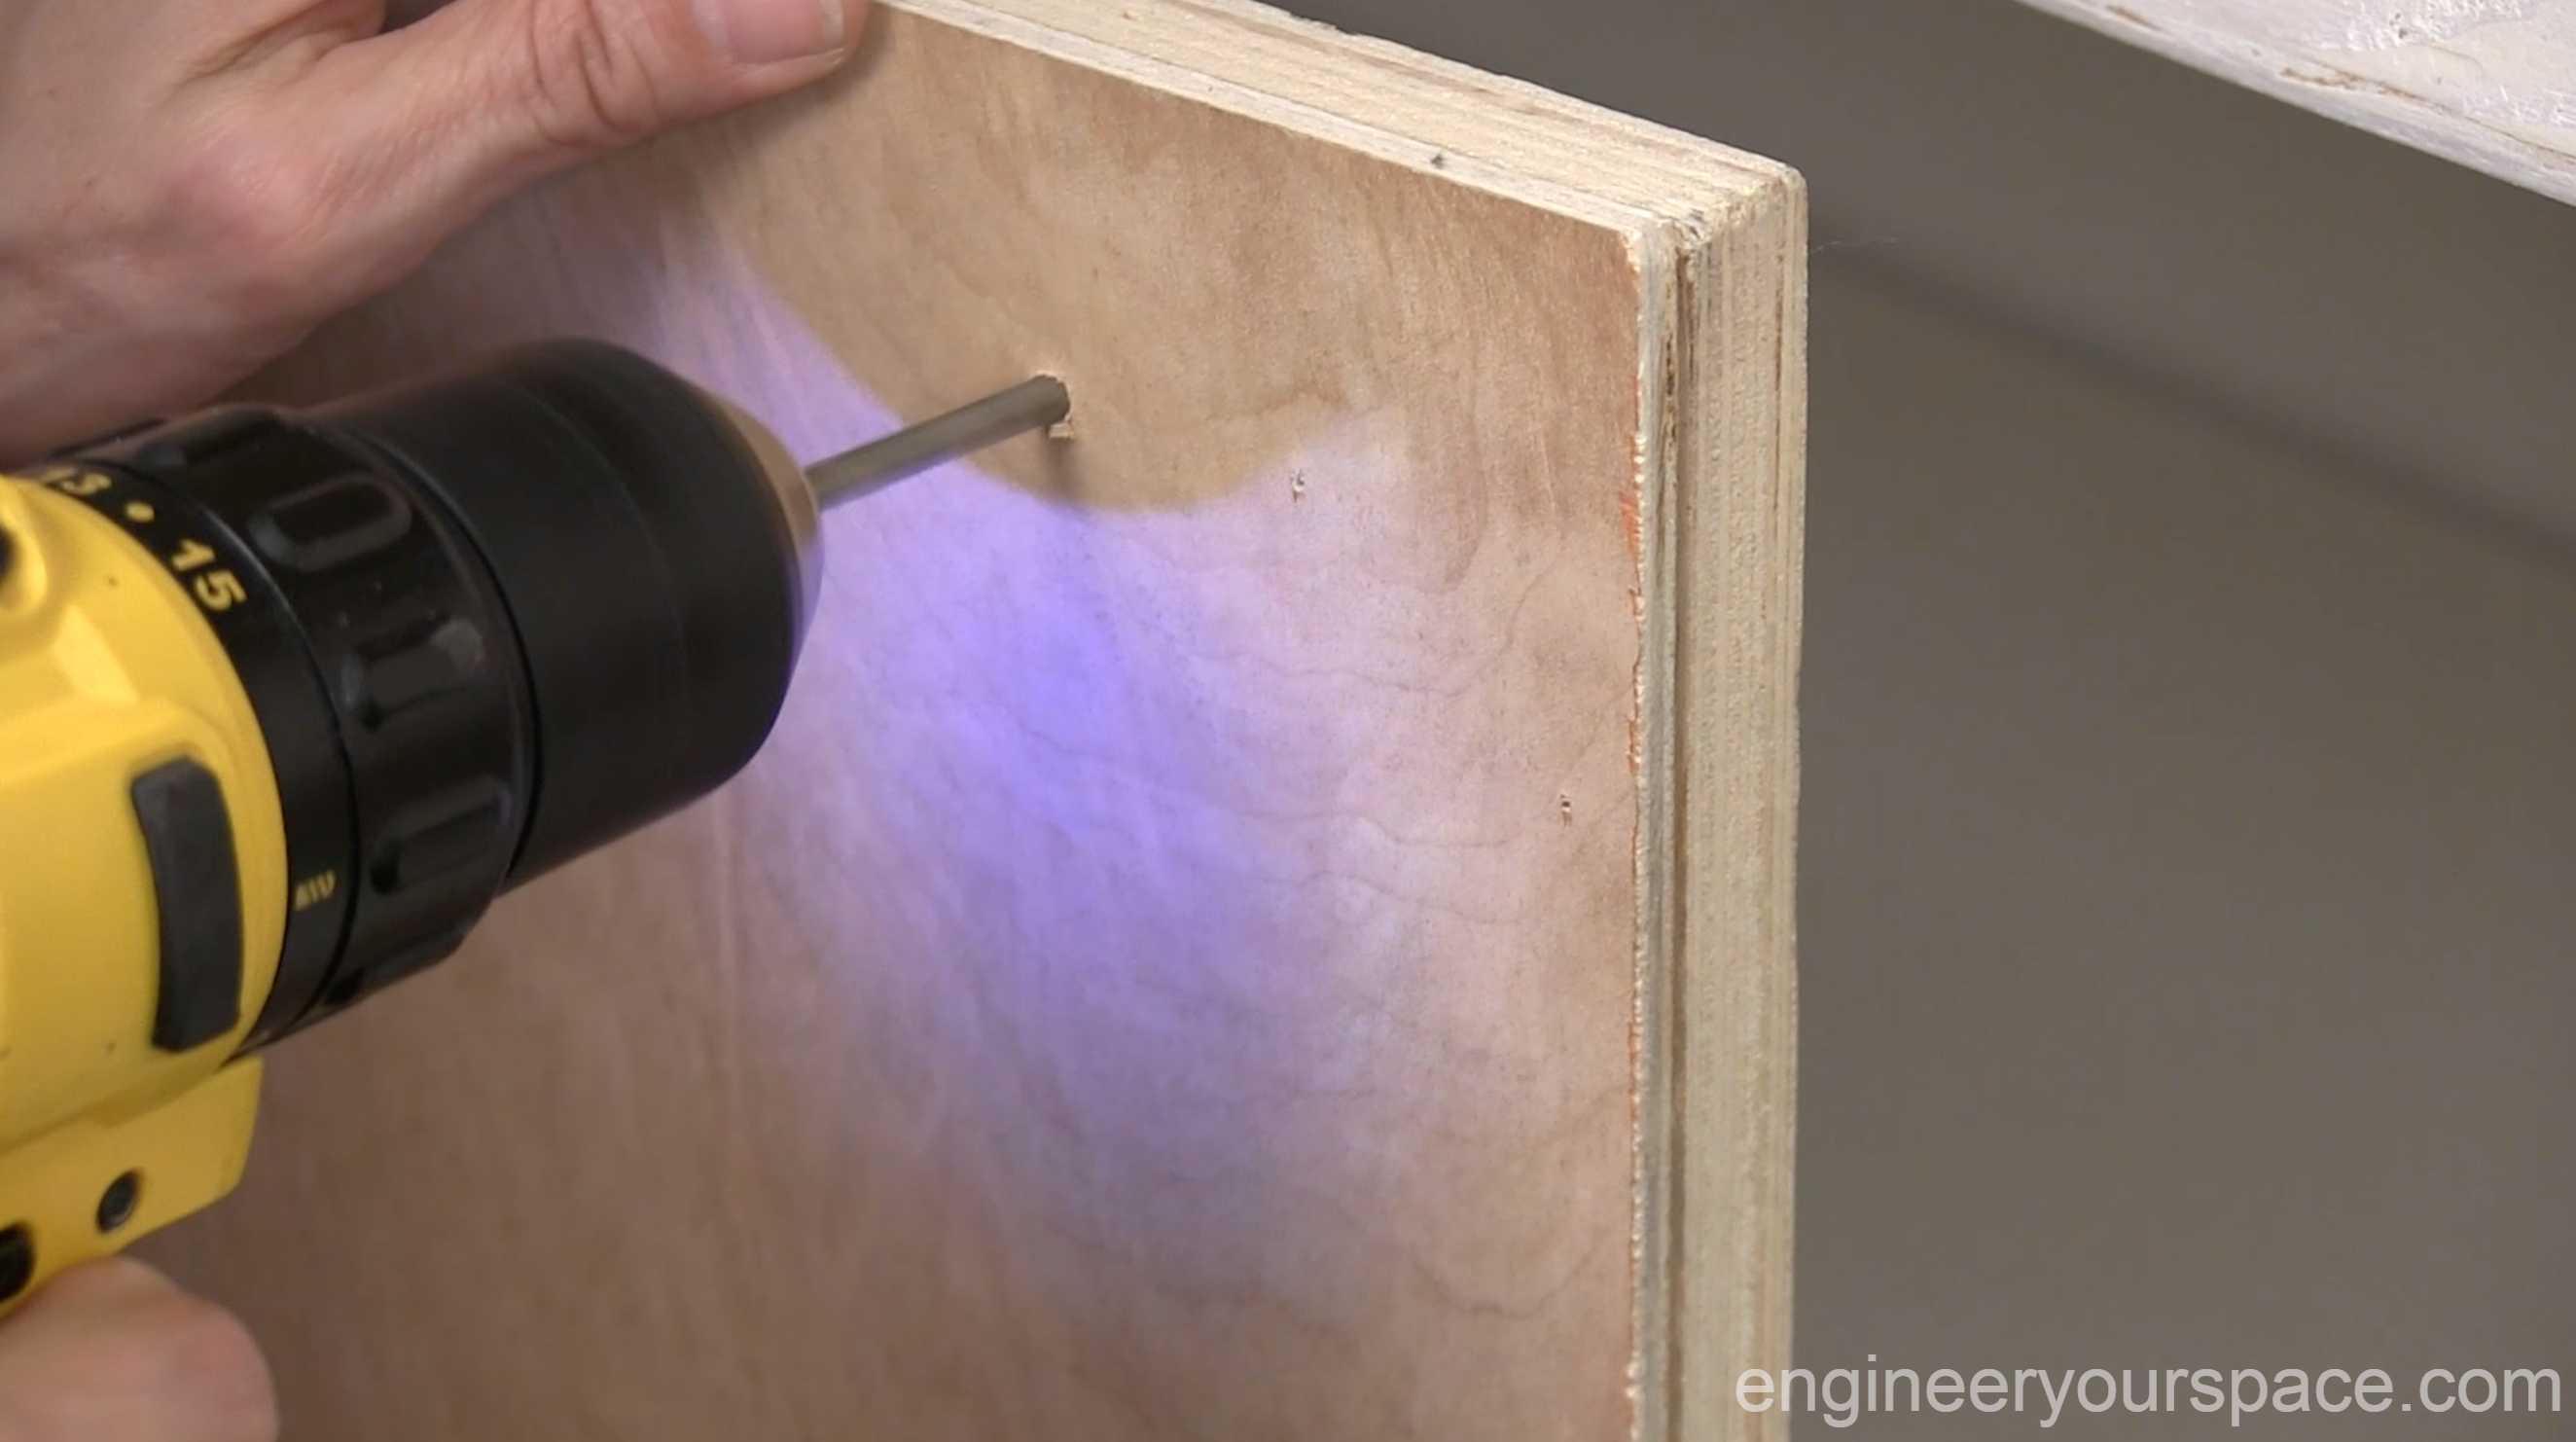
But first I had to make the hangers out of the same 1” wide aluminum bar I used to make the track. I cut the bar into four 8” long pieces with a hacksaw.

It’s not ideal but it does the job. Next I drilled three holes into each of the four hangers. I started by making a divot with a nail and this helps prevent the drill bit from slipping. I used a smaller drill bit to make the first hole to be more precise and then I made the hole bigger with a quarter inch drill bit. The first hanger served as the template for drilling holes in the other hangers to make sure that they’re all identical.

Putting on the wheels
The patio door roller kit comes with two wheels and lots of hardware. And all you need are these two larger bolts. The bolts weren’t long enough to get a very tight fit with the nut so to make sure that the nuts don’t come undone, I added a bit of glue that works with metal – this will keep the nut in place while the wheel is still able to turn.

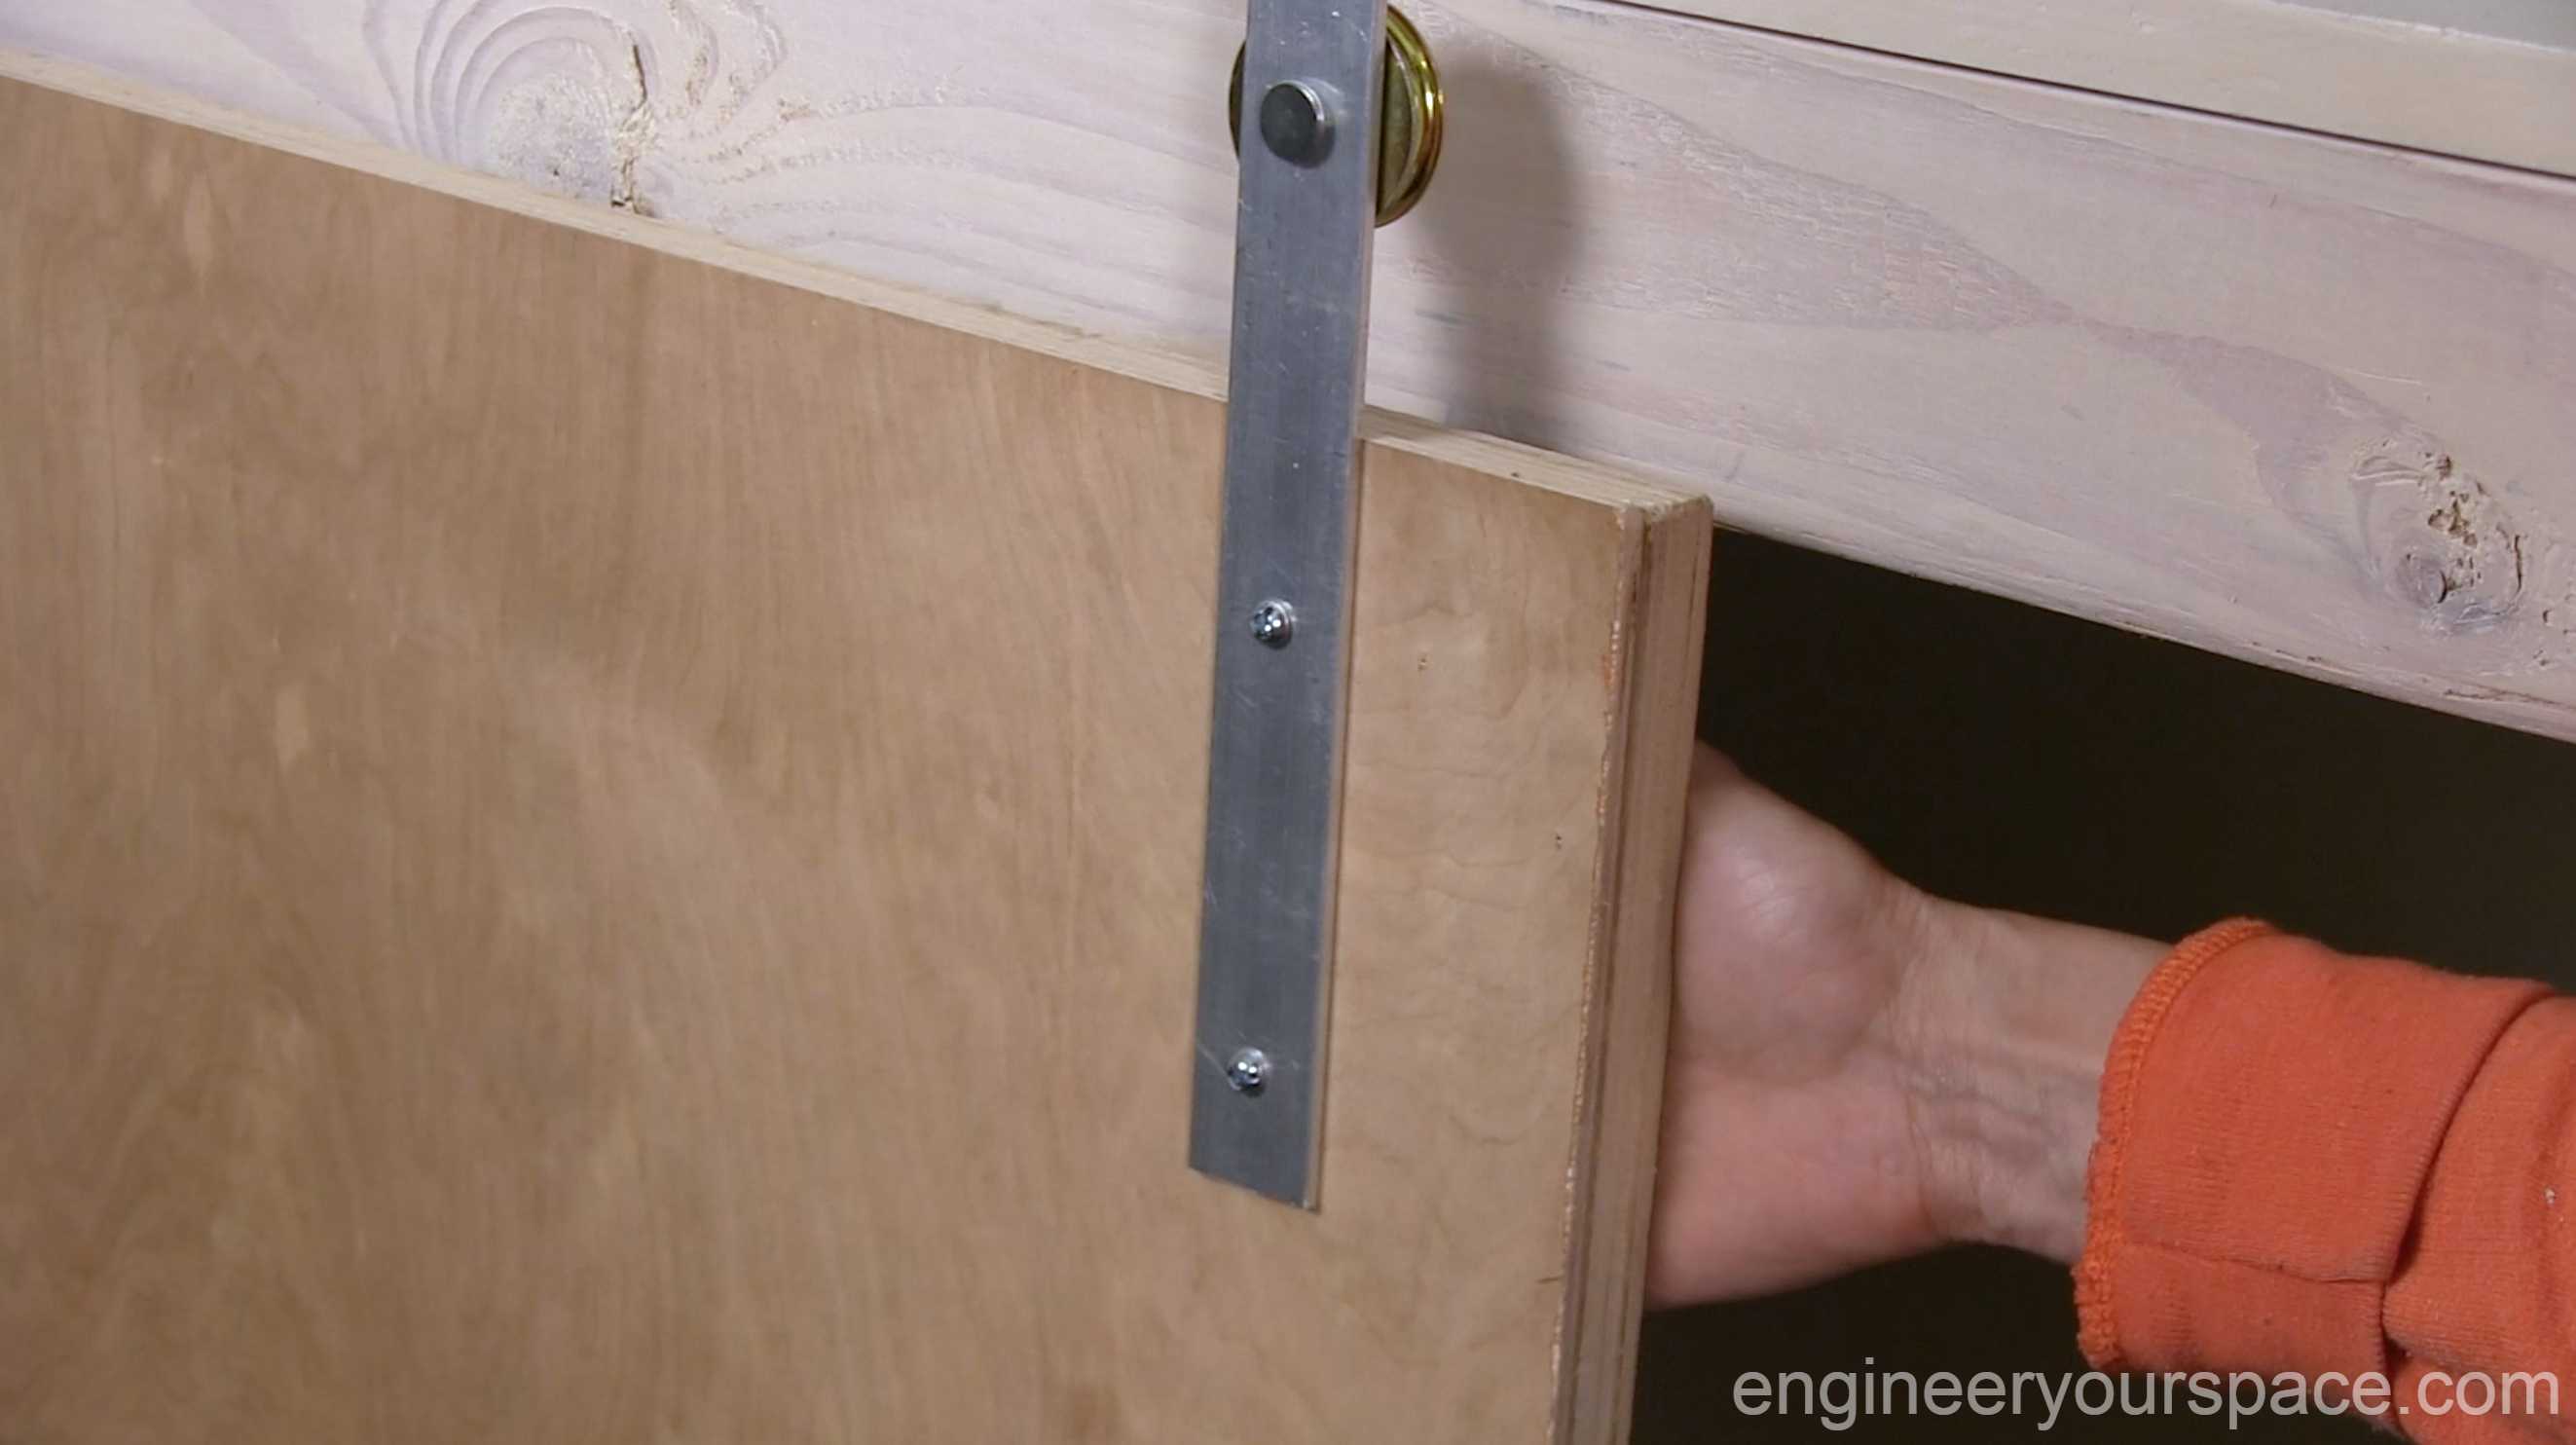
Installing the hangers
I used a template to mark where to drill the holes on the door for the hangers and then it was easy to attach the hardware with more bolts and nuts. The bolts need to be about half an inch longer than the thickness of the doors.
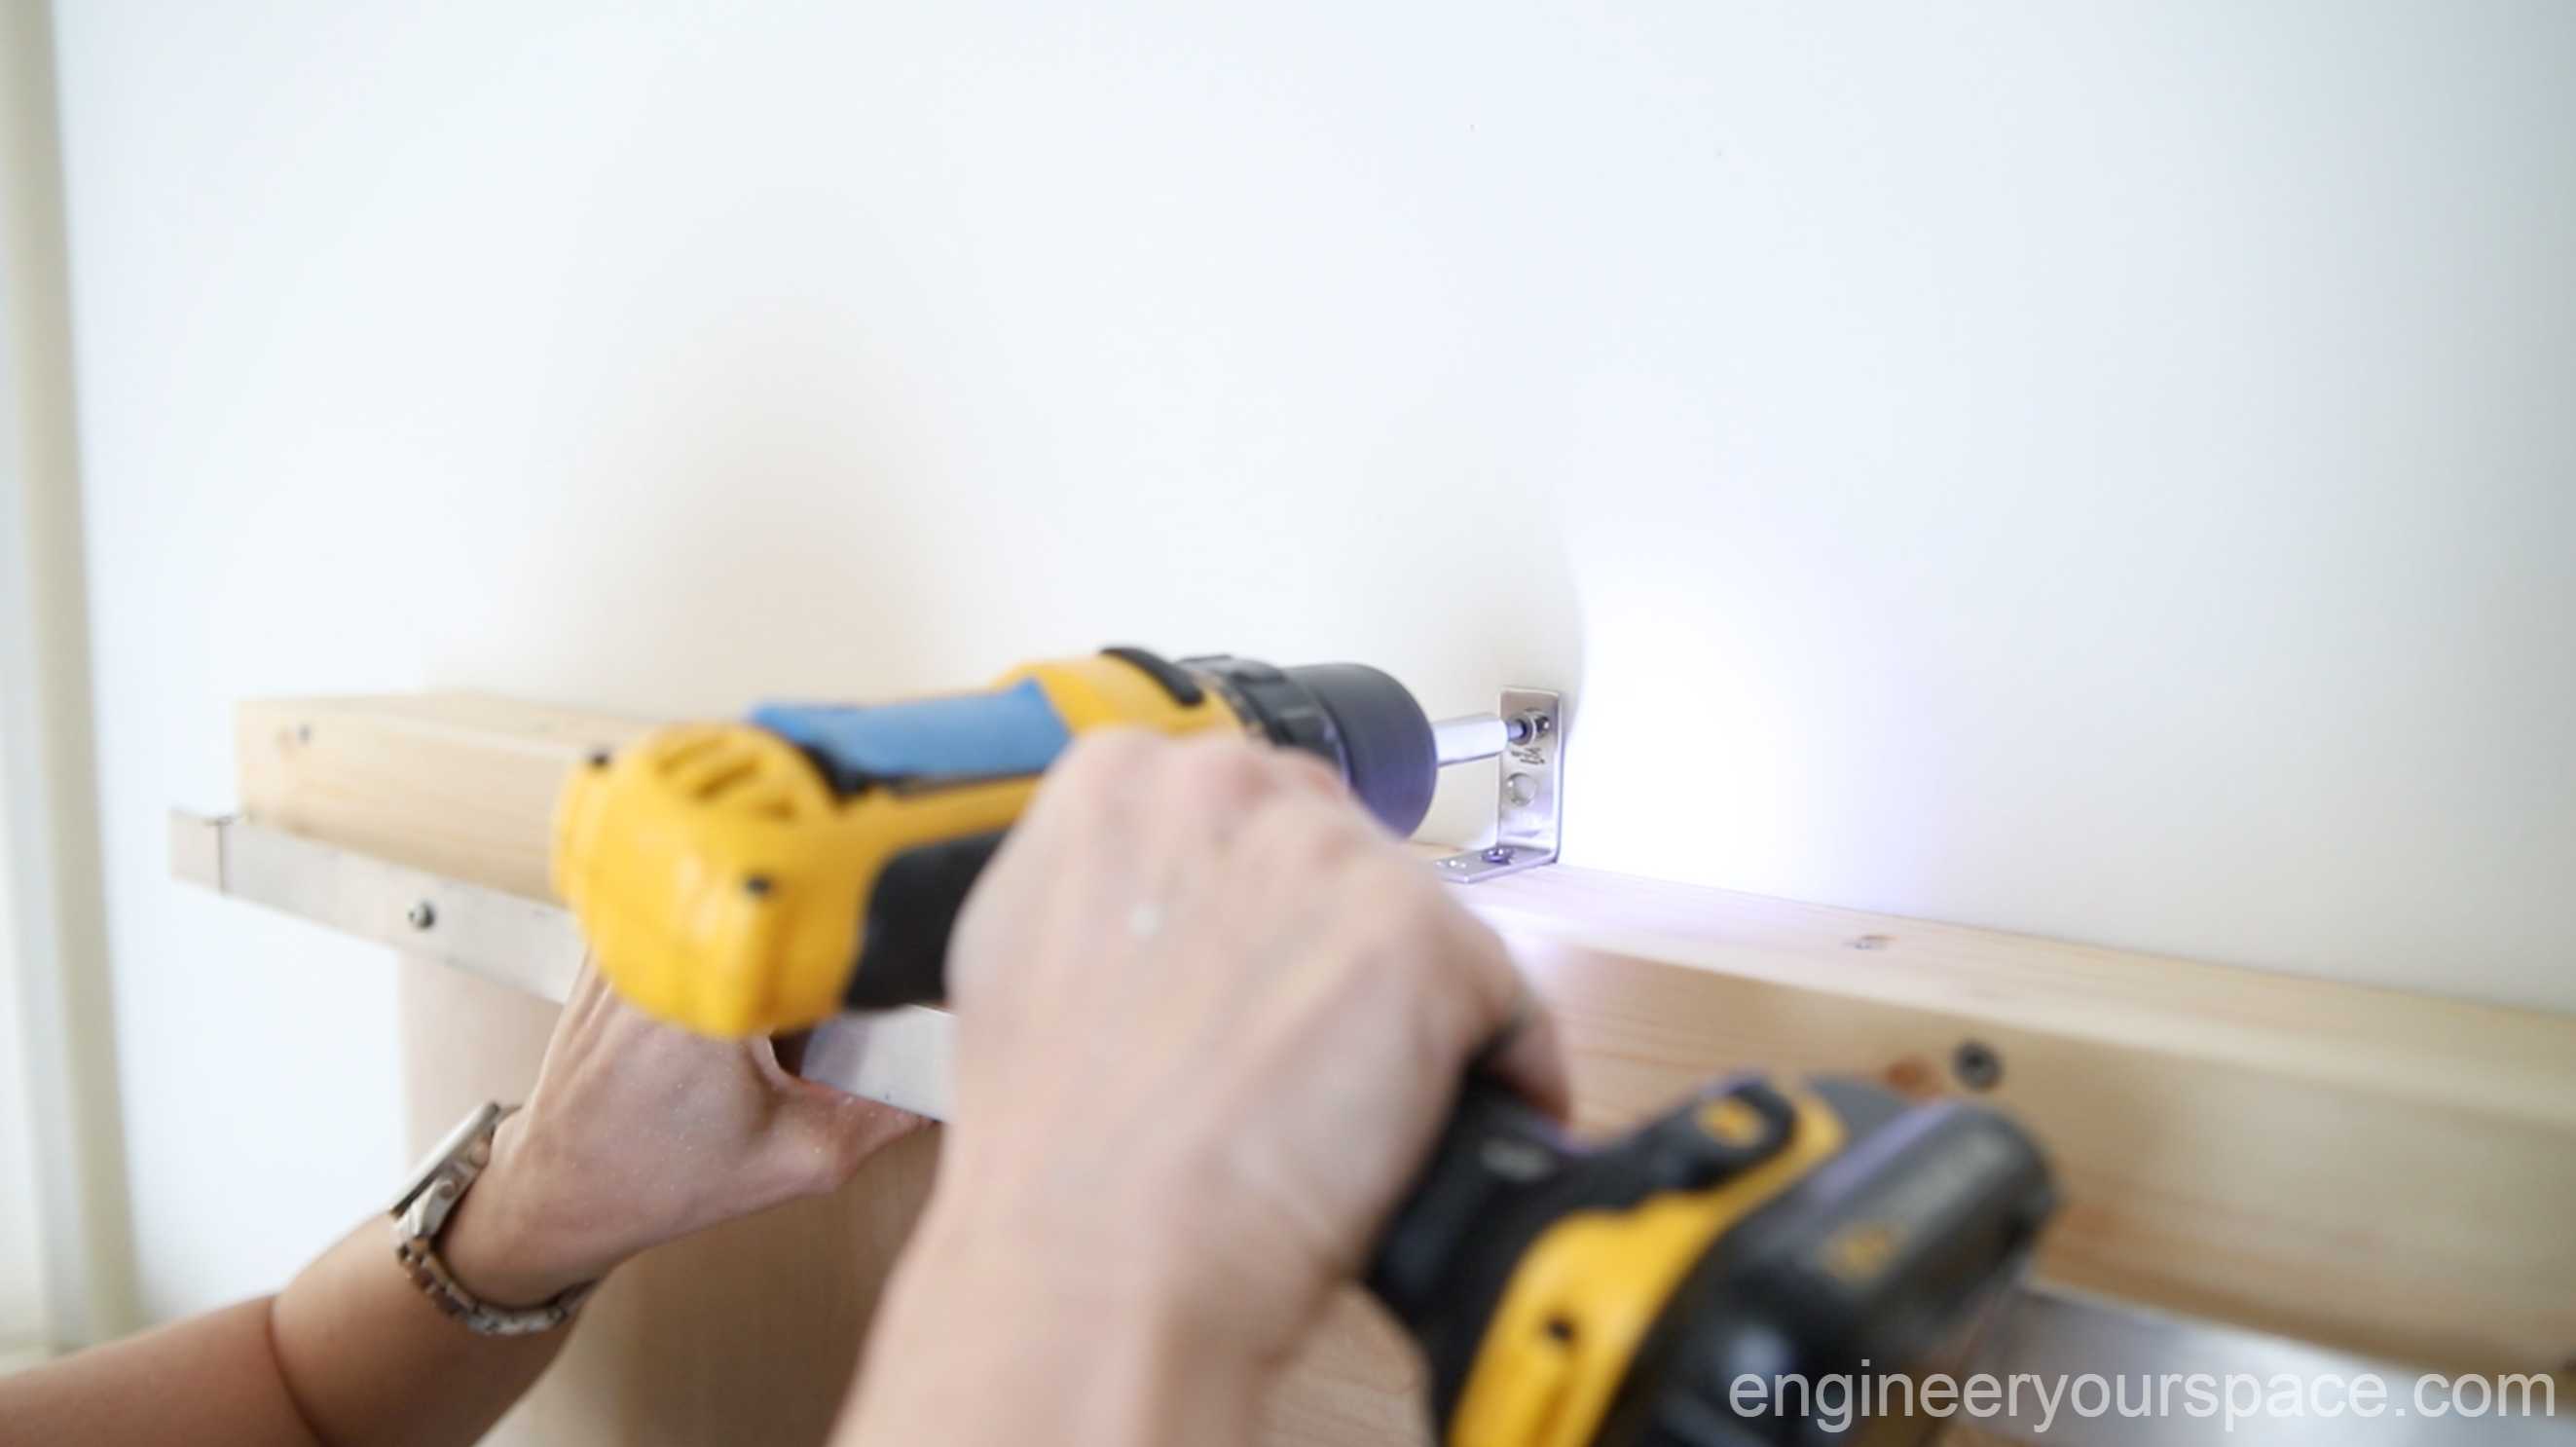
Installing the wall panel and door
The panel rests on the floor but the top of the panel also needs to be attached to the wall studs with brackets so that it can hold the weight of the barn door.
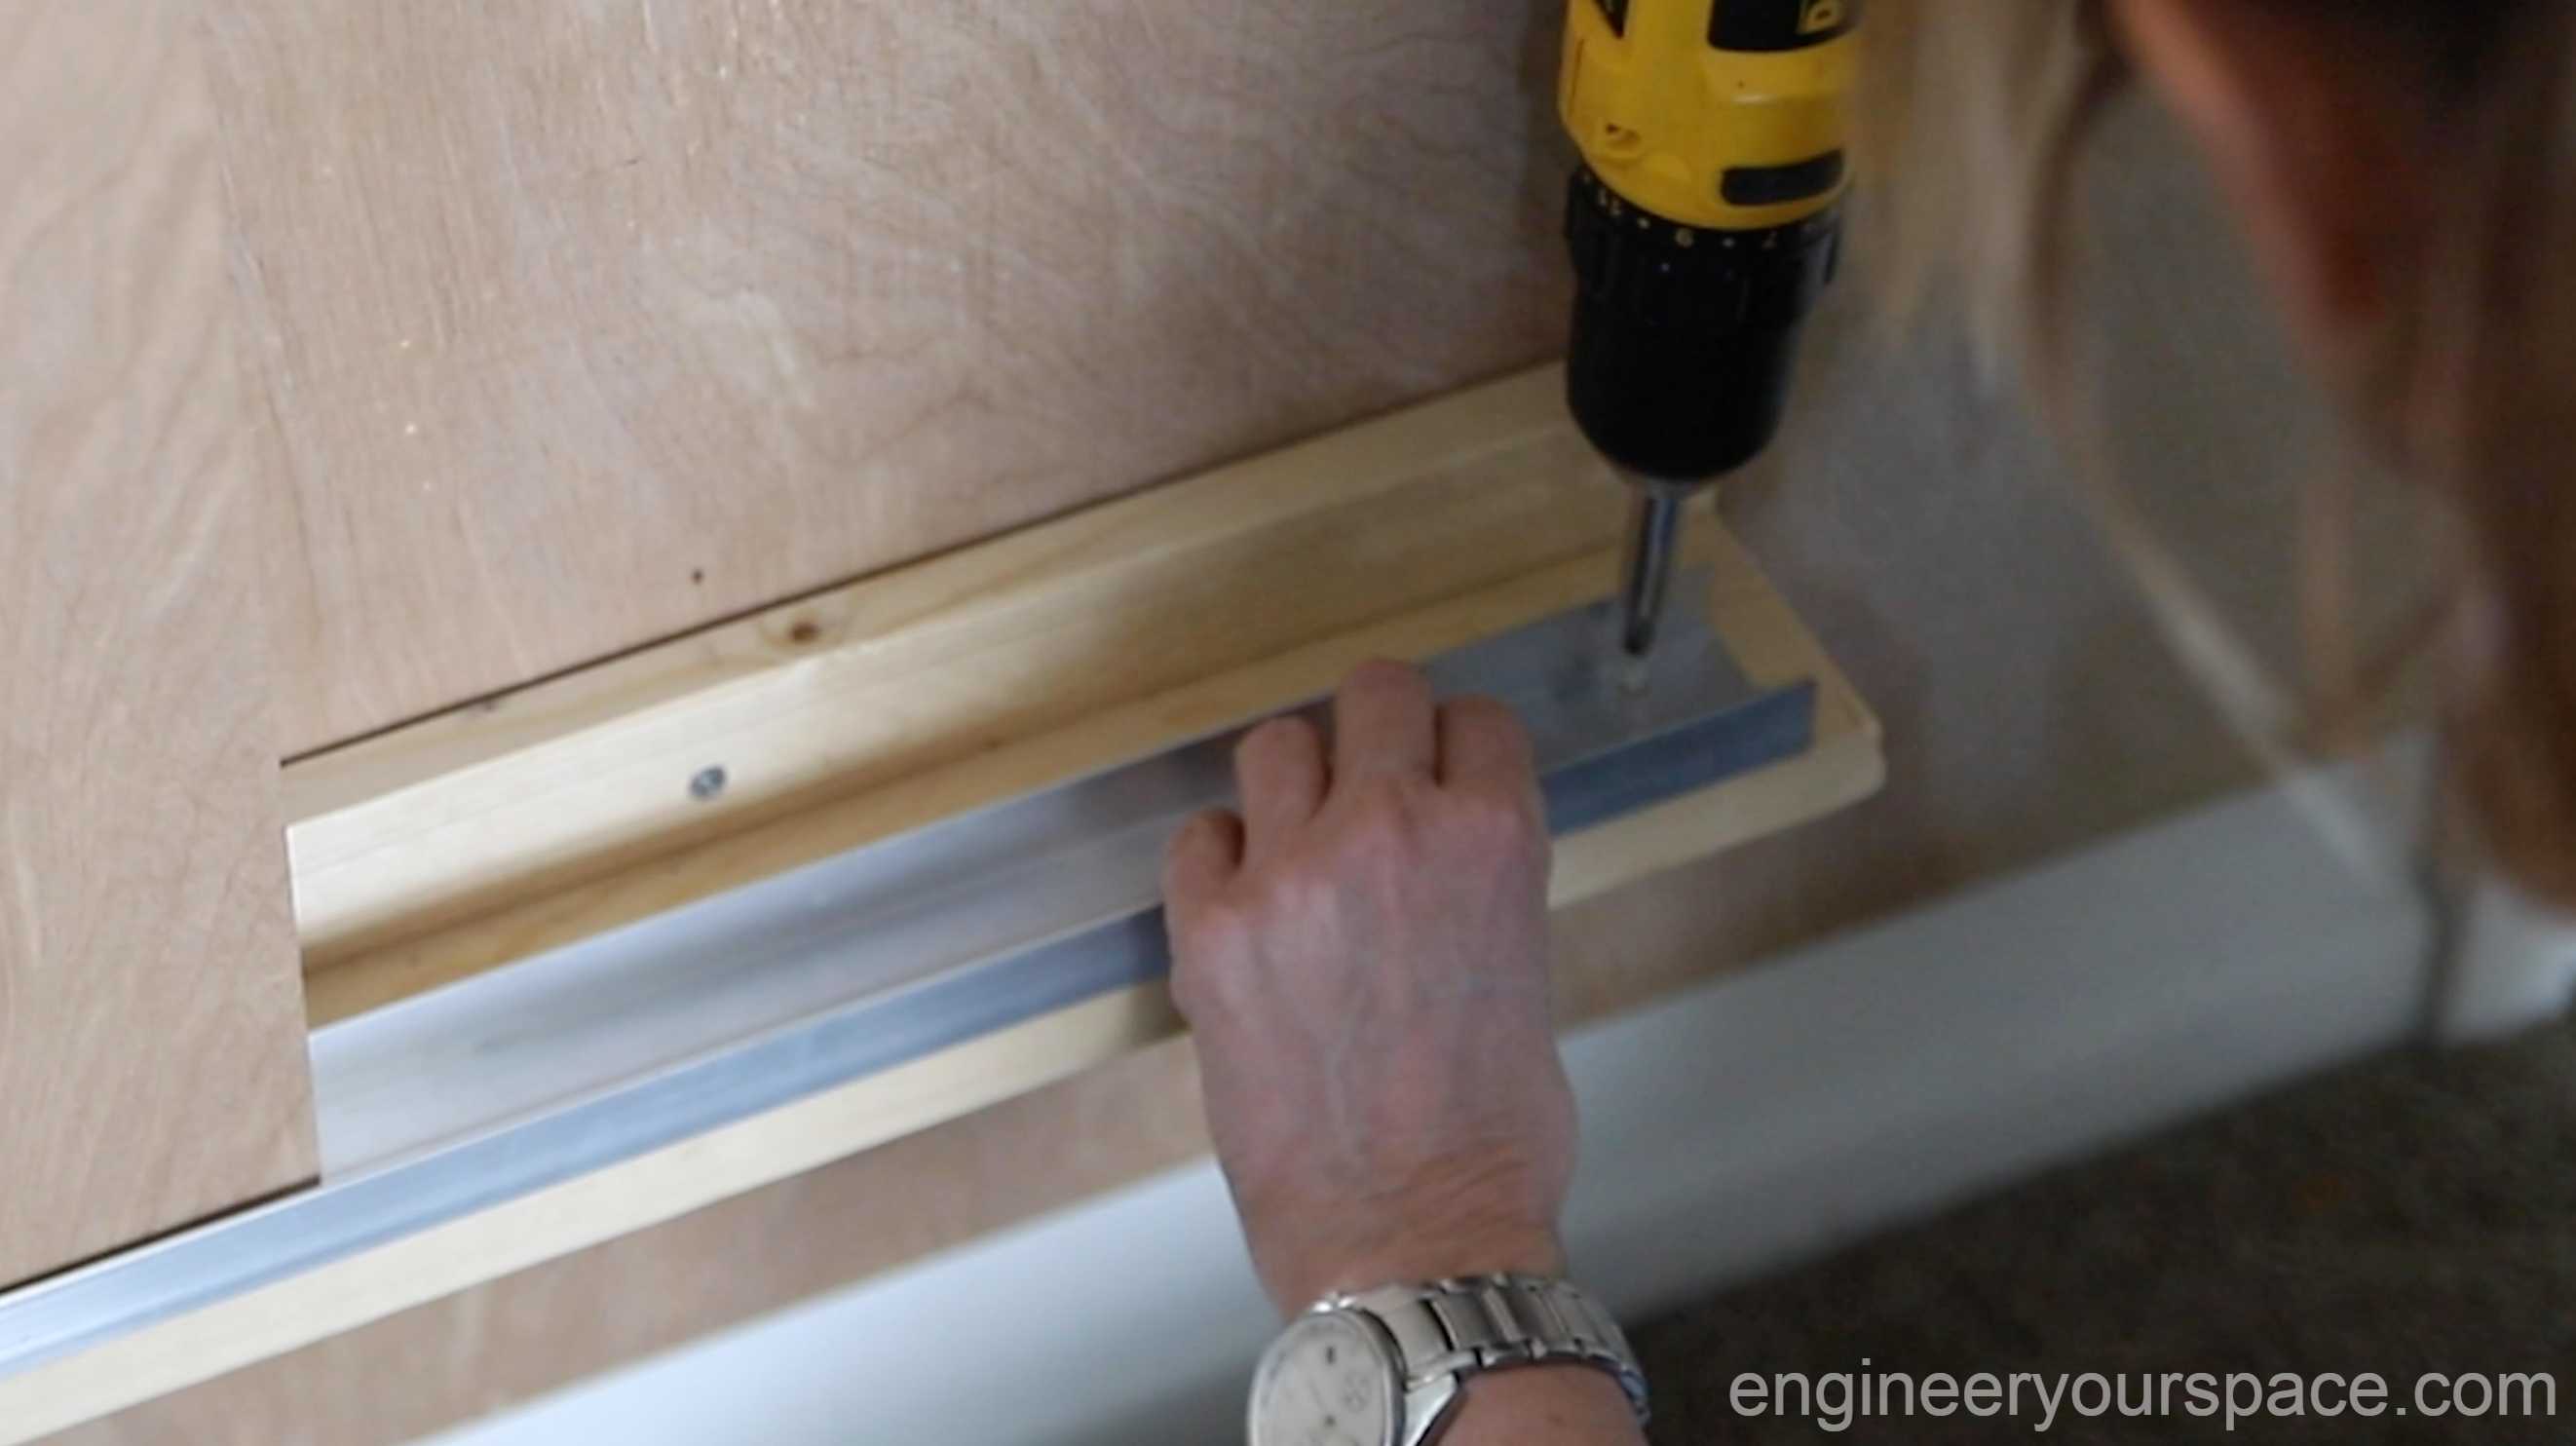
The one thing I didn’t like so much is that the door at the bottom swings back and forth. So to fix that I put in a shelf at the bottom of the wall panel where I installed a track that I made out of metal angles. I also added some stoppers to the track to prevent the door from coming off the track at the ends. I made them with bent hair bobby pins but you could also use binder clips.
I absolutely love this set up, especially that I can use my whiteboard when sitting at my desk and that I don’t have to look at it when I’m done working. It also serves as a place to hang a calendar, a cork board and even a tiny plant propagation station. This was only one of the projects from my office makeover, which you can watch in its entirety in this video here.


0 Comments