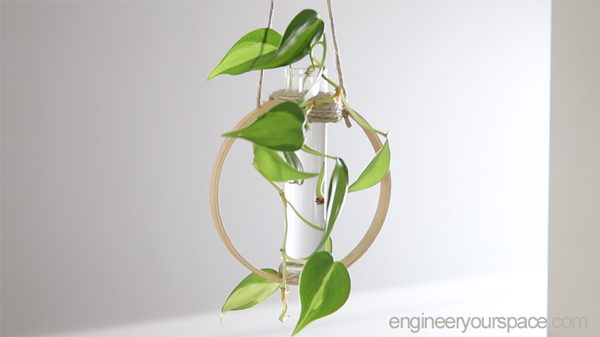
Being stuck at home these days has made me get creative with what I have on hand. As I was looking through all of my left over materials from previous projects to see what I could make my mom for Mother’s Day, I came across 4″ embroidery hoops, and test tubes. Then out of the blue, I got this idea for making a hanging test tube plant propagation station. It took a bit of MacGyvering, but I was able to find all I needed at home, didn’t have to buy a single thing to make it!
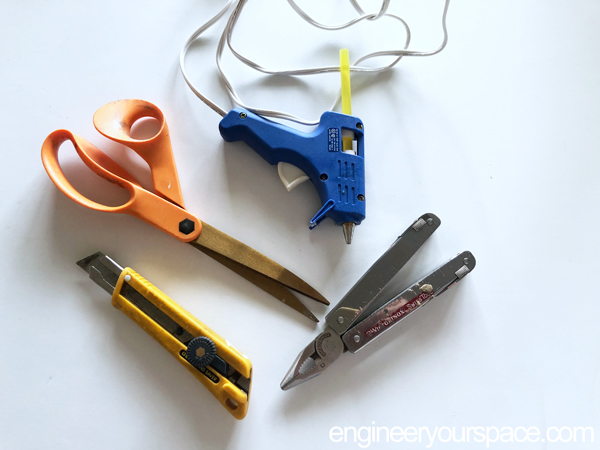
Here are the materials and tools I used:
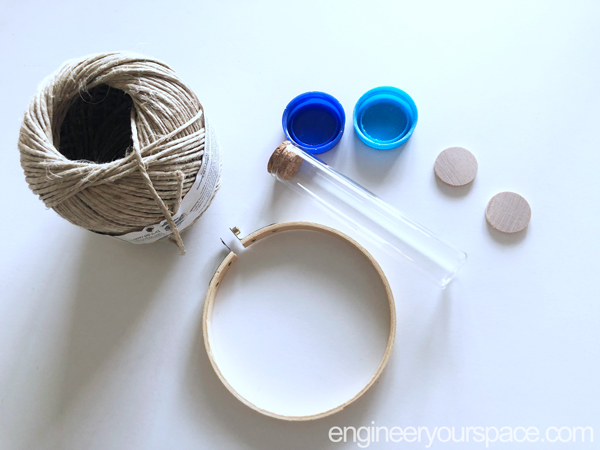
I used the outside ring of 4″ wooden embroidery hoops, jute twine and I had purchased the test tubes on Amazon for another propagation I made – they come out to less than a $1 per test tube so if you get a box, you can make lots of these. They make great house warming presents!
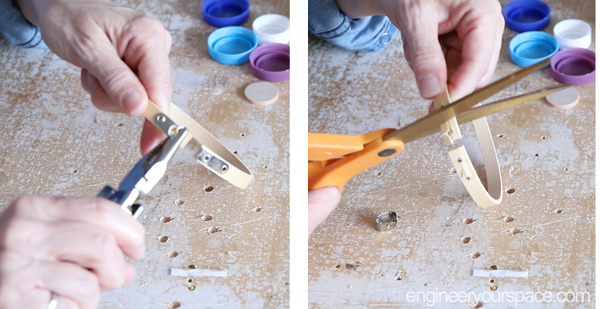
Step 1: I started by taking off the metal brackets with a utility knife. You may find that the wood splits but that’s OK. Then I cut off the first hole on both sides – sturdy scissors worked well for this.
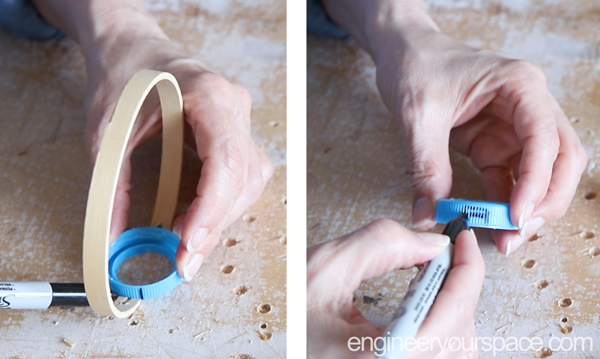
Step 2: I used a utility knife to cut out the middle of a milk jog plastic cap, and traced out where the embroidery hoop will go on either side of the cap, and then cut out those pieces

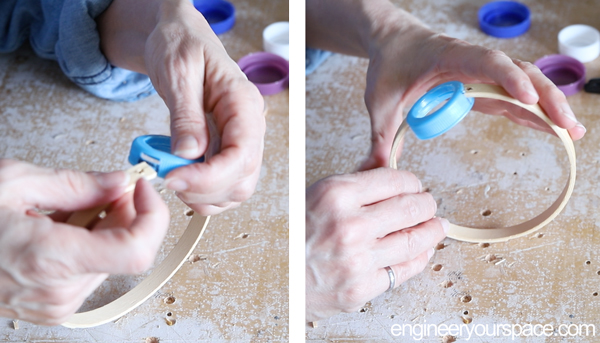
Step 3: I tested that the embroidery hoops fits – perfect!
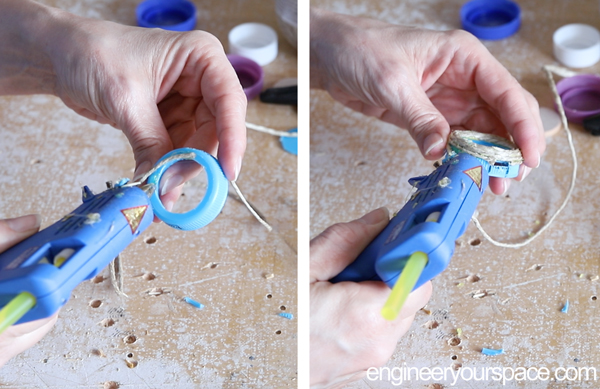
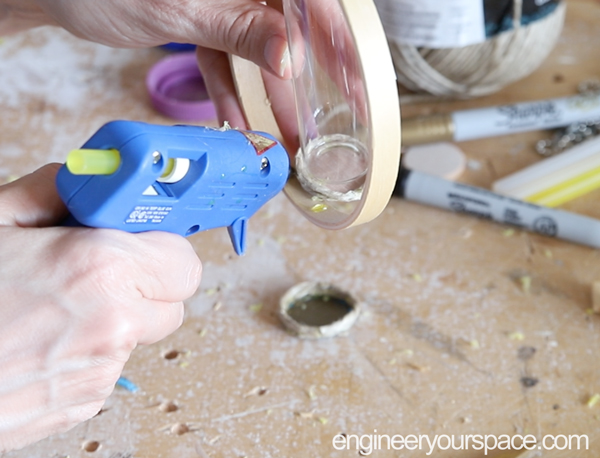
Step 4: Next I used a glue gun to cover up the milk jug plastic cap with twine. I didn’t do this but I would recommend using a gold sharpie to “paint” the cap before doing this because if the twine isn’t tightly wrapped, the color may show through.
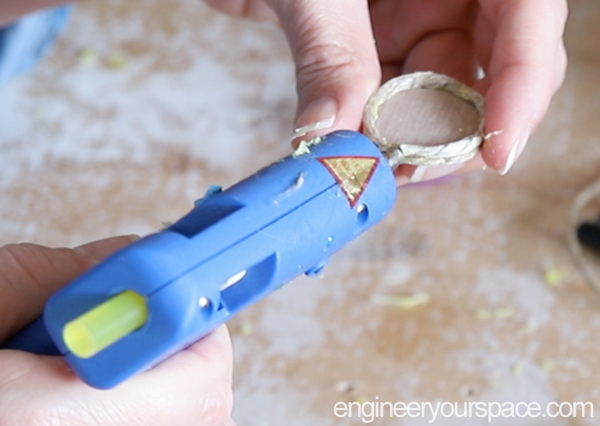
Step 5: I had some 1″ wooden circles from the craft store that were the perfect size for the bottom of the test tubes to rest on so I simply used the glue gun again to wrap a couple of rows of twine to create walls to hold the test tube in place. If you don’t have these circles, you can use the circle that you cut out of the bottle cap and do the same thing (And use a gold sharpie to hide the plastic, or use contact paper).
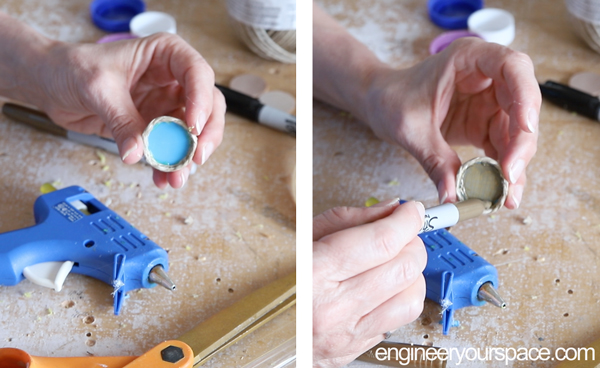
Step 6: I used the glue gun again to secure the round base to the middle of the bottom part of the embroidery hoop.
Step 7: The last thing to do is cut a piece of twine and pass through the holes, tie a knot and that it!
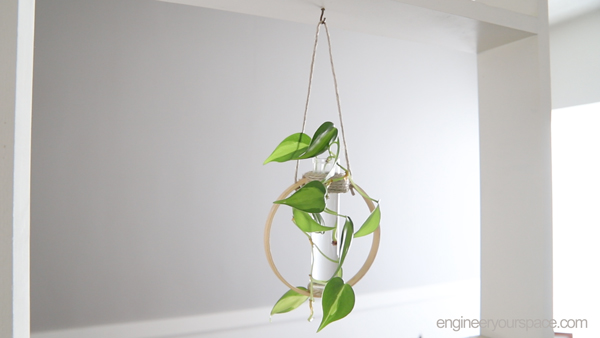
I absolutely love it, it’s so cute! It’s prefect for propagating plants or it could also be a vase. Can’t wait to see what my mom thinks!


0 Comments