One of my favorite quotes about creativity is this one from Albert Einstein: For me, there’s nothing like getting a...
One of my favorite quotes about creativity is this one from Albert Einstein: For me, there’s nothing like getting a...

When I was first approached to try out the WORX Hydroshot Power Cleaner, I wasn’t sure I could use it because I live...
I often get asked what tools I use or what tools I would recommend for someone new to DIY'ing. So I thought it might...

In this video, I share with you a few tricks I use to make hanging things like mirrors, frames and pendant lamps,...
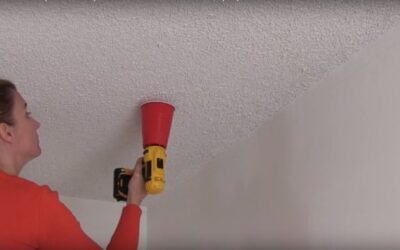
I've shown you a tip for mess-free drilling into walls using a post-it note to catch the dust in the past, but what...
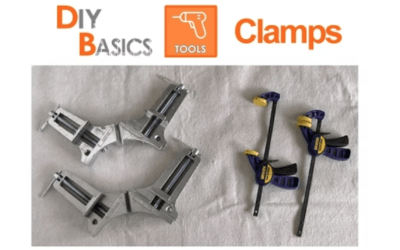
Tool time! Curious about what's in my toolbox? Find out more about the types of clamps I use the most in this video...
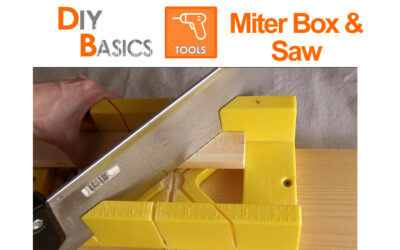
You don't need fancy power tools to cut wood: see how easy it is to use a miter box and saw for your home DIY...
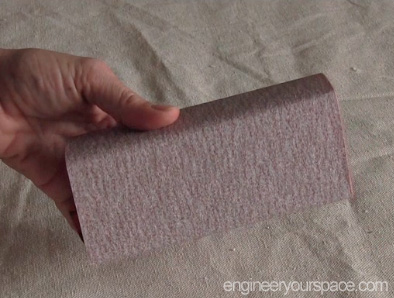
When you're working with wood or MDF a lot, sanding sponges come in handy to sand down surfaces evenly. However, they...
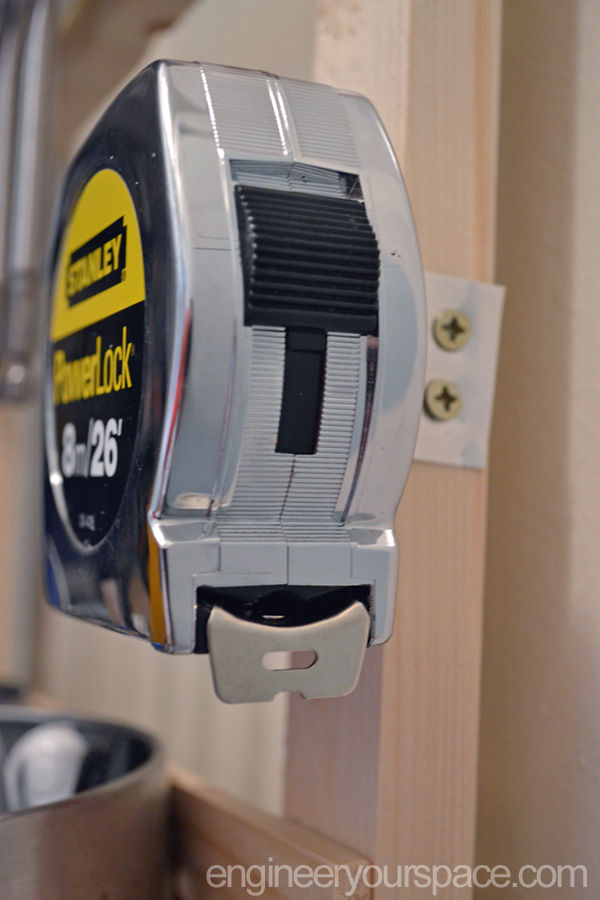
I always seem to misplace my measuring tape so I decided to give it its very own dedicated storage spot in...
Have a small closet? Quick "no tools needed" extra shelving, a DIY door organizer, lighting and a dresser can organize...
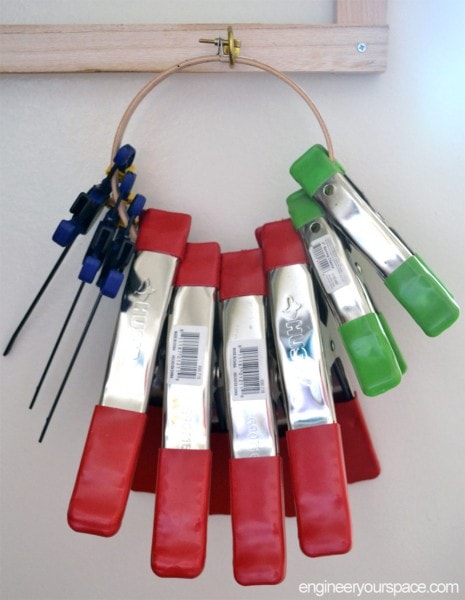
I have lots of tools in my tool box and one of the things I seem to always be reaching for are my clamps. So here's...
I'm always on the lookout for new products that might help me with my DIY projects and also work for rental...