When I was working on giving a friend's small bathroom a facelift, I needed a quick inexpensive way to update a...
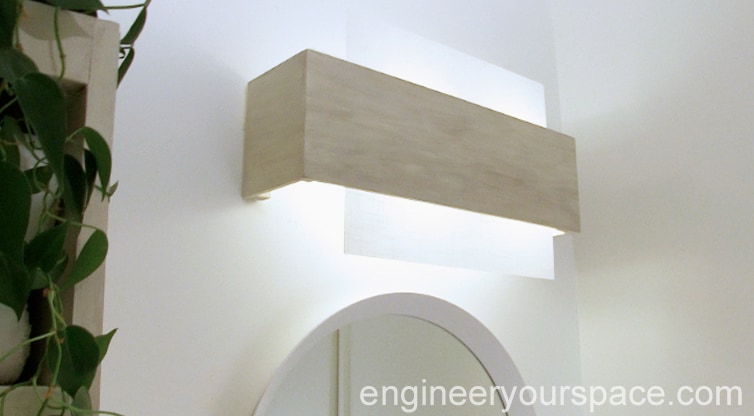
When I was working on giving a friend's small bathroom a facelift, I needed a quick inexpensive way to update a...

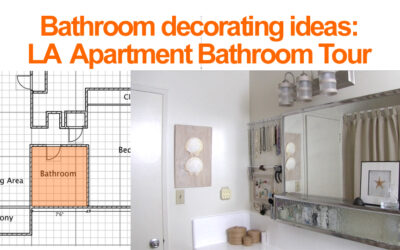
As I mentioned in my previous post reviewing Smart Tiles, my friend Tom asked for my help to makeover his small...
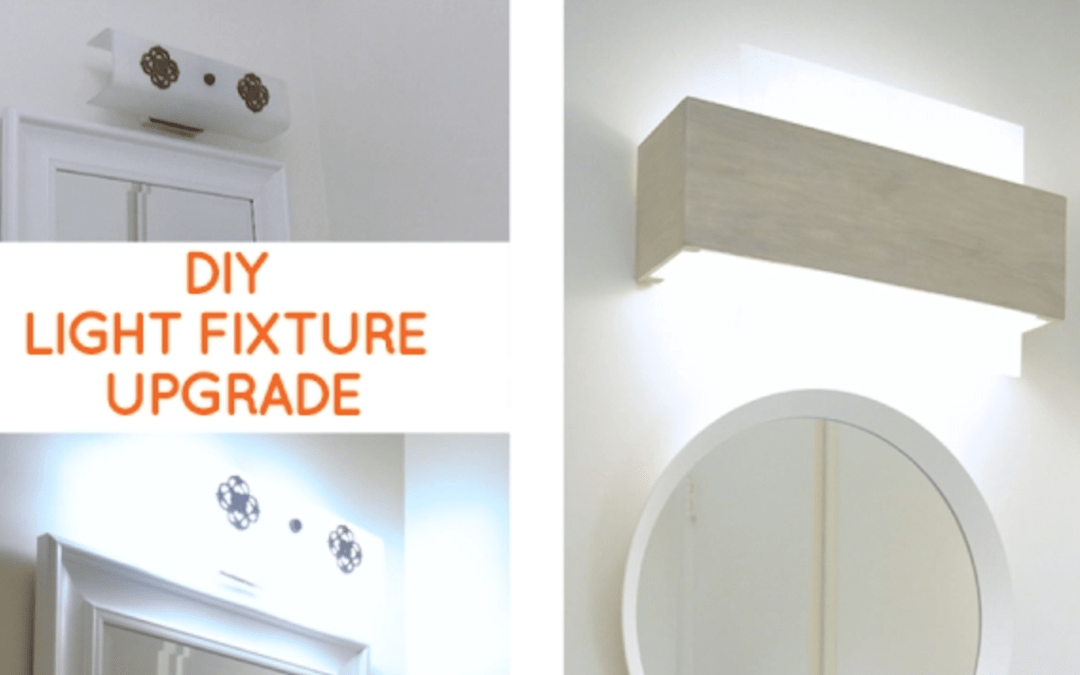
I needed a quick inexpensive way to update a very dated bathroom lighting fixture in a bathroom without replacing it....
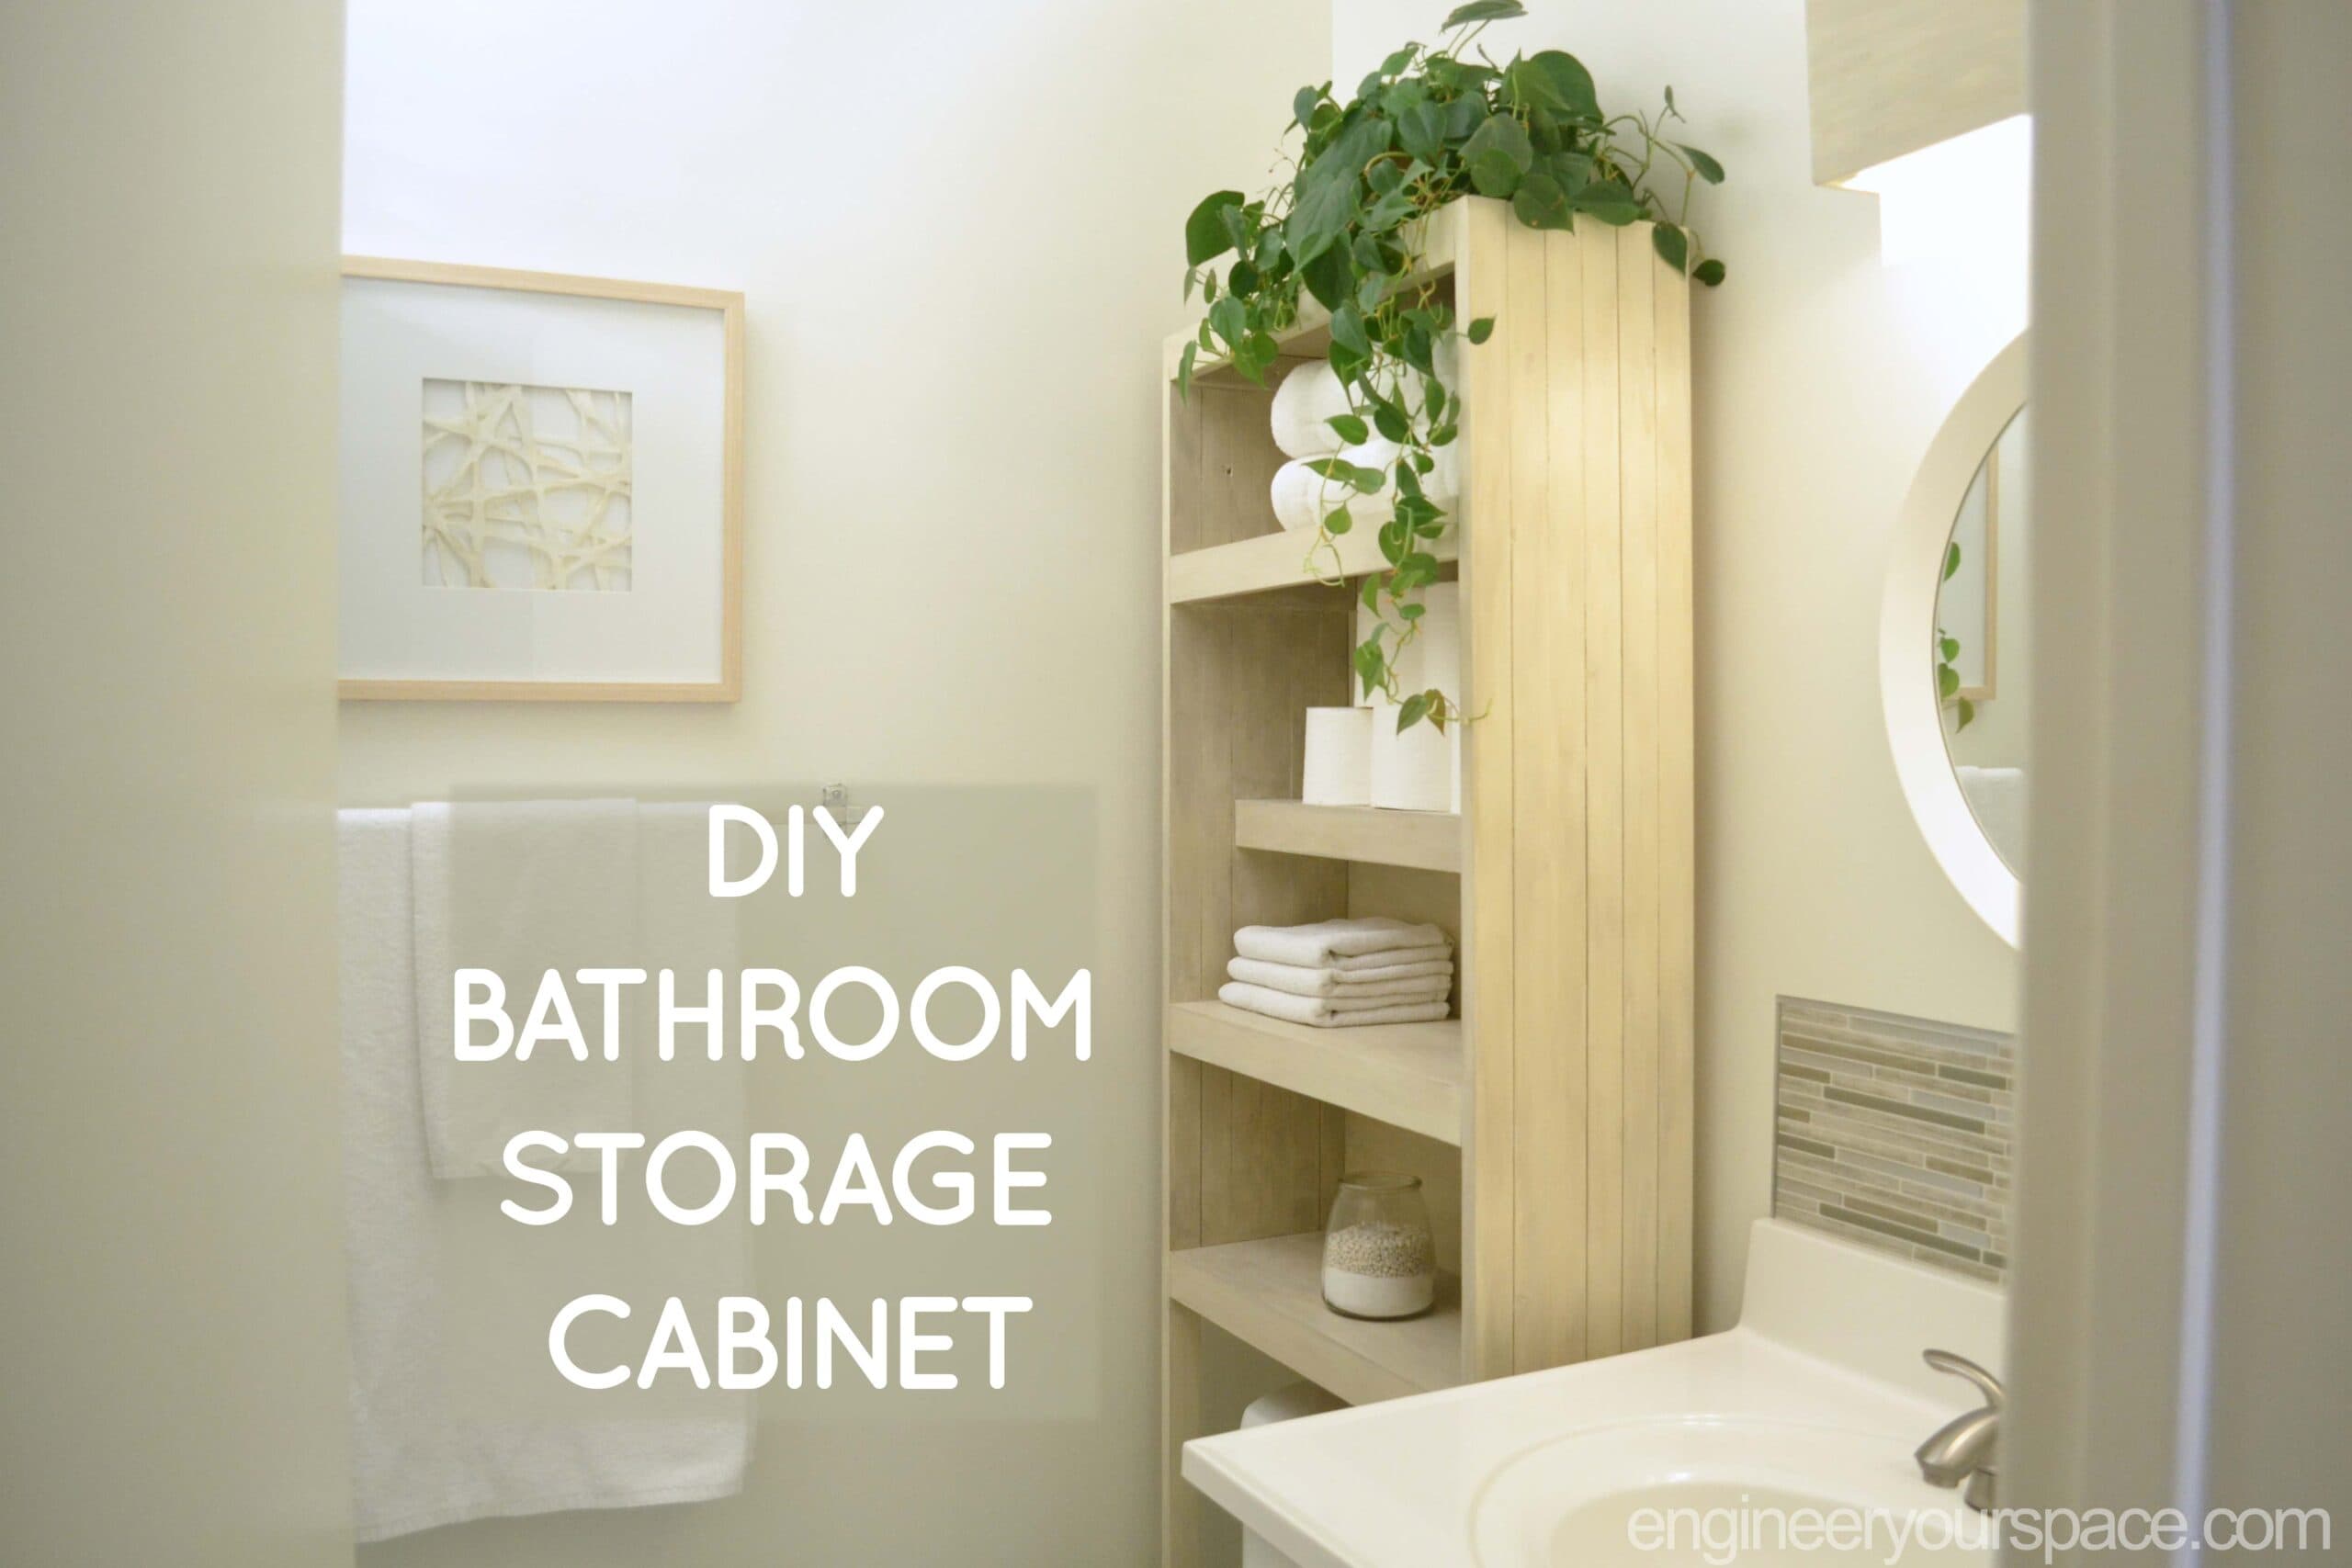
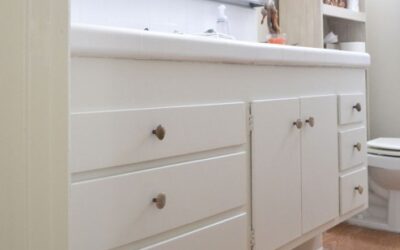
Finding good bathroom storage solutions can be challenging for a tiny bathroom, especially when you’re on a budget....
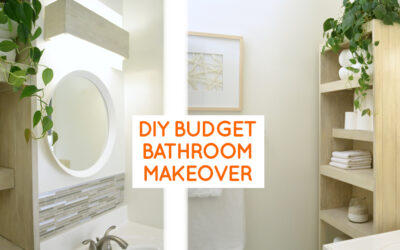
You’ll get lots of small bathroom decorating ideas in this video where I share how I helped a friend give his small...

When I was approached by Smart Tiles to review and try their products, I was very excited because updating kitchens...
I did a lot of upgrades to my bathroom as I showed you in this video tour but the one thing that I hadn't touched so...
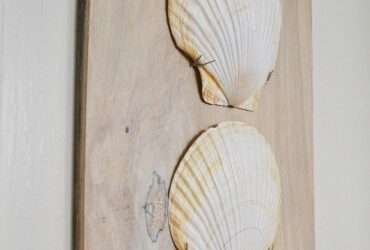
My bathroom is pretty plain with white tiles and white walls which makes it a nice neutral canvas to work with, except...
Do you have a small bathroom and need some ideas on how to organize it and get more storage? You'll get lots of ideas...
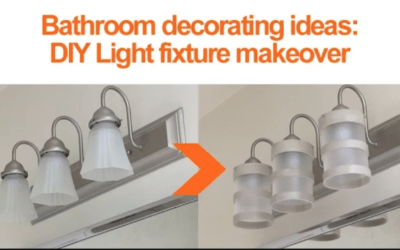
Looking for ways to remodel your bathroom on a budget? You can easily upgrade your bathroom lighting fixtures by...

It’s been a while since you last saw me and I’ve been very busy: a cross-country from NYC to LA with a new empty...