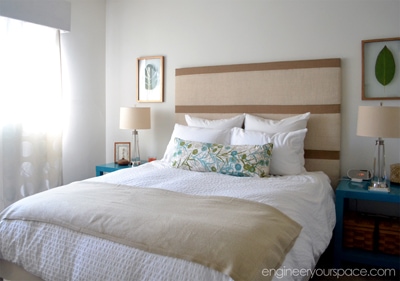
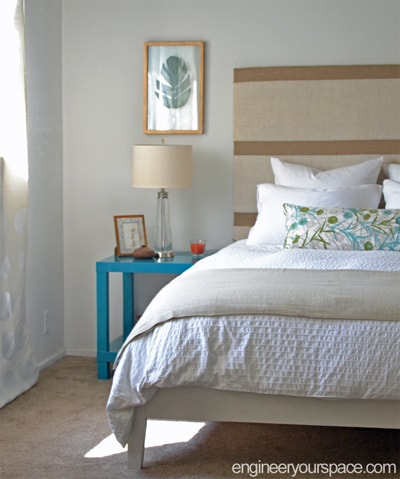
There are many DIY headboard ideas out there and I had always wanted to make my own, especially an upholstered one. I already had an existing base for the bed so I needed to make a headboard that was separate from the base. After toying around with lots of ideas, I ended up with this headboard design that’s really easy to make and customize.
Here’s what you’ll need to make the base structure of the headboard:
1/4″ plywood (width of your bed frame and height you want your headboard to be – I had mine cut at the hardware store to make things easier – 48″ x 62″)
1″x3″ boards (I used 4 x 8ft long)
1″x2″ furring strips (I used 3x 8ft long)
Step 1: Place 1″x3″ boards along the edge of the plywood and along the center (I had my plywood cut in half to make it easy to transport and I used a miter box and saw to cut the remaining boards to the desired length).
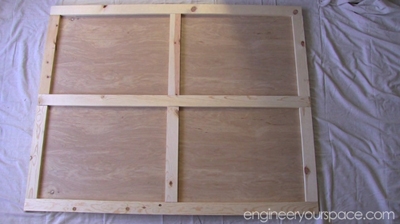 The boards on top of the plywood only to show the placement. For screwing the boards to the plywood, you’ll want to have the plywood on top of the boards.
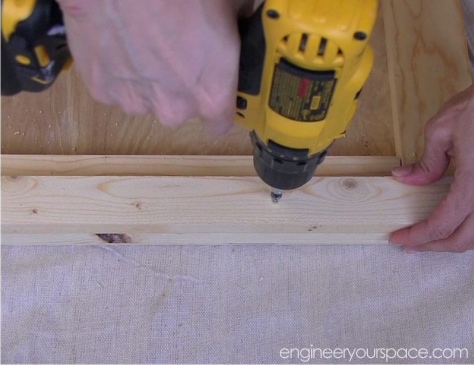
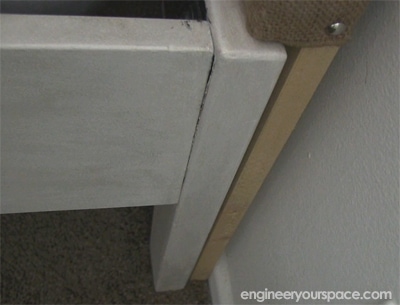
 Step 2: Add 1″x2″ furring strips to the edge of the headboard. Drill pilot holes before screwing it in place to avoid splitting the wood.
This makes the headboard appear thicker and the vertical pieces run past the headboard to to act as legs. How long the legs are depends on the height of the bed frame.
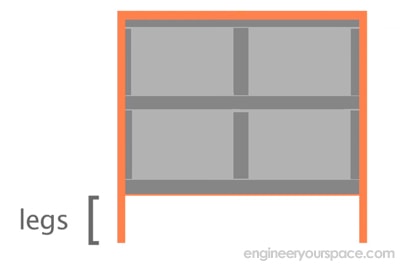
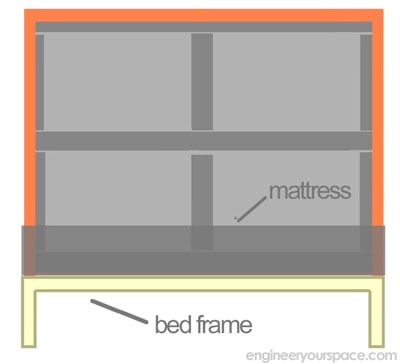
This design allows the headboard to rest on the floor and to be wedged between the wall and the bed frame. That’s if for the structure. The next steps are to upholster it.
Upholstering the headboard
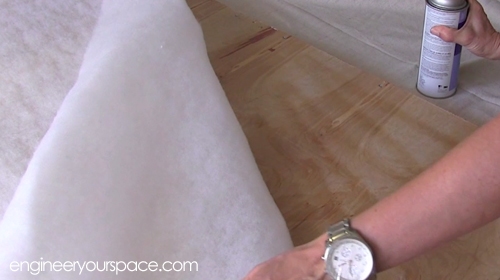
Step 3: Spray some adhesive on the face of the headboard and secure enough batting to cover the front and sides of the headboard.
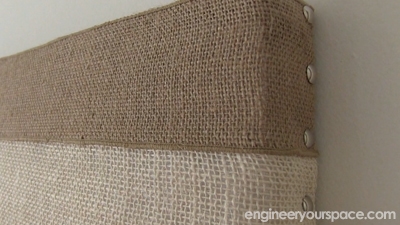
Step 4: To cover the headboard, I chose to use 3″ burlap ribbon and 14″ wide jute fabric but you could choose to use any fabric you have on hand. First, I stapled one length of the burlap ribbon at the top, covering the top and sides. Then I stapled the ivory jute panels, leaving approximately a 2 1/2″ gap in between panels.
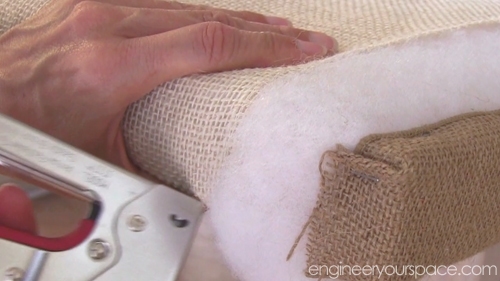
To fill in the gaps, I stapled one end of the 3″ ribbon to the back of the frame and used peel and stick fabric tape to seal the edges, making sure to pull tightly on the ribbon to keep is smooth and then stapled the other end in place.

Step 5: As a finishing touch, I added some decorative nail trim to the sides.
Step 6: Installing the headboard is as easy as simply wedging it between the bed frame and the wall and I used some removable 3m velcro command strips to secure it to the wall at the top to keep the headboard from moving. No holes in the wall needed!

This headboard was really easy to make and it’s also very simple to change up the look – for example, you could use pegboard instead of plywood and make and tufted upholstered headboard using the same technique that I used for my banquette panel. You can watch how I made the headboard and all the other projects I did in my bedroom in this video.


Thanks for showing how to build your own headboard fairly easily. I never would have thought that regular plywood could be used so effectively to create such a good looking bed! All of the extras on how it’s easy to change were super interesting too – I’m excited to try it myself. Thanks for sharing!
You’re welcome Stewart, thanks for watching!